


{ “title”: “How to Make 3 Cups of Self-Rising Flour”, “body”: “
How to Make 3 Cups of Self-Rising Flour
By FoolProofBaking · 2026-06-10 · 6 min read
n
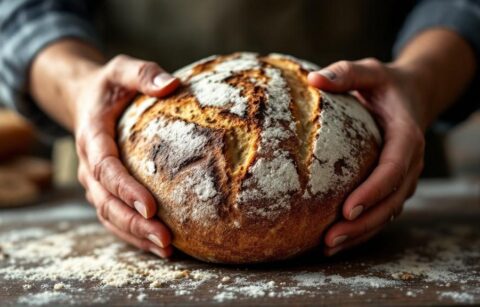
Self-rising flour is a baking pantry essential, especially when you’re looking to streamline your baking process. It’s a convenient blend of all-purpose flour, baking powder, and salt, allowing you to skip the measuring and mixing of these ingredients separately. Whether you’re whipping up fluffy pancakes, tender biscuits, or a quick cake, knowing how to make self-rising flour is a skill every home baker should have. In this article, I’ll guide you through the process of making 3 cups of self-rising flour, sharing tips, common substitutions, and some delicious recipes that utilize this versatile ingredient.
nn
- n
- What is Self-Rising Flour? n
- Ingredients Needed n
- Step-by-Step Instructions n
- Tips for Best Results n
- Common Substitutions n
- Recipes Using Self-Rising Flour n
nn
What is Self-Rising Flour?
n
Self-rising flour is a type of flour that contains a leavening agent (usually baking powder) and salt mixed in. This combination makes it perfect for recipes that require a quick rise without the need for additional leavening agents. It simplifies the baking process by eliminating the need for measuring out baking powder and salt separately. Self-rising flour is especially popular in Southern cooking, where it’s often used in recipes for biscuits, cornbread, and pancakes.
nn
Ingredients Needed
n
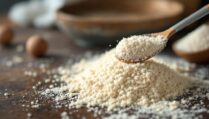
To make 3 cups of self-rising flour, you only need two ingredients, which you likely already have in your pantry:
n
- n
- 2 3/4 cups all-purpose flour n
- 1 tablespoon baking powder n
- 1/2 teaspoon salt n
n
Here’s a breakdown of each ingredient:n
- n
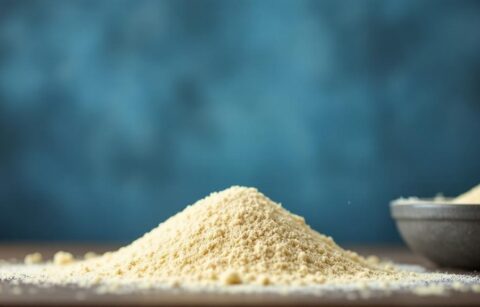
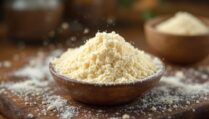
- All-Purpose Flour: This is the base of your self-rising flour. It provides the structure for baked goods. n
- Baking Powder: This leavening agent allows your baked goods to rise and become fluffy. n
- Salt: Enhances the flavor of your baked goods and balances the sweetness. n
nn
Step-by-Step Instructions
n
Making self-rising flour is straightforward. Follow these simple steps:
n
- n
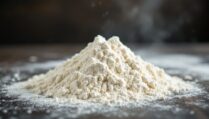
- Measure the Flour: Start by measuring 2 3/4 cups of all-purpose flour using a dry measuring cup. Be sure to spoon the flour into the cup and level it off with a straight edge for accuracy. n
- Add Baking Powder: To the flour, add 1 tablespoon of baking powder. This is what will help your baked goods rise. n
- Add Salt: Finally, add 1/2 teaspoon of salt to the mixture. This step is crucial for flavor. n
- Mix Well: Using a whisk or a fork, mix the ingredients thoroughly until they are evenly combined. You want to ensure that the baking powder and salt are distributed throughout the flour. n
- Store or Use Immediately: If you’re not using the self-rising flour right away, store it in an airtight container at room temperature. It will keep well for several months. n
nn
Tips for Best Results
n
Here are some tips to ensure you achieve the best results when making and using self-rising flour:
n
- n
- Use Fresh Ingredients: Ensure your baking powder is fresh. Old baking powder may not provide adequate leavening. n
- Store Properly: Keep your self-rising flour in a cool, dry place to maintain its effectiveness. n
- Know Your Recipe: If a recipe calls for self-rising flour, it’s usually not a good idea to substitute it with all-purpose flour without adjusting the leavening agents. n
nn
Common Substitutions
n
If you find yourself without self-rising flour, you can easily make substitutions using common pantry ingredients:
n
- n
- All-Purpose Flour + Baking Powder + Salt: For every cup of self-rising flour, substitute with 1 cup of all-purpose flour, 1.5 teaspoons of baking powder, and 1/4 teaspoon of salt. n
- Whole Wheat Flour: You can replace all-purpose flour with whole wheat flour. Keep in mind that the texture may be denser. n
- Gluten-Free Option: For a gluten-free version, use a gluten-free all-purpose flour blend and adjust the baking powder accordingly. n
nn
Recipes Using Self-Rising Flour
n
Now that you know how to make self-rising flour, here are a few delicious recipes to try:
n
- n
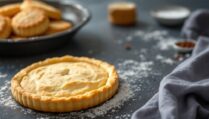
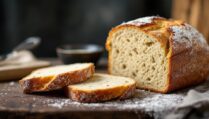
- Classic Biscuits: Use self-rising flour for light and fluffy biscuits that are perfect for breakfast or as a side dish. n
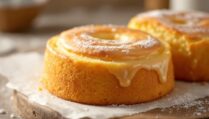
- Pancakes: Whip up quick and easy pancakes for a delightful morning treat. n
- Cornbread: Self-rising flour makes cornbread rise beautifully while keeping it moist and tender. n
n
For detailed recipes, consider checking out this biscuit recipe or this pancake recipe.
nn
Conclusion
n
Making self-rising flour at home is a simple and effective way to enhance your baking experience. With just three ingredients, you can have a versatile flour blend ready for all your favorite recipes. Whether you’re a seasoned baker or just starting, this skill is bound to make your baking endeavors easier and more enjoyable.
nn
Frequently Asked Questions
n
Can I use self-rising flour in place of all-purpose flour?
n
While you can substitute self-rising flour for all-purpose flour, you must adjust the amounts of baking powder and salt in your recipe to avoid over-leavening.
n
How long does self-rising flour last?
n
When stored in an airtight container in a cool, dry place, self-rising flour can last up to six months, but it’s best to check the baking powder’s freshness before use.
n
Can I make self-rising flour using other types of flour?
n
Yes, you can use whole wheat flour or gluten-free flour blends to make self-rising flour, but be aware that the texture and taste may vary slightly.
n
What can I make with self-rising flour?
n
You can make a variety of baked goods, including pancakes, biscuits, and muffins, all of which benefit from the leavening properties of self-rising flour.
n
How do I know if my baking powder is still good?
n
To test your baking powder, mix 1 teaspoon with 1/3 cup of hot water. If it bubbles vigorously, it’s still good; if not, it’s time to replace it.
nn
Getting Started
n
Now that you know how to make self-rising flour, gather your ingredients and start experimenting in the kitchen. Whether you’re making biscuits for breakfast or a quick bread for dinner, self-rising flour will make your baking easier and more rewarding. Happy baking!
“, “meta_title”: “How to Make Self-Rising Flour – Foolproof Baking”, “meta_description”: “Learn how to make 3 cups of self-rising flour at home with simple ingredients. Perfect for biscuits, pancakes, and more!”, “internal_link_suggestions”: [“/blog/biscuit-recipe”, “/blog/pancake-recipe”, “/blog/cornbread-recipe”], “faqs”: [n {“question”: “Can I use self-rising flour in place of all-purpose flour?”, “answer”: “While you can substitute self-rising flour for all-purpose flour, you must adjust the amounts of baking powder and salt in your recipe to avoid over-leavening.”},n {“question”: “How long does self-rising flour last?”, “answer”: “When stored in an airtight container in a cool, dry place, self-rising flour can last up to six months, but it’s best to check the baking powder’s freshness before use.”},n {“question”: “Can I make self-rising flour using other types of flour?”, “answer”: “Yes, you can use whole wheat flour or gluten-free flour blends to make self-rising flour, but be aware that the texture and taste may vary slightly.”},n {“question”: “What can I make with self-rising flour?”, “answer”: “You can make a variety of baked goods, including pancakes, biscuits, and muffins, all of which benefit from the leavening properties of self-rising flour.”},n {“question”: “How do I know if my baking powder is still good?”, “answer”: “To test your baking powder, mix 1 teaspoon with 1/3 cup of hot water. If it bubbles vigorously, it’s still good; if not, it’s time to replace it.”}n ] }