


By FoolProofBaking · 2026-06-01 · 5 min read
For any home baker aspiring to elevate their bread-making skills, understanding autolyse dough is a game changer. This simple yet effective technique can significantly enhance the texture, flavor, and overall quality of your bread. If you’re looking to create loaves that boast a perfect crust and a chewy, well-structured crumb, mastering autolyse is your first step.
- What is Autolyse?
- Benefits of Autolyse in Bread Making
- How to Perform Autolyse: Step-by-Step Guide
- Common Mistakes to Avoid with Autolyse
- Recipes Featuring Autolyse Dough Techniques
- Autolyse Variations for Different Breads
- The Science Behind Autolyse
- Conclusion: Perfecting Your Bread with Autolyse
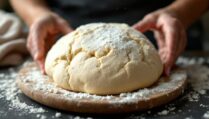
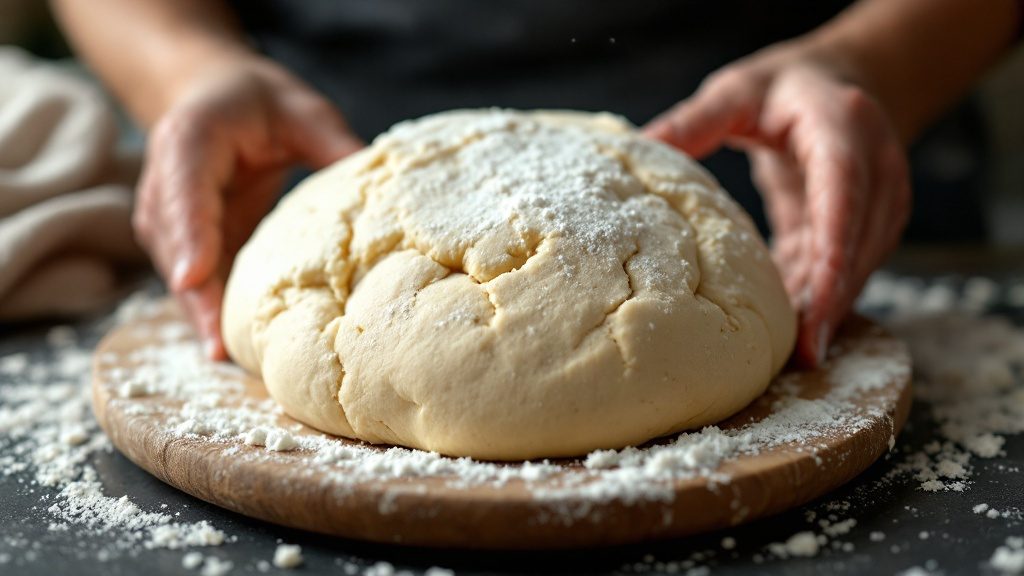
What is Autolyse?
Autolyse is a technique developed by French baker Jacques Pépin in the 1970s, primarily used to improve the quality of dough. This process involves mixing flour and water and allowing them to rest for a period of time before adding salt and yeast. The resting period allows the flour to fully hydrate and enzymes to activate, leading to improved dough extensibility and flavor.
Benefits of Autolyse in Bread Making
There are several key benefits to incorporating autolyse in your bread-making process:
- Enhanced Gluten Development: Allowing dough to rest enables proteins to bond more effectively, leading to better gluten structure.
- Improved Flavor: The enzymatic activity during autolyse breaks down starches into sugars, which enhances the overall flavor profile of the bread.
- Better Dough Handling: Autolyse results in a softer, more pliable dough, making it easier to shape and work with.
- Increased Hydration: The process allows for higher hydration levels, which can produce a more open crumb structure.
How to Perform Autolyse: Step-by-Step Guide
Performing autolyse is straightforward. Here’s how to do it:
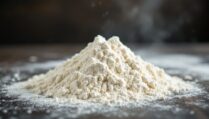
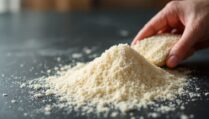
- Measure Your Ingredients: Use a high-quality flour (bread flour or all-purpose flour) and the appropriate amount of water. A common ratio is 1 part flour to 0.75 parts water.
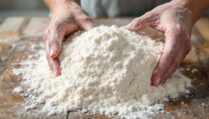
- Mix: In a large mixing bowl, combine the flour and water until there are no dry bits of flour left. The mixture will be shaggy and sticky.
- Rest: Cover the bowl with a damp towel or plastic wrap and let it rest for 30 minutes to 2 hours. The ideal time can vary based on the flour used and the desired outcome.
- Add Salt and Yeast: After the resting period, add salt and yeast to the dough. Mix until fully incorporated.
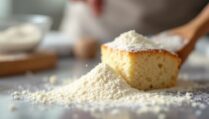
- Continue with Your Recipe: Proceed with kneading and shaping your dough according to your bread recipe.
Common Mistakes to Avoid with Autolyse
While autolyse is a simple technique, there are some common pitfalls to avoid:
- Not Allowing Enough Rest Time: Insufficient resting time can lead to poor gluten development. Aim for at least 30 minutes.
- Using the Wrong Flour: Low-protein flours may not yield the desired results. Stick with bread flour or all-purpose flour for the best outcome.
- Skipping Autolyse: Some bakers may feel tempted to skip this step, but doing so can affect the overall quality of the bread.
- Over-hydrating: Too much water can make the dough unmanageable. Stick to a 75% hydration ratio to start.
Recipes Featuring Autolyse Dough Techniques
To get you started, here are some delicious recipes that utilize the autolyse technique:
- Artisan Bread: A classic loaf that benefits greatly from the enhanced gluten structure.
- Sourdough Bread: Use autolyse to improve the texture and flavor of your sourdough.
- Whole Wheat Bread: The autolyse process helps incorporate more water, making whole grain breads lighter.
Autolyse Variations for Different Breads
Different types of bread might require slight adjustments to the autolyse process. Here are some variations:
- For Sourdough: Extend the autolyse time to 2 hours to fully enhance the flavors and gluten structure.
- For Rye Bread: Since rye flour absorbs more water, consider increasing the hydration ratio to about 85%.
- For Enriched Doughs: If making brioche or similar breads, autolyse can still be beneficial, but add fats and sugars after the autolyse to maintain dough integrity.
The Science Behind Autolyse
The autolyse process is rooted in science, specifically the interactions between flour, water, and enzymes. When flour is mixed with water, the following occurs:
- Enzyme Activation: The resting period activates enzymes such as amylase, which breaks down starches into simpler sugars.
- Protein Interaction: Water helps proteins glutenin and gliadin to bond, forming gluten strands essential for dough strength.
- Flavor Development: The sugars produced during autolyse contribute to the Maillard reaction during baking, enhancing the bread’s flavor and color.
Conclusion: Perfecting Your Bread with Autolyse
Incorporating autolyse into your bread-making routine can lead to significant improvements in texture, flavor, and overall quality. By allowing your dough to rest, you’re giving it the best possible chance to develop into a loaf that is not only beautiful but also delicious. So grab your flour and water, and start experimenting with autolyse—you might just find it’s the secret ingredient you’ve been missing in your baking journey.
“The beauty of autolyse is its simplicity. Just flour and water can create a transformation that elevates your baking to new heights.” – Expert Baker
Frequently Asked Questions
What is the ideal autolyse time?
The ideal autolyse time typically ranges from 30 minutes to 2 hours, depending on the type of flour used and the recipe.
Can I autolyse whole grain flour?
Yes, whole grain flours can benefit from autolyse, as it helps with hydration and gluten development.
How does autolyse affect sourdough fermentation?
Autolyse can enhance sourdough fermentation by allowing the dough to develop flavors and structure before the yeast is added, leading to better overall results.
Is autolyse necessary for every bread recipe?
While not strictly necessary, incorporating autolyse can greatly improve the quality of many bread recipes, especially those that require strong gluten structure.
Can I autolyse for longer than 2 hours?
Generally, autolyse times longer than 2 hours can lead to over-hydration and diminishing returns, so it’s best to stick within the recommended timeframe.
What flour types are best for autolyse?
High-protein flours like bread flour and all-purpose flour are ideal for autolyse, as they provide the best gluten development.