









By FoolProofBaking · 2026-05-27 · 5 min read
There’s something utterly satisfying about a freshly baked pie, but what if I told you that you could skip the traditional pie crust and use biscuits instead? Biscuit pie crust is a game changer, offering a flaky, tender base that holds up beautifully under sweet or savory fillings. If you’ve ever struggled with making pie crust from scratch, this method simplifies the process and brings a delightful twist to your pies. Let’s dive into the world of biscuit pie crust and see how you can make it perfectly every time!
- Introduction to Biscuit Pie Crust
- Ingredients You’ll Need
- Step-by-Step Instructions
- Tips for Perfect Biscuit Pie Crust
- Variations and Flavor Additions
- Common Mistakes to Avoid
- Serving Suggestions
- How to Store Biscuit Pie Crust
- Nutritional Information
- Conclusion
Introduction to Biscuit Pie Crust
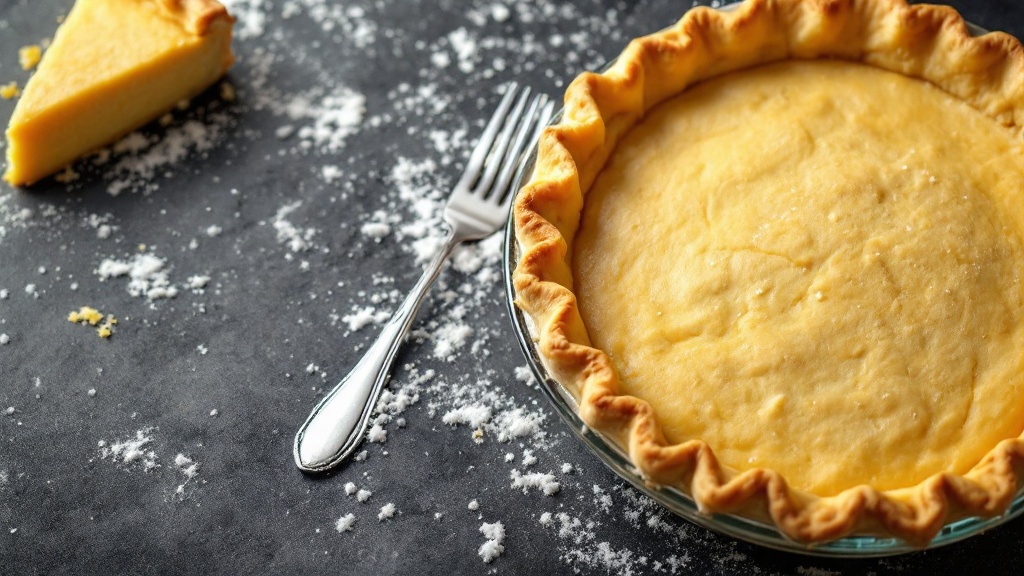
Biscuit pie crust is exactly what it sounds like: a pie crust made using biscuit dough. This method is excellent for those who want a flaky, buttery crust without the fuss of traditional pastry dough. The beauty of biscuit crust lies in its simplicity and versatility; it can be sweetened for fruit pies or seasoned for savory dishes. With the right technique, you can achieve a crust that’s both delicious and easy to work with.
Ingredients You’ll Need
To make a delectable biscuit pie crust, you’ll need just a few basic ingredients. Here’s what you’ll require:
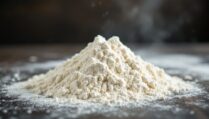
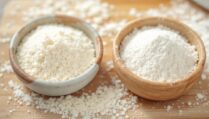
- 2 cups all-purpose flour – This is the base of your crust.
- 1 tablespoon baking powder – For leavening and fluffiness.
- 1 teaspoon salt – To enhance flavor.
- 1/2 cup unsalted butter – Cold and cut into small cubes for the perfect flaky texture.
- 3/4 cup milk or buttermilk – Adds moisture and richness.
- 1 tablespoon sugar (optional) – If you’re making a sweet pie.
Step-by-Step Instructions
Now that you have your ingredients ready, let’s walk through the process of making your biscuit pie crust.
- Preheat your oven to 425°F (220°C).
- Mix dry ingredients: In a large mixing bowl, whisk together the flour, baking powder, salt, and sugar (if using).
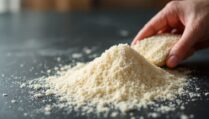
- Cut in the butter: Add the cold butter cubes to the flour mixture. Using a pastry cutter or your fingers, mix until the mixture resembles coarse crumbs with some pea-sized pieces of butter. This step is crucial for achieving flakiness.
- Add milk: Gradually stir in the milk or buttermilk until just combined. Be careful not to overmix; the dough should be slightly sticky but manageable.
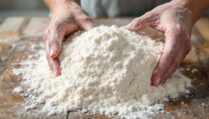
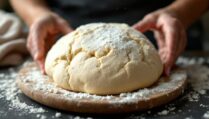
- Roll out the dough: On a floured surface, turn the dough out and gently knead it a few times. Roll it out to fit your pie dish, about 1/4 inch thick.
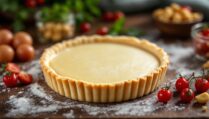
- Transfer to the pie dish: Carefully place the rolled-out dough into your pie dish, trimming any excess hanging over the edges.
- Pre-bake if necessary: For some fillings, like custards or cream pies, you may want to pre-bake the crust for about 10 minutes before adding the filling. If using a fruit filling, you can fill it directly and bake.
- Fill and bake: Add your desired filling, then bake according to your pie recipe’s instructions.
Tips for Perfect Biscuit Pie Crust
Here are some tips to ensure your biscuit pie crust turns out perfectly every time:
- Keep everything cold: Cold ingredients are crucial for flaky layers. Make sure your butter and milk are cold, and consider chilling your mixing bowl as well.
- Don’t overwork the dough: Overmixing can lead to a tough crust. Mix just until combined and stop.
- Use a light hand: When rolling out the dough, use a gentle touch to avoid compressing the layers.
- Try different fats: While butter is the classic choice, you can experiment with shortening or even coconut oil for different textures and flavors.
Variations and Flavor Additions
Biscuit pie crust is incredibly adaptable. Here are some variations you might consider:
- Herbed biscuit crust: Add finely chopped herbs like rosemary or thyme for a savory twist, perfect for quiches or chicken pot pies.
- Cheddar cheese: Mix in shredded cheddar for a cheesy flavor that pairs well with savory fillings.
- Sweet spices: For a sweet pie crust, add cinnamon or nutmeg to the dry ingredients.
- Gluten-free option: Substitute all-purpose flour with a gluten-free blend, ensuring your baking powder is gluten-free as well.
Common Mistakes to Avoid
Even with a simple recipe, mistakes can happen. Here are some common pitfalls and how to avoid them:
- Using warm ingredients: Warm butter or milk can lead to a dense crust. Always keep everything cold.
- Overmixing the dough: This can lead to toughness. Mix until just combined.
- Not rolling out evenly: Ensure an even thickness to avoid uneven baking.
- Ignoring the pre-bake: Pre-baking is vital for certain fillings to prevent a soggy bottom.
Serving Suggestions
How you serve your pie can enhance the overall experience. Here are some ideas:
- Top with whipped cream: A dollop of freshly whipped cream can elevate any fruit pie.
- Pair with ice cream: Serve warm pies with a scoop of vanilla or cinnamon ice cream for a comforting treat.
- Garnish with herbs: For savory pies, a sprinkle of fresh herbs can add a beautiful touch.
How to Store Biscuit Pie Crust
Proper storage is essential for maintaining the quality of your biscuit pie crust:
- In the refrigerator: If you have leftover dough, wrap it tightly in plastic wrap and store it in the fridge for up to 3 days.
- Freezing: You can freeze the unbaked crust for up to 3 months. Just make sure to wrap it well to prevent freezer burn.
- Baked crust: If you have baked crust leftover, keep it in an airtight container at room temperature for about 2 days or refrigerate it for up to a week.
Nutritional Information
Understanding the nutritional content can help you make informed choices. Here’s a basic breakdown based on a standard biscuit pie crust recipe:
| Nutrient | Per Serving (1 slice) |
|---|---|
| Calories | 150 |
| Fat | 8g |
| Carbohydrates | 18g |
| Protein | 3g |
| Sodium | 200mg |
Conclusion
Biscuit pie crust is a fantastic alternative to traditional pie crust, offering a tender and flaky option that’s easy to make. With the right ingredients, techniques, and a little creativity, you can enjoy delicious pies with minimal stress. So why not give this method a try? You might find it becomes your go-to for all your pie-making adventures!