


By FoolProofBaking · 2026-06-05 · 5 min read
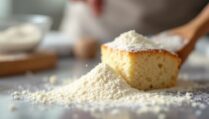
Autolyse is a method in bread making that allows flour and water to hydrate before the addition of other ingredients like salt and yeast. This technique enhances gluten development and improves the overall texture and flavor of the bread. By giving the flour time to fully absorb the water, bakers can achieve a more elastic dough, making it easier to shape and resulting in a loaf with a better crumb structure.
- The Science Behind Autolyse
- Benefits of Using Autolyse in Baking
- How to Implement Autolyse in Your Baking Routine
- Common Mistakes to Avoid with Autolyse
- Recipes Featuring Autolyse
- Can Autolyse Be Used in Gluten-Free Baking?
- How Different Flour Types Affect Autolyse
The Science Behind Autolyse
The autolyse process was first introduced by French baker Jacques Pépin and is based on the natural enzymatic activity of flour. When flour is mixed with water, enzymes such as amylase and protease become active. Amylases break down starches into simpler sugars, providing food for yeast and enhancing fermentation. Proteases, on the other hand, help to break down protein structures, allowing gluten to develop more efficiently.
“The autolyse method not only improves gluten structure but also enhances the flavor and aroma of the bread.” — Baking Expert
Benefits of Using Autolyse in Baking
- Enhanced Gluten Development: Autolyse allows for better gluten formation, which leads to a stronger, more elastic dough.
- Improved Dough Handling: A well-hydrated dough is easier to shape and handle, reducing the risk of tearing.
- Better Flavor: The extended hydration period allows for more complex flavors to develop, resulting in a tastier loaf.
- Reduced Mixing Time: With gluten already forming during the autolyse, the total mixing time can be significantly reduced.
- Increased Oven Spring: The structural development aids in achieving a higher rise during baking, leading to a better crumb structure.
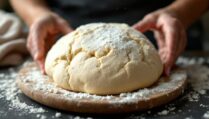
How to Implement Autolyse in Your Baking Routine
Incorporating autolyse into your baking routine is straightforward. Here’s a step-by-step process:
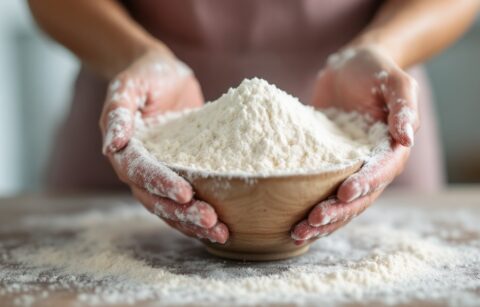
- Measure Ingredients: Start with the flour and water amounts specified in your recipe.
- Mix Flour and Water: Combine just the flour and water in a bowl. Mix until no dry flour remains, but don’t knead.
- Rest Period: Cover the mixture and let it rest for 20 to 60 minutes. This time allows the enzymes to work.
- Add Remaining Ingredients: After the resting period, add salt and yeast (if using) and mix well.
- Knead the Dough: Proceed with kneading or folding as your recipe dictates.
Common Mistakes to Avoid with Autolyse
- Skipping the Resting Time: Not allowing enough time for autolyse can lead to underdeveloped dough.
- Using Too Much Water: While hydration is key, excessive water can result in a sticky dough that’s hard to manage.
- Ignoring Temperature: Warmer water can speed up enzymatic activity, while cold water may slow it down. Aim for room temperature.
- Not Mixing Properly: Ensure you mix until no dry flour remains, as this is critical for even hydration.
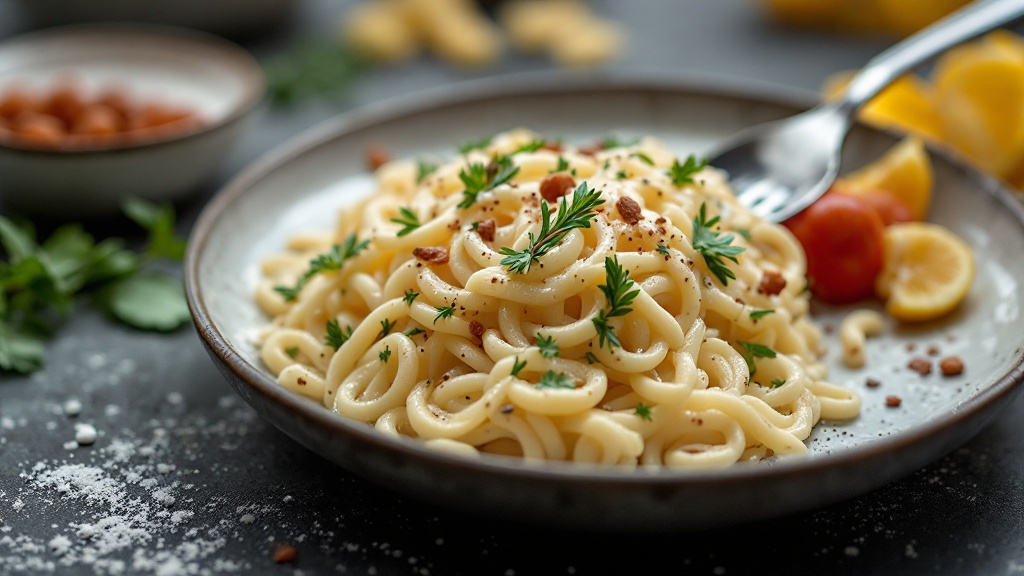
Recipes Featuring Autolyse
Here are a couple of recipes that highlight the autolyse method:
- Basic Artisan Bread: Combine 500g of flour and 350g of water. Autolyse for 30 minutes, then add 10g of salt and 1g of yeast. Knead and bake as directed.
- Sourdough Bread: Mix 1000g of bread flour and 700g of water for the autolyse. Allow to rest for 60 minutes, then add your sourdough starter and salt before shaping and proofing.
Example Recipe: Basic Artisan Bread
This recipe uses a straightforward method to incorporate autolyse:
- In a bowl, mix 500g of flour and 350g of water until there are no dry bits.
- Cover and let it autolyse for 30 minutes.
- Add 10g of salt and 1g of yeast, then knead until smooth.
- Shape, proof, and bake according to your preferred method.
Can Autolyse Be Used in Gluten-Free Baking?
Yes, autolyse can be adapted for gluten-free baking, though the outcomes may vary. Gluten-free flours, such as rice or almond flour, do not develop gluten, but they can benefit from hydration time. This can help improve texture and flavor. Typically, a hydration period of 30-45 minutes is sufficient for gluten-free doughs.
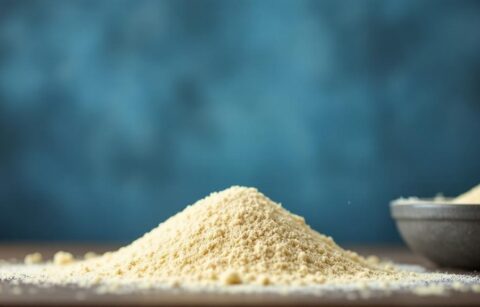
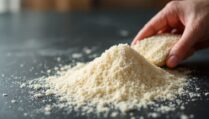
How Different Flour Types Affect Autolyse
The type of flour used significantly influences the effectiveness of the autolyse process. High-protein bread flours typically yield the best results, as they develop stronger gluten networks. In contrast, low-protein flours may not achieve the same elasticity. For example, bread flour with a protein content of around 12-14% will perform well, while all-purpose flour with 10-12% protein may yield a softer crumb.
Advantages and Limitations of Autolyse
| Advantages | Limitations |
|---|---|
| Improves gluten strength | Requires additional time in the baking process |
| Enhances flavor and aroma | Can be tricky to master the timing |
| Reduces mixing time | Not suitable for every type of dough |
Frequently Asked Questions
What is the ideal time for autolyse?
The ideal autolyse time is generally between 20 to 60 minutes, depending on the recipe and flour type. Longer times can enhance flavor but may also alter dough handling characteristics.
Can I autolyse whole grain flours?
Yes, whole grain flours can benefit from autolyse. They may require slightly longer hydration times due to their higher fiber content. A period of 30-60 minutes is recommended for optimal results.
Does autolyse improve sourdough bread?
Absolutely! Autolyse helps improve the gluten development and flavor profile of sourdough bread, contributing to a more complex taste and better texture.
Is autolyse necessary for all bread types?
While autolyse is advantageous, it is not strictly necessary for all bread types. Some quick breads or enriched doughs may not require this process.
Can I autolyse if I’m using instant yeast?
Yes, you can use instant yeast in conjunction with autolyse. Just add it after the autolyse period along with salt for best results.
What is the difference between autolyse and bulk fermentation?
Autolyse is a pre-fermentation step focused on hydration and gluten development, while bulk fermentation occurs later and allows for yeast activity, flavor development, and dough rise.
Getting Started with Autolyse
To start incorporating autolyse into your baking, choose a simple recipe like artisan bread or sourdough. Measure your flour and water accurately, follow the mixing steps, and allow the dough to rest for the recommended time. Experiment with different hydration levels and flour types to discover what works best for you.
With practice, you’ll find that autolyse can transform your bread-making experience, leading to loaves that are not only visually appealing but also deliciously satisfying.
Embrace this technique and elevate your baking skills!