


If you’ve ever found yourself in the middle of a baking project only to realize you have the wrong type of yeast, you’re not alone. Converting active dry yeast to fresh yeast is a common challenge for home bakers. In this article, I’ll guide you through the process, ensuring your bread rises perfectly every time.
- Understanding Yeast Types
- Why Convert Active Dry Yeast to Fresh Yeast?
- Conversion Ratios: Active Dry to Fresh Yeast
- Step-by-Step Conversion Process
- Tips for Baking with Fresh Yeast
- Common Mistakes to Avoid
- Sourcing and Storing Fresh Yeast
- Using Fresh Yeast in Different Recipes
- Conclusion
Understanding Yeast Types
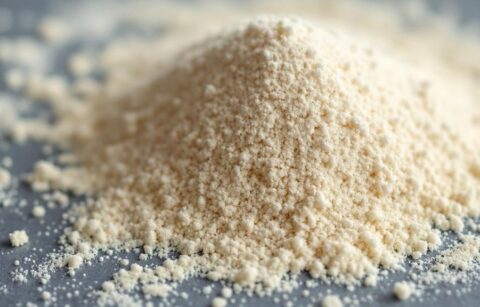
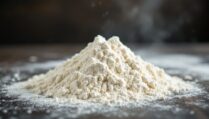
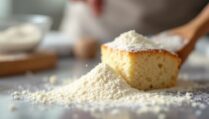
Yeast is a living organism that is crucial in breadmaking, responsible for fermentation and leavening. There are primarily three types of yeast used in baking: active dry yeast, instant yeast, and fresh yeast. Active dry yeast is granulated and stored in a dormant state, while fresh yeast, also known as cake yeast, is moist and highly perishable.
Each type of yeast has its unique properties. Active dry yeast requires rehydration before use, whereas fresh yeast can be crumbled directly into the dough. Knowing these differences helps in converting between types.
Why Convert Active Dry Yeast to Fresh Yeast?
Some bakers prefer fresh yeast for its more robust and consistent rise, which can yield a superior texture in certain baked goods. Fresh yeast is often used in traditional European recipes and is praised for its mild, creamy flavor. If your recipe specifically calls for fresh yeast, converting from active dry yeast is necessary to achieve the desired results.
Moreover, fresh yeast works exceptionally well for slow-rising doughs, which can enhance the flavor complexity of the bread.
Conversion Ratios: Active Dry to Fresh Yeast
The key to converting active dry yeast to fresh yeast lies in the proper ratio. The general rule of thumb is that fresh yeast weighs approximately three times more than active dry yeast. For example, if a recipe calls for 1 teaspoon of active dry yeast (about 3.1 grams), you would need about 9.3 grams of fresh yeast.
| Active Dry Yeast | Fresh Yeast |
|---|---|
| 1 teaspoon (3.1 grams) | 9.3 grams |
| 1 tablespoon (9.3 grams) | 28 grams |
These ratios ensure that the yeast activity level remains consistent, providing the same fermentation power.
Step-by-Step Conversion Process
Converting active dry yeast to fresh yeast is straightforward with the right steps:
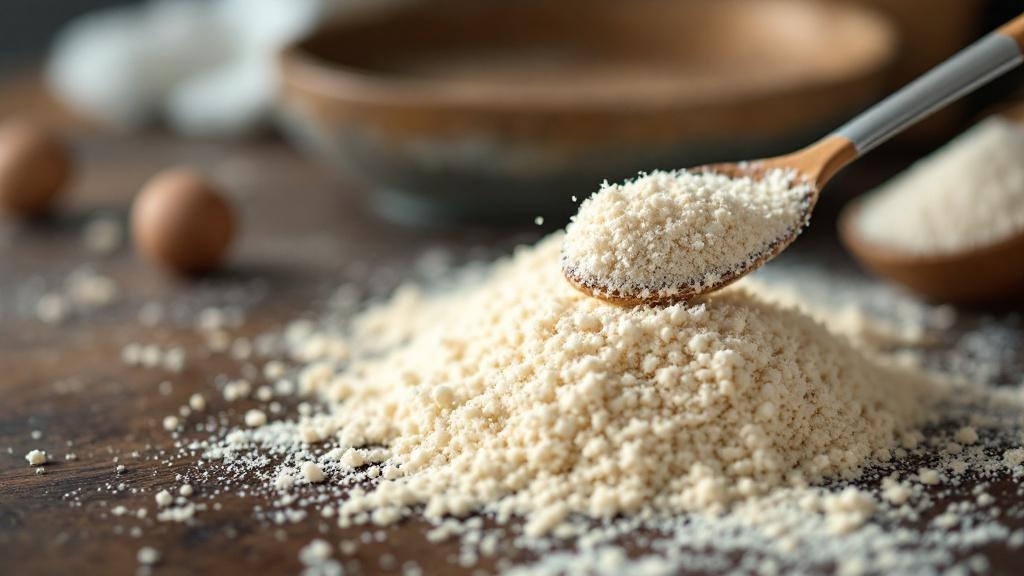
- Calculate the amount: Use the conversion ratio to calculate the necessary amount of fresh yeast.
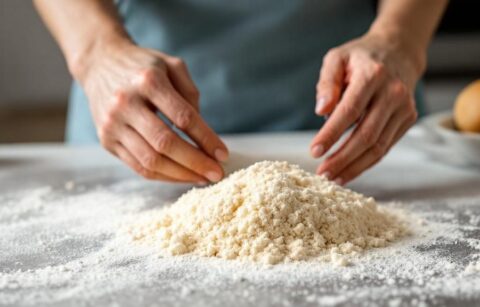
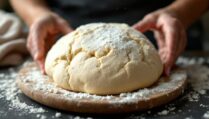
- Crumbly texture: Crumble the fresh yeast into the flour to distribute it evenly.
- Dissolve if necessary: If you’re making a liquid mixture, dissolve the fresh yeast in a bit of warm water (not hot, around 100°F or 38°C) before adding it to the dough.
- Mix thoroughly: Ensure the yeast is well incorporated into the dough to activate the fermentation process.
This method guarantees that your dough will rise efficiently, mirroring the action of active dry yeast.
Tips for Baking with Fresh Yeast
Baking with fresh yeast can enhance your bread’s flavor and texture, but it requires some attention to detail:
- Storage: Keep fresh yeast refrigerated and use it within two weeks for optimal freshness.
- Check freshness: Fresh yeast should be creamy white and fragrant. Avoid using yeast that looks dry or discolored.
- Temperature control: Ensure your ingredients are at room temperature to help the yeast thrive.
- Adjust rise times: Fresh yeast often requires shorter rise times, so keep an eye on your dough.
These tips will help you make the most of your fresh yeast, ensuring delicious results.
Common Mistakes to Avoid
Even experienced bakers can make mistakes when using fresh yeast. Here are some common pitfalls to watch out for:
- Incorrect storage: Storing fresh yeast improperly can lead to spoilage.
- Wrong temperature: Mixing yeast with hot water can kill it, so always use lukewarm water.
- Overproofing: Fresh yeast can cause dough to rise faster, so avoid overproofing.
- Not adjusting for weather: Humidity and room temperature can affect proofing times.
Avoiding these mistakes will help you achieve perfect results every time.
Sourcing and Storing Fresh Yeast
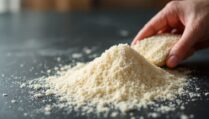
Finding fresh yeast can sometimes be challenging, especially in areas where it is not commonly used. However, many specialty baking stores and some grocery chains carry it. When sourcing fresh yeast, look for blocks that are soft, moist, and have a pleasant aroma.
For storage, fresh yeast should be kept in the refrigerator and is best used within two weeks. To extend its shelf life, you can also freeze it. Wrap it tightly in plastic wrap and place it in a freezer bag. When ready to use, thaw it in the refrigerator overnight to maintain its viability.
Using Fresh Yeast in Different Recipes
Fresh yeast can be used in a variety of recipes beyond bread, such as pastries, pizzas, and even some cakes. Its ability to produce a consistent rise makes it ideal for doughs that require a delicate texture.
For pizza dough, fresh yeast can create a light, airy crust. In pastries, it offers a tender crumb. Experimenting with fresh yeast in different recipes can lead to delightful culinary discoveries, enhancing both flavor and texture.
Conclusion
Converting active dry yeast to fresh yeast is a valuable skill for any home baker. By understanding the differences between yeast types and using the correct conversion ratios, you can ensure your baking projects are successful. Fresh yeast offers a unique flavor and texture profile that can elevate your baking creations. Whether you’re making a simple loaf of bread or a complex pastry, fresh yeast can be the key to achieving perfect results.