3 Stage Rye Sourdough Bread
Between each building there is a different time gap, each with its purpose of producing a healthy natural rye sourdough and feeding the last one with some more flour and water, same as we feed our starter sourdough.
Getting the right consistency
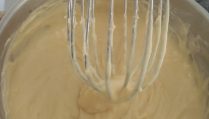
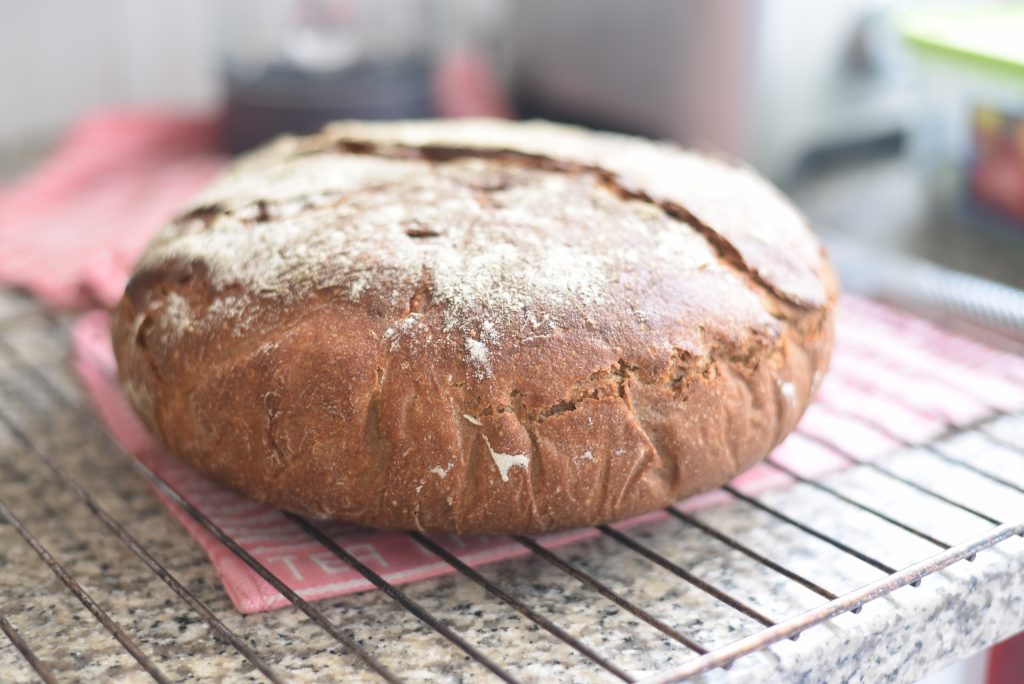
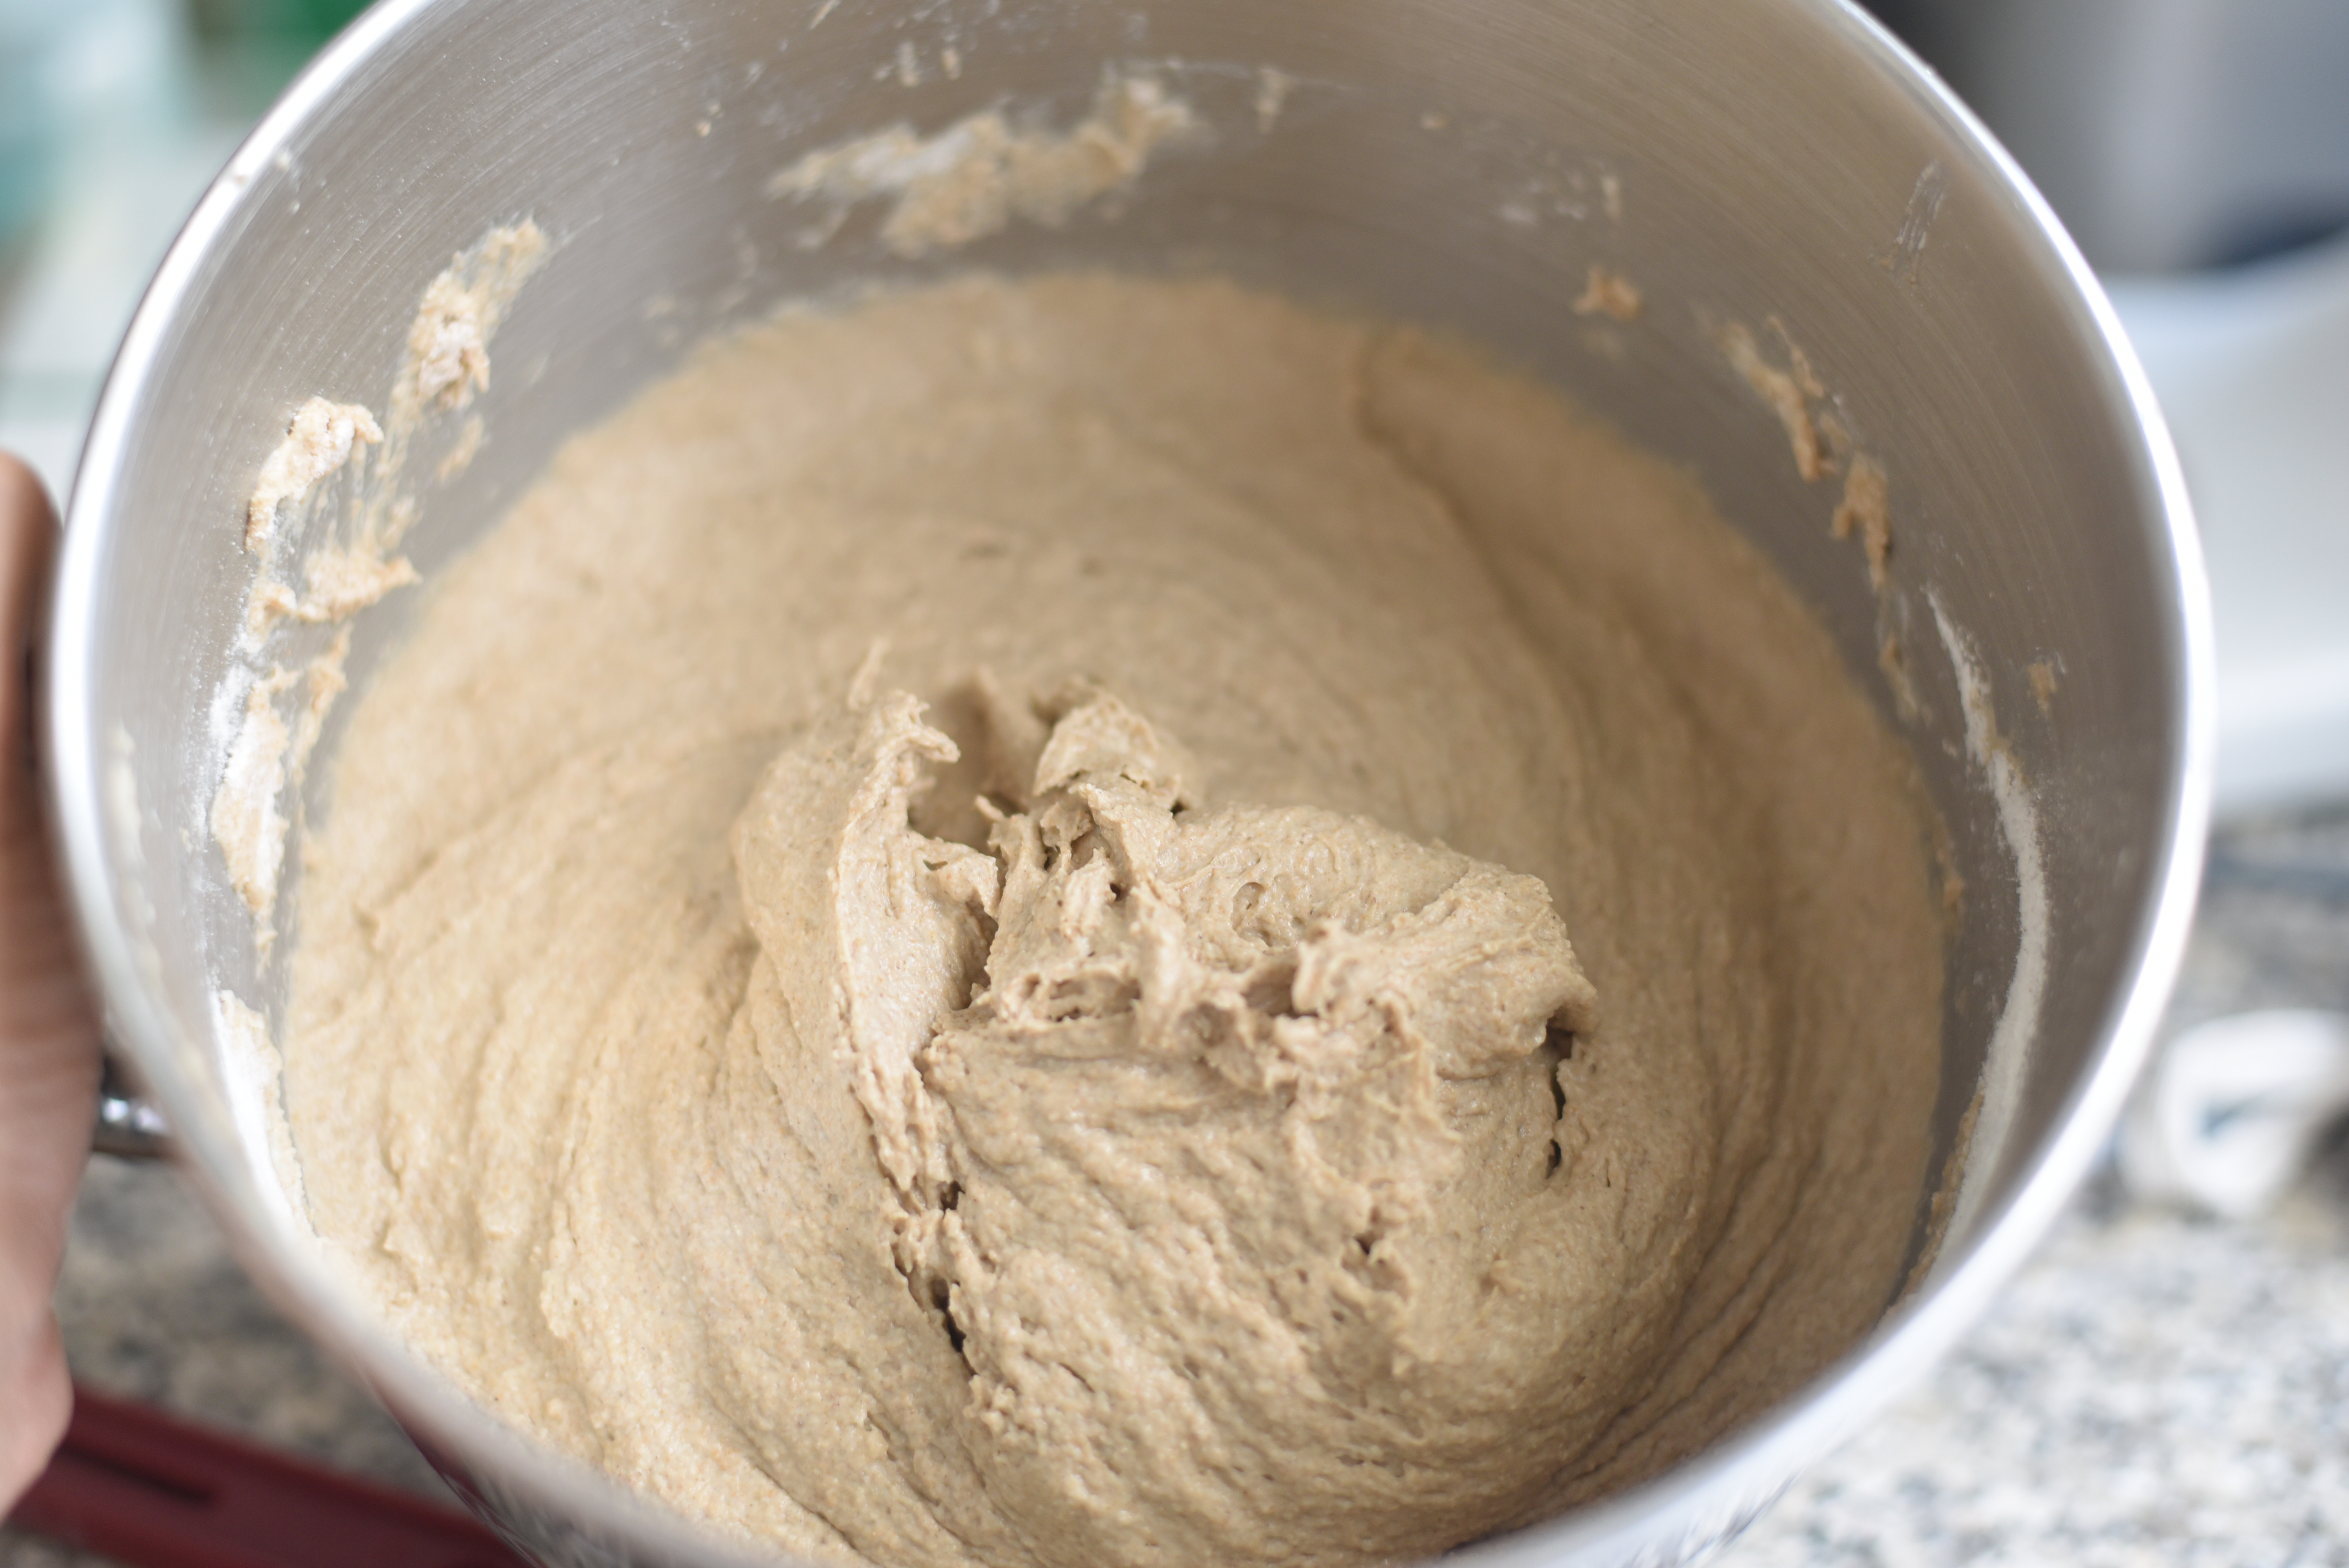
Right after we complete the 3rd build we mix the rye culture with whole wheat flour and bread flour, making this bread a 70% rye flour. This dough is very sticky and hard to control, you will notice this when trying to shape the dough, it’s OK if during the first bulk fermentation the dough is a little runny, don’t be tempted to add flour (not more than you need to powder the dough and counter in order to shape it).
The rich flavor of this bread is coming from high humidity levels which allows the rye to shine, if more flour is added there is a possibility that the bread will be dry so add the minimum amount of flour, just enough to work out the dough.
Baking 3 stage rye sourdough bread
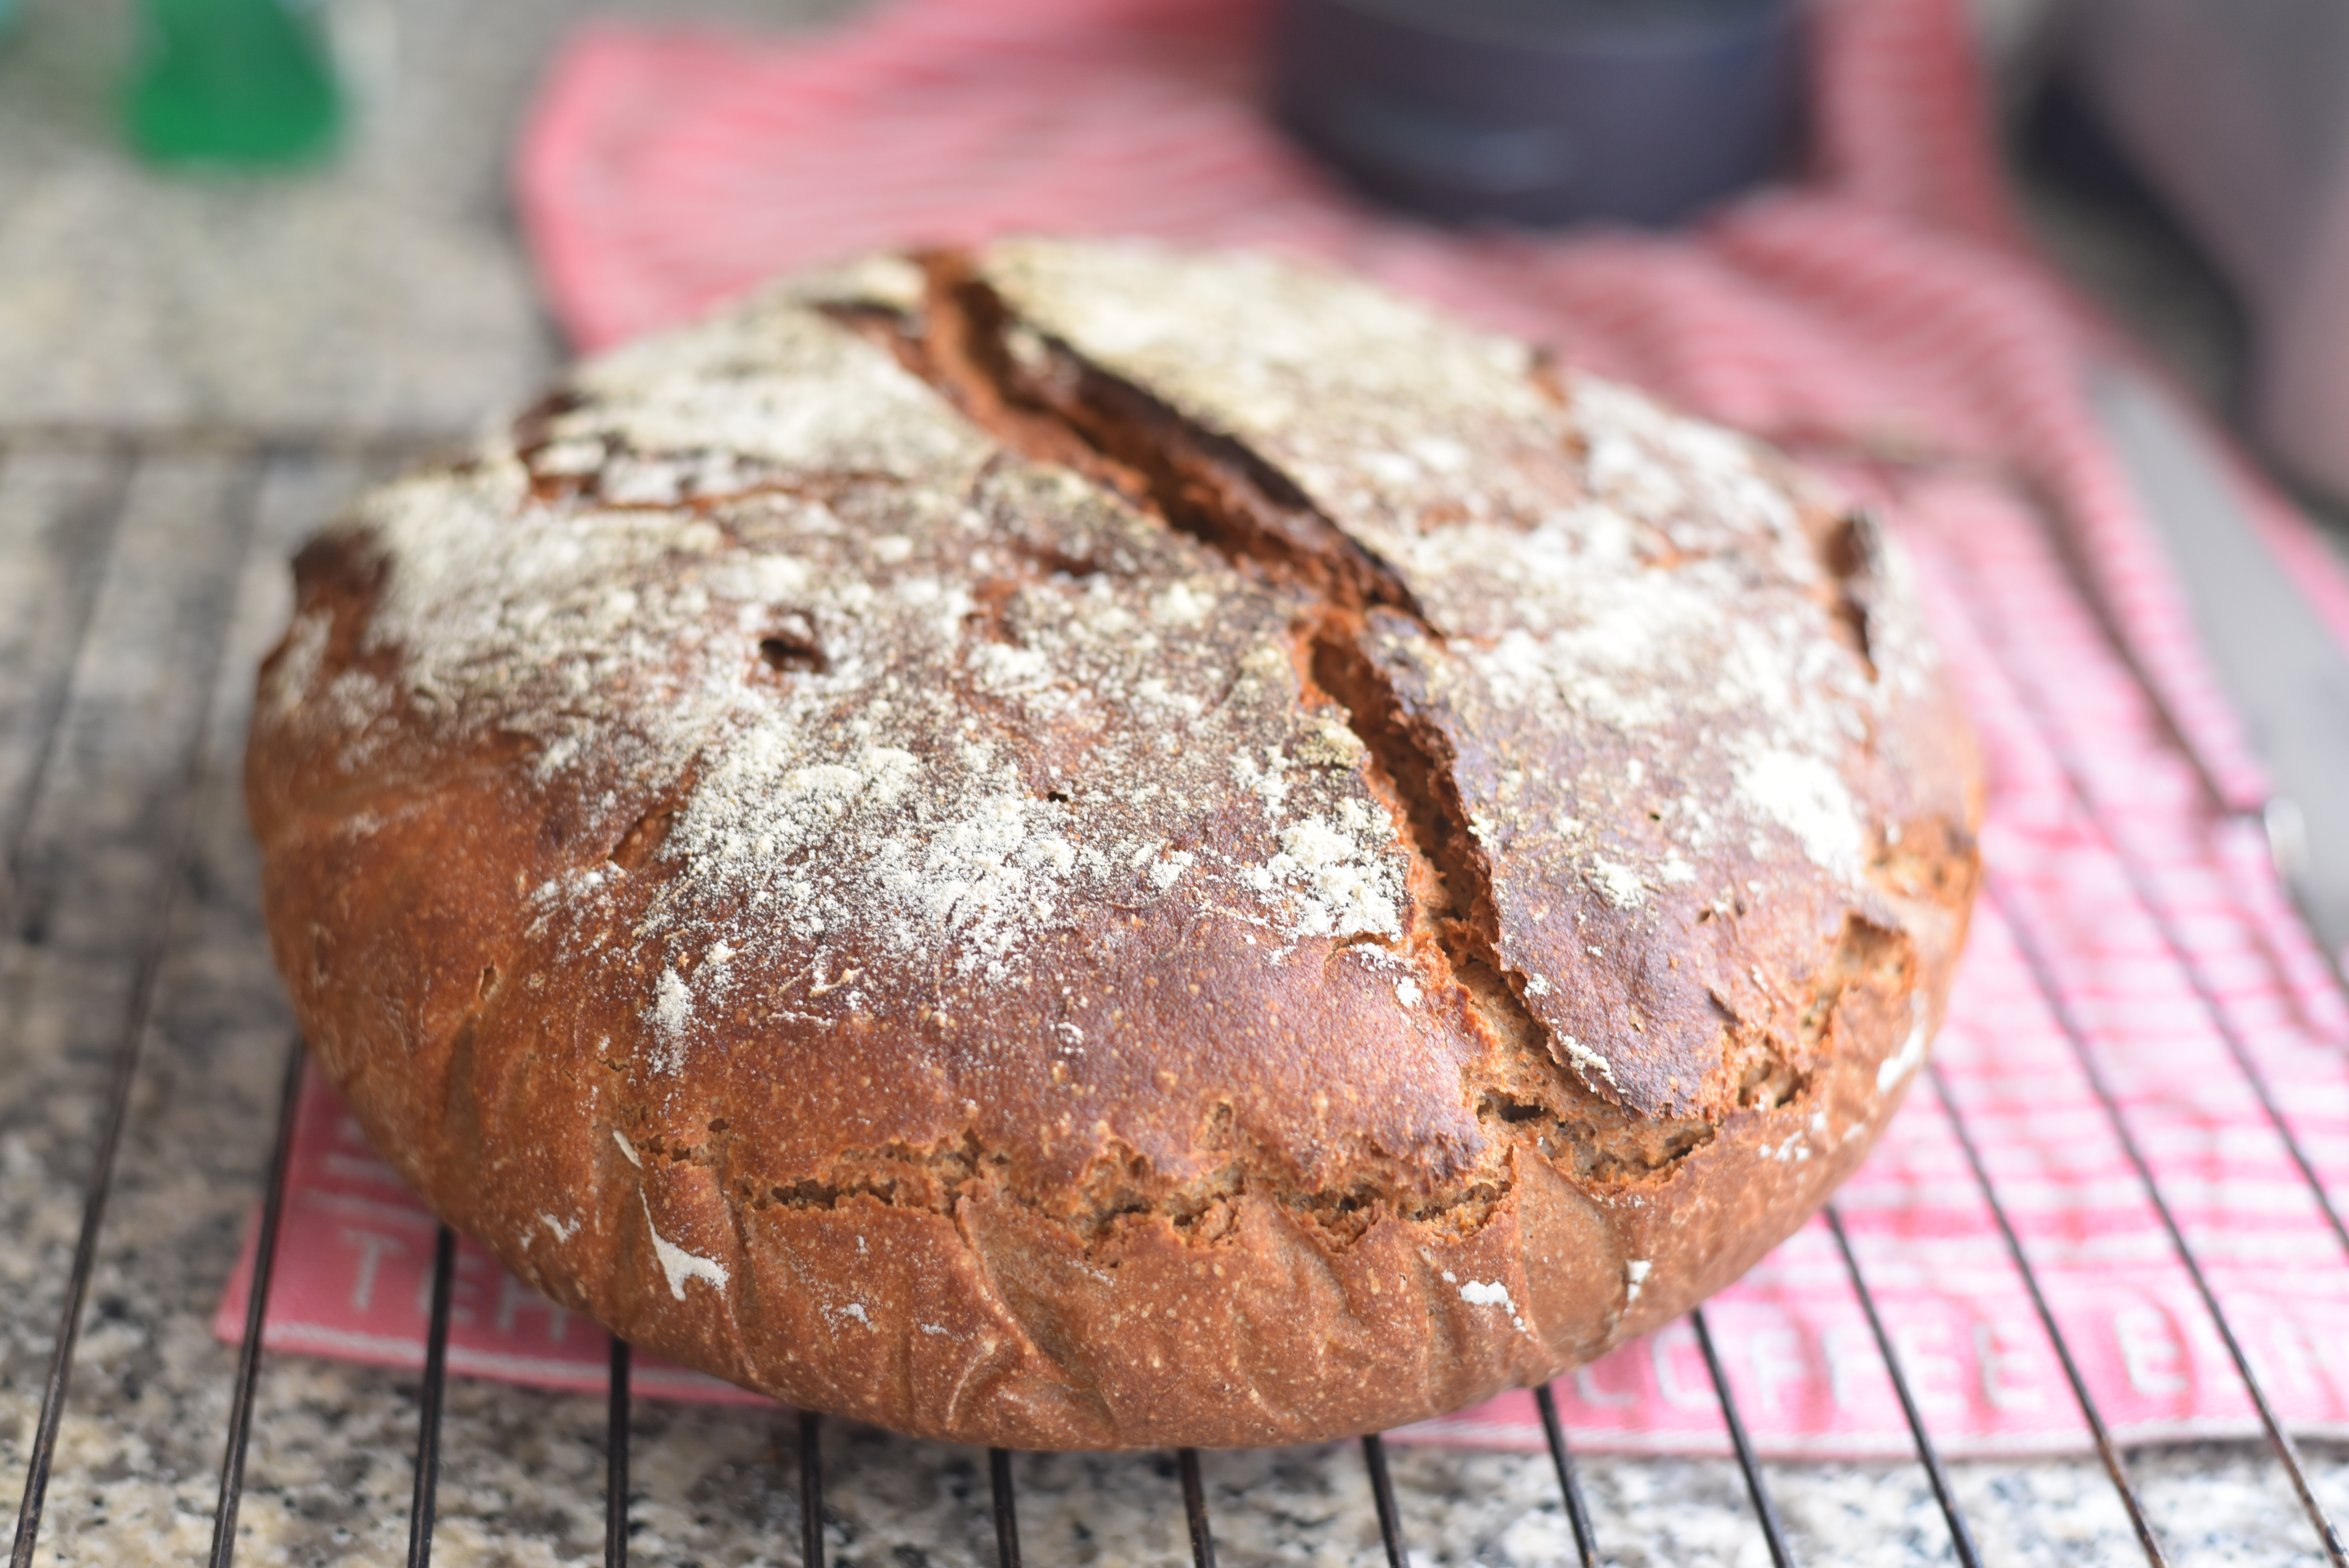
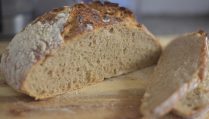
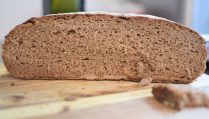
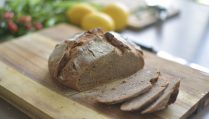
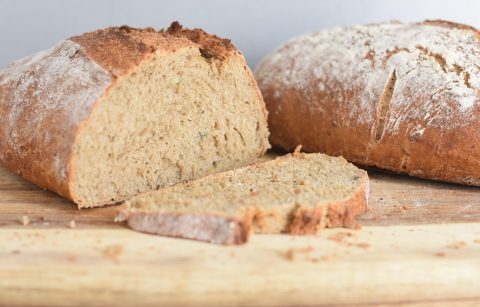
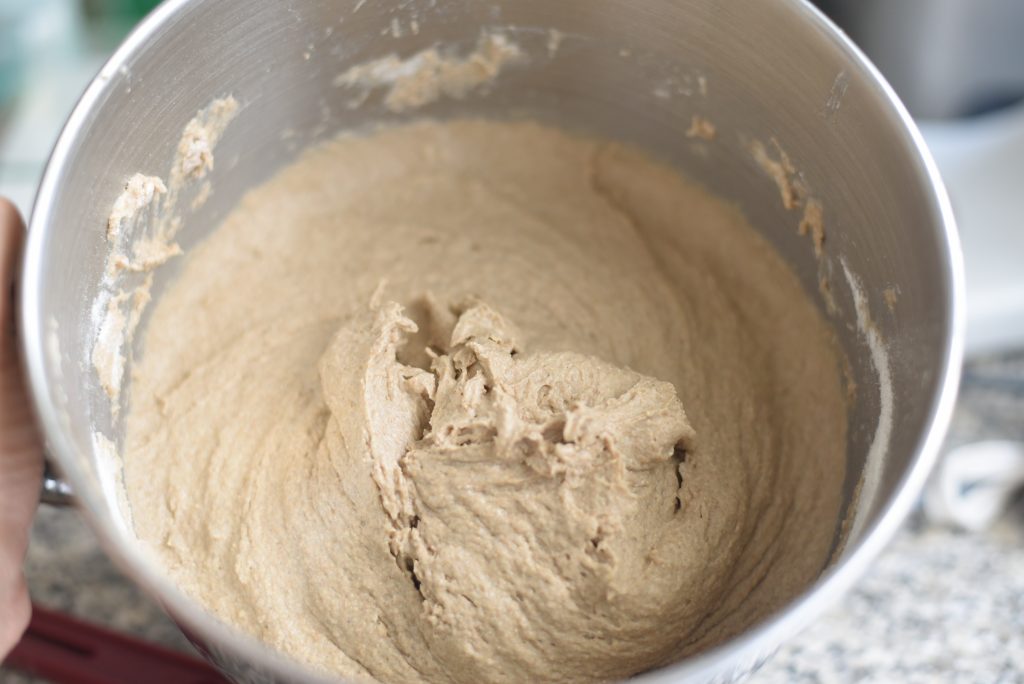
This bread is the real deal, if performed with a healthy sourdough the bread will feel like a rustic village bakery had made it.
In order to achieve optimal results, we need to give the bread minimal attention, the sourdough will do the rest. The dough is hard to control so every shaping will involve another flour addition, so just leave it alone and you’ll see that the natural yeast will start to kick in.
From this reason, I prefer baking the bread as one loaf instead of dividing it into 2 parts, this will save me one shaping plus it will boost the bread volume (I usually divide the bread into two parts after baking).
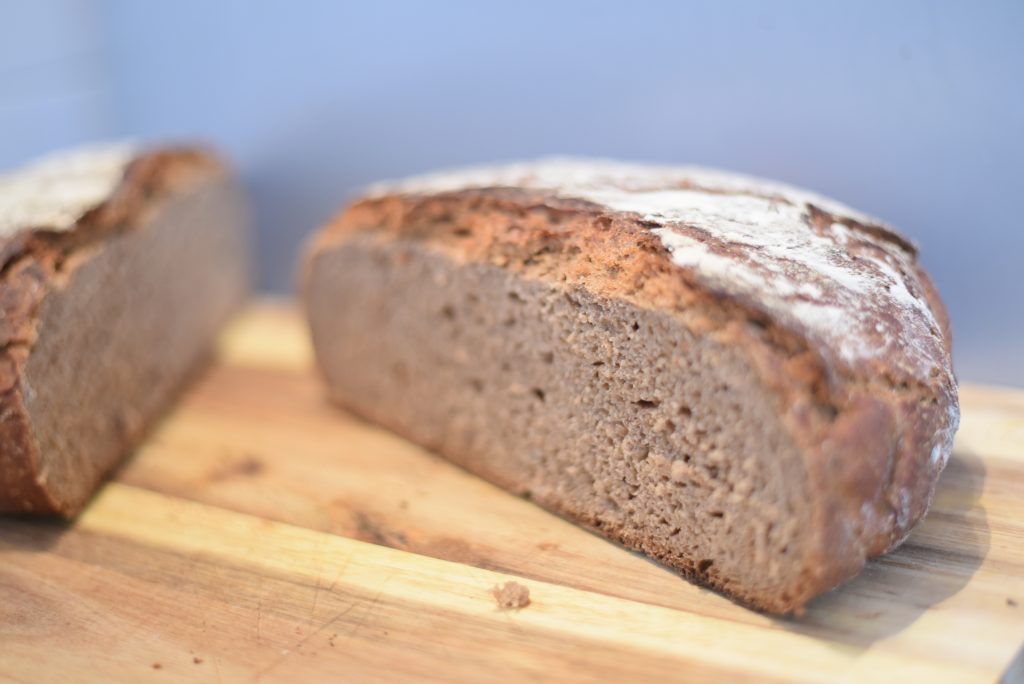
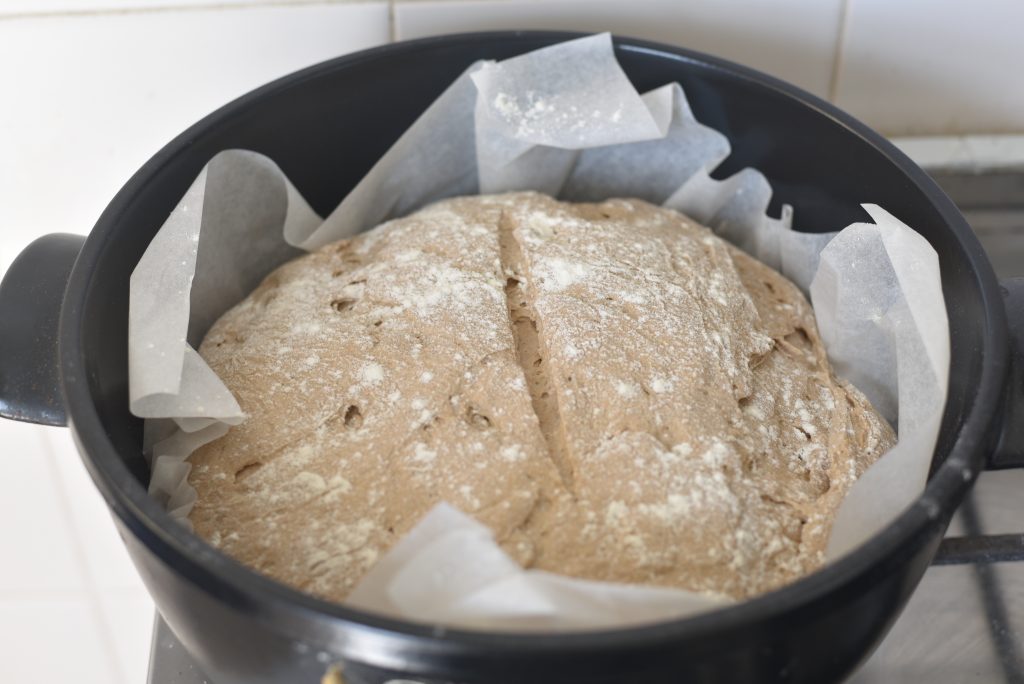
This bread will not hold its shape by itself, it needs support, best way in doing so is proofing and baking it in Dutch oven for about 30 minutes and another 30 minutes of baking are performed on a regular baking pan.
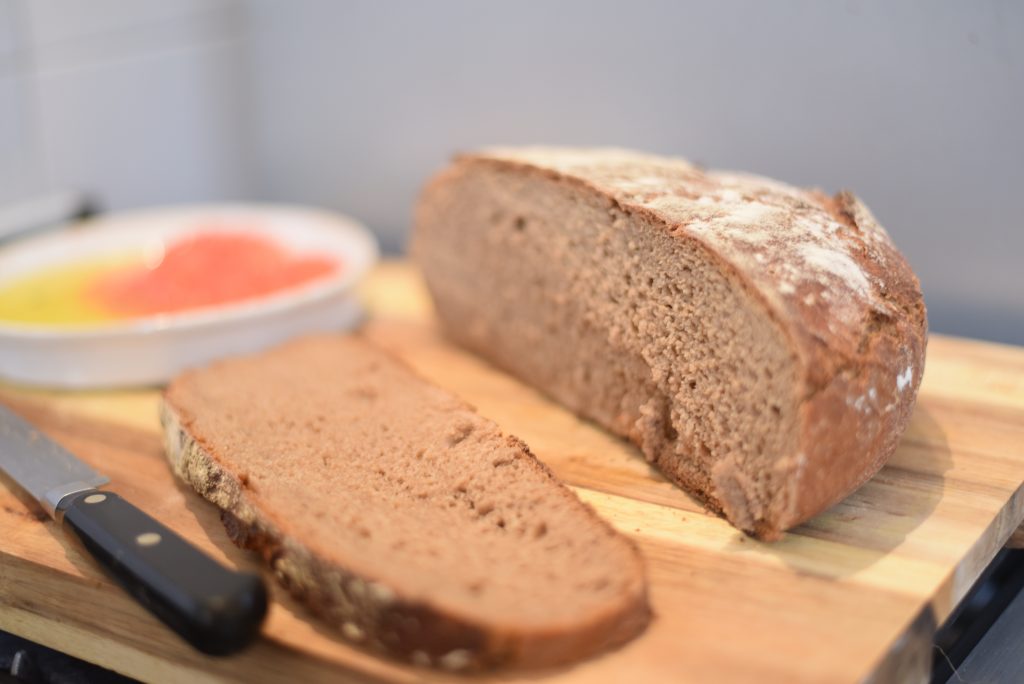
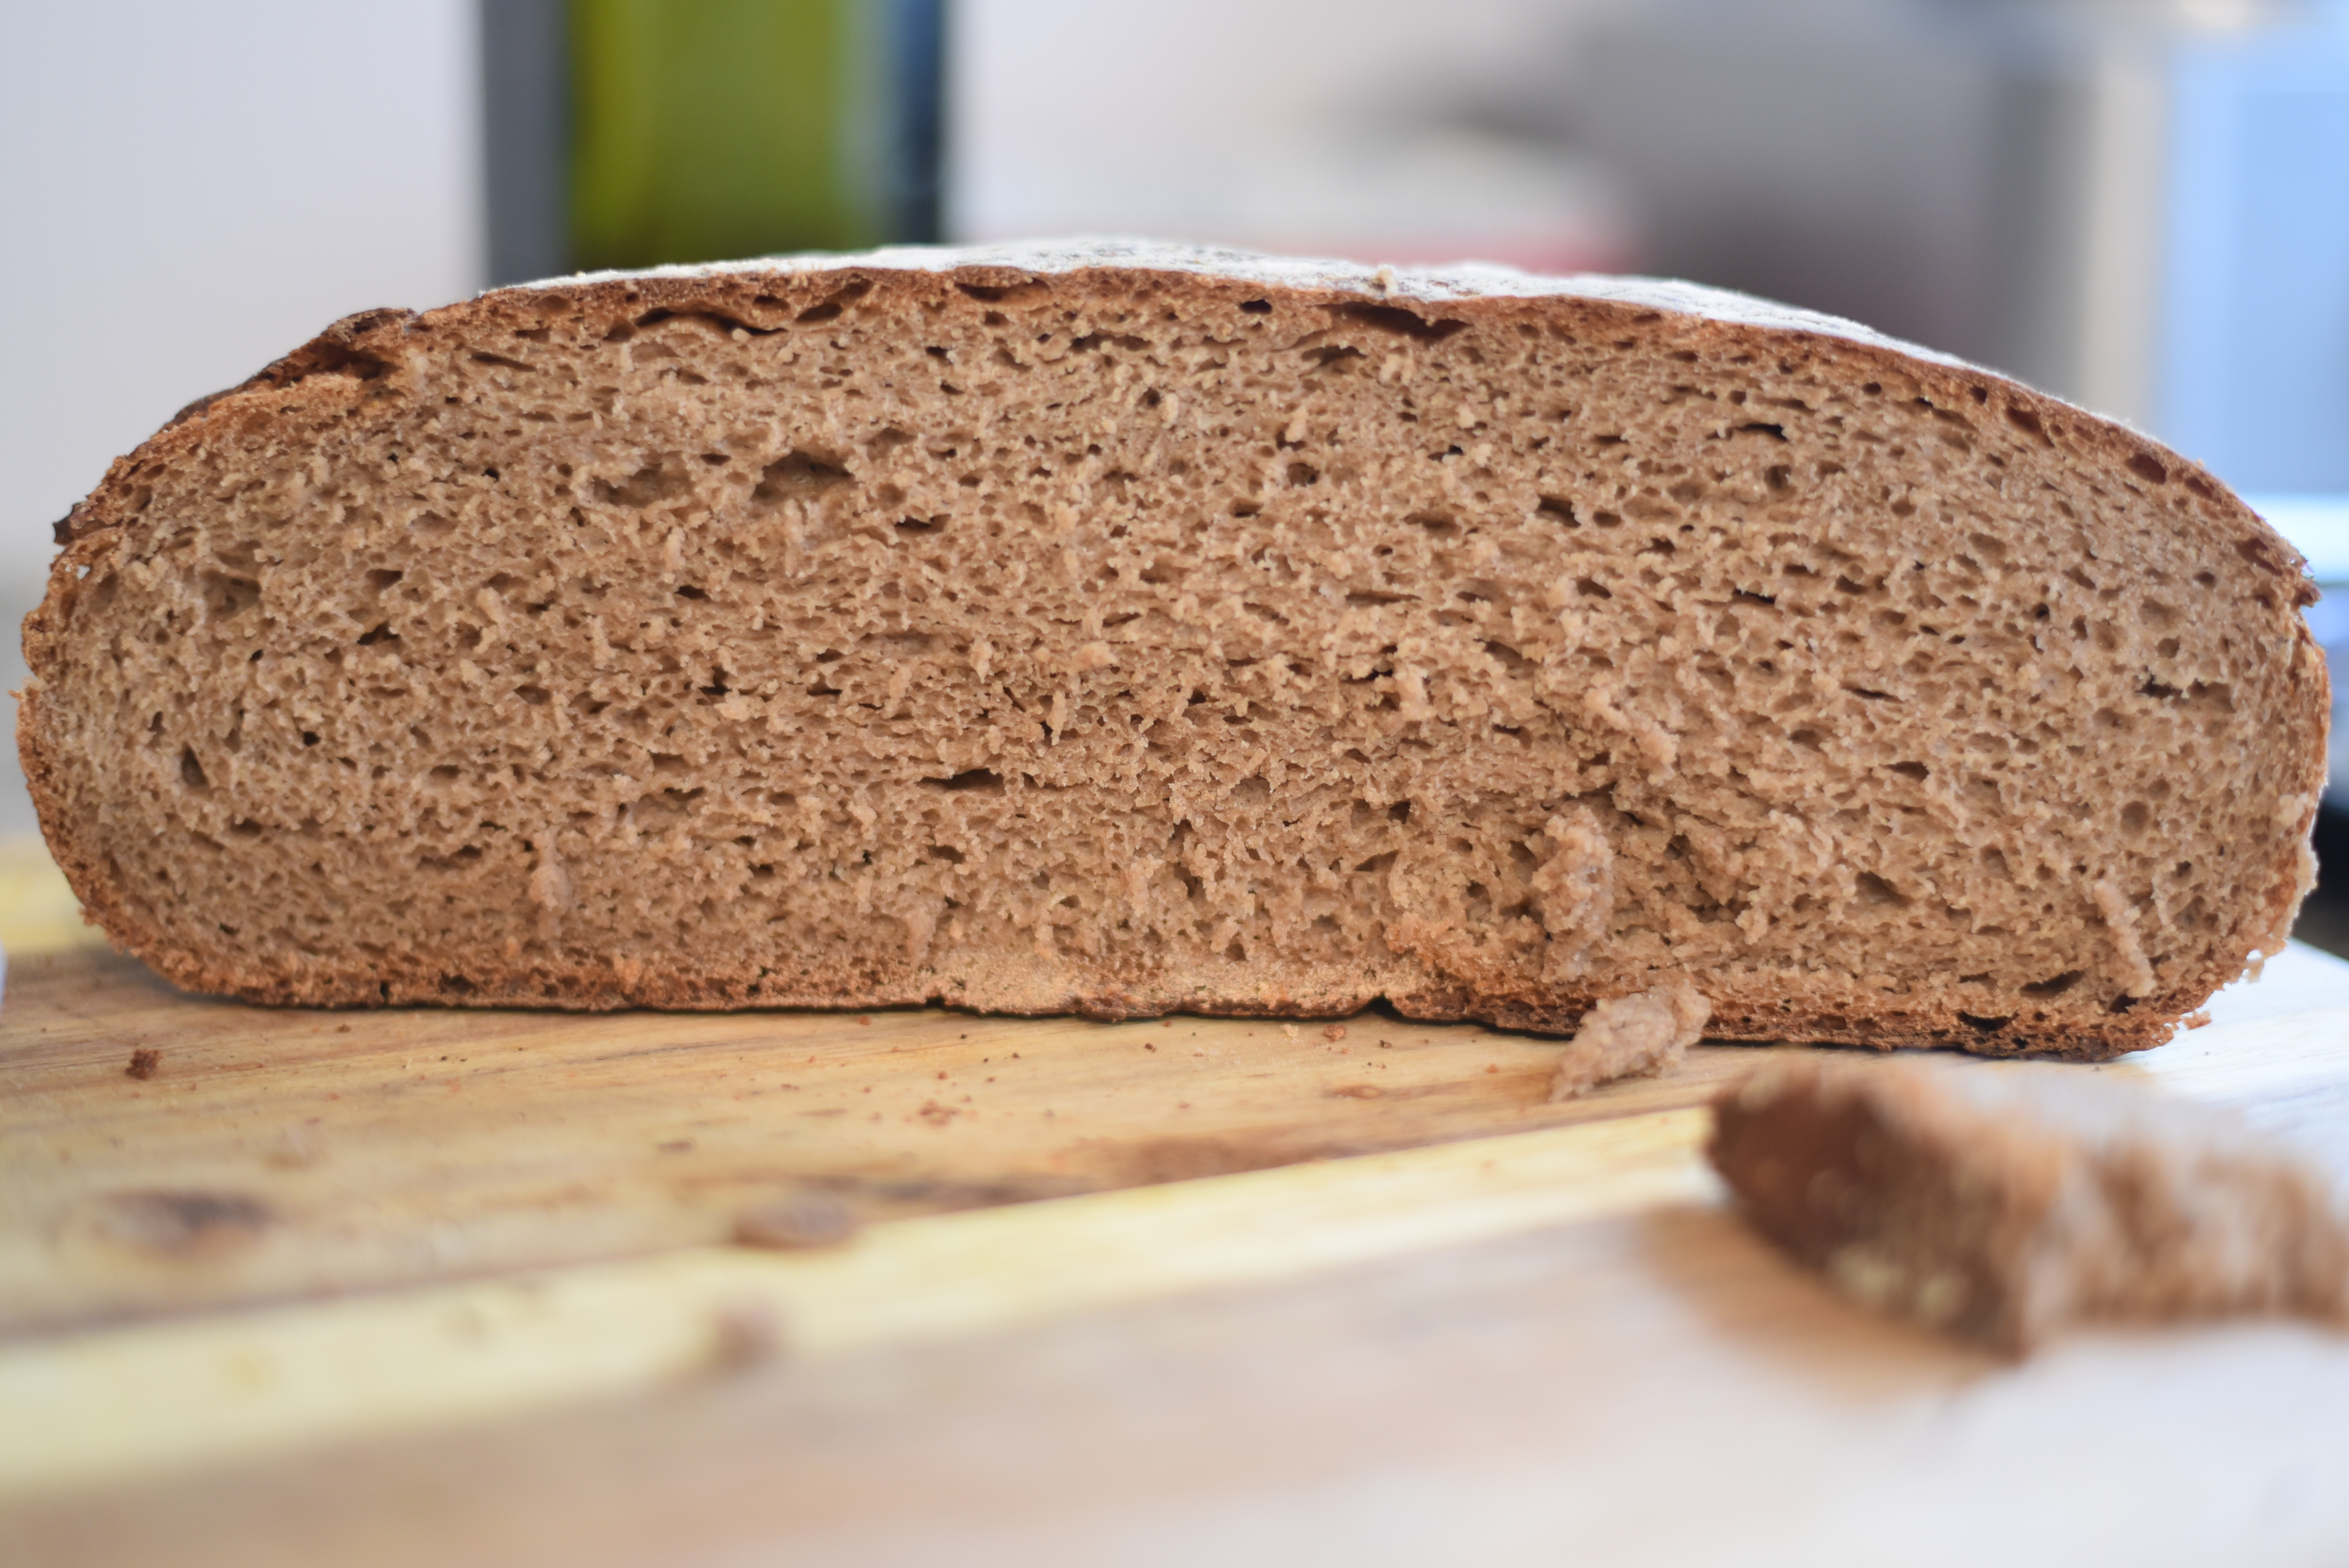
One of the great advantages of the 3 stage feeding is that the bread is packed with microorganisms and it helps to keep the bread live and vibrant even after 2 weeks of storage, in fact I actually prefer the bread a few days old where the flavor is mature and deep.
Ingredients
Instructions
Let the culture ripen for about 6 hours.
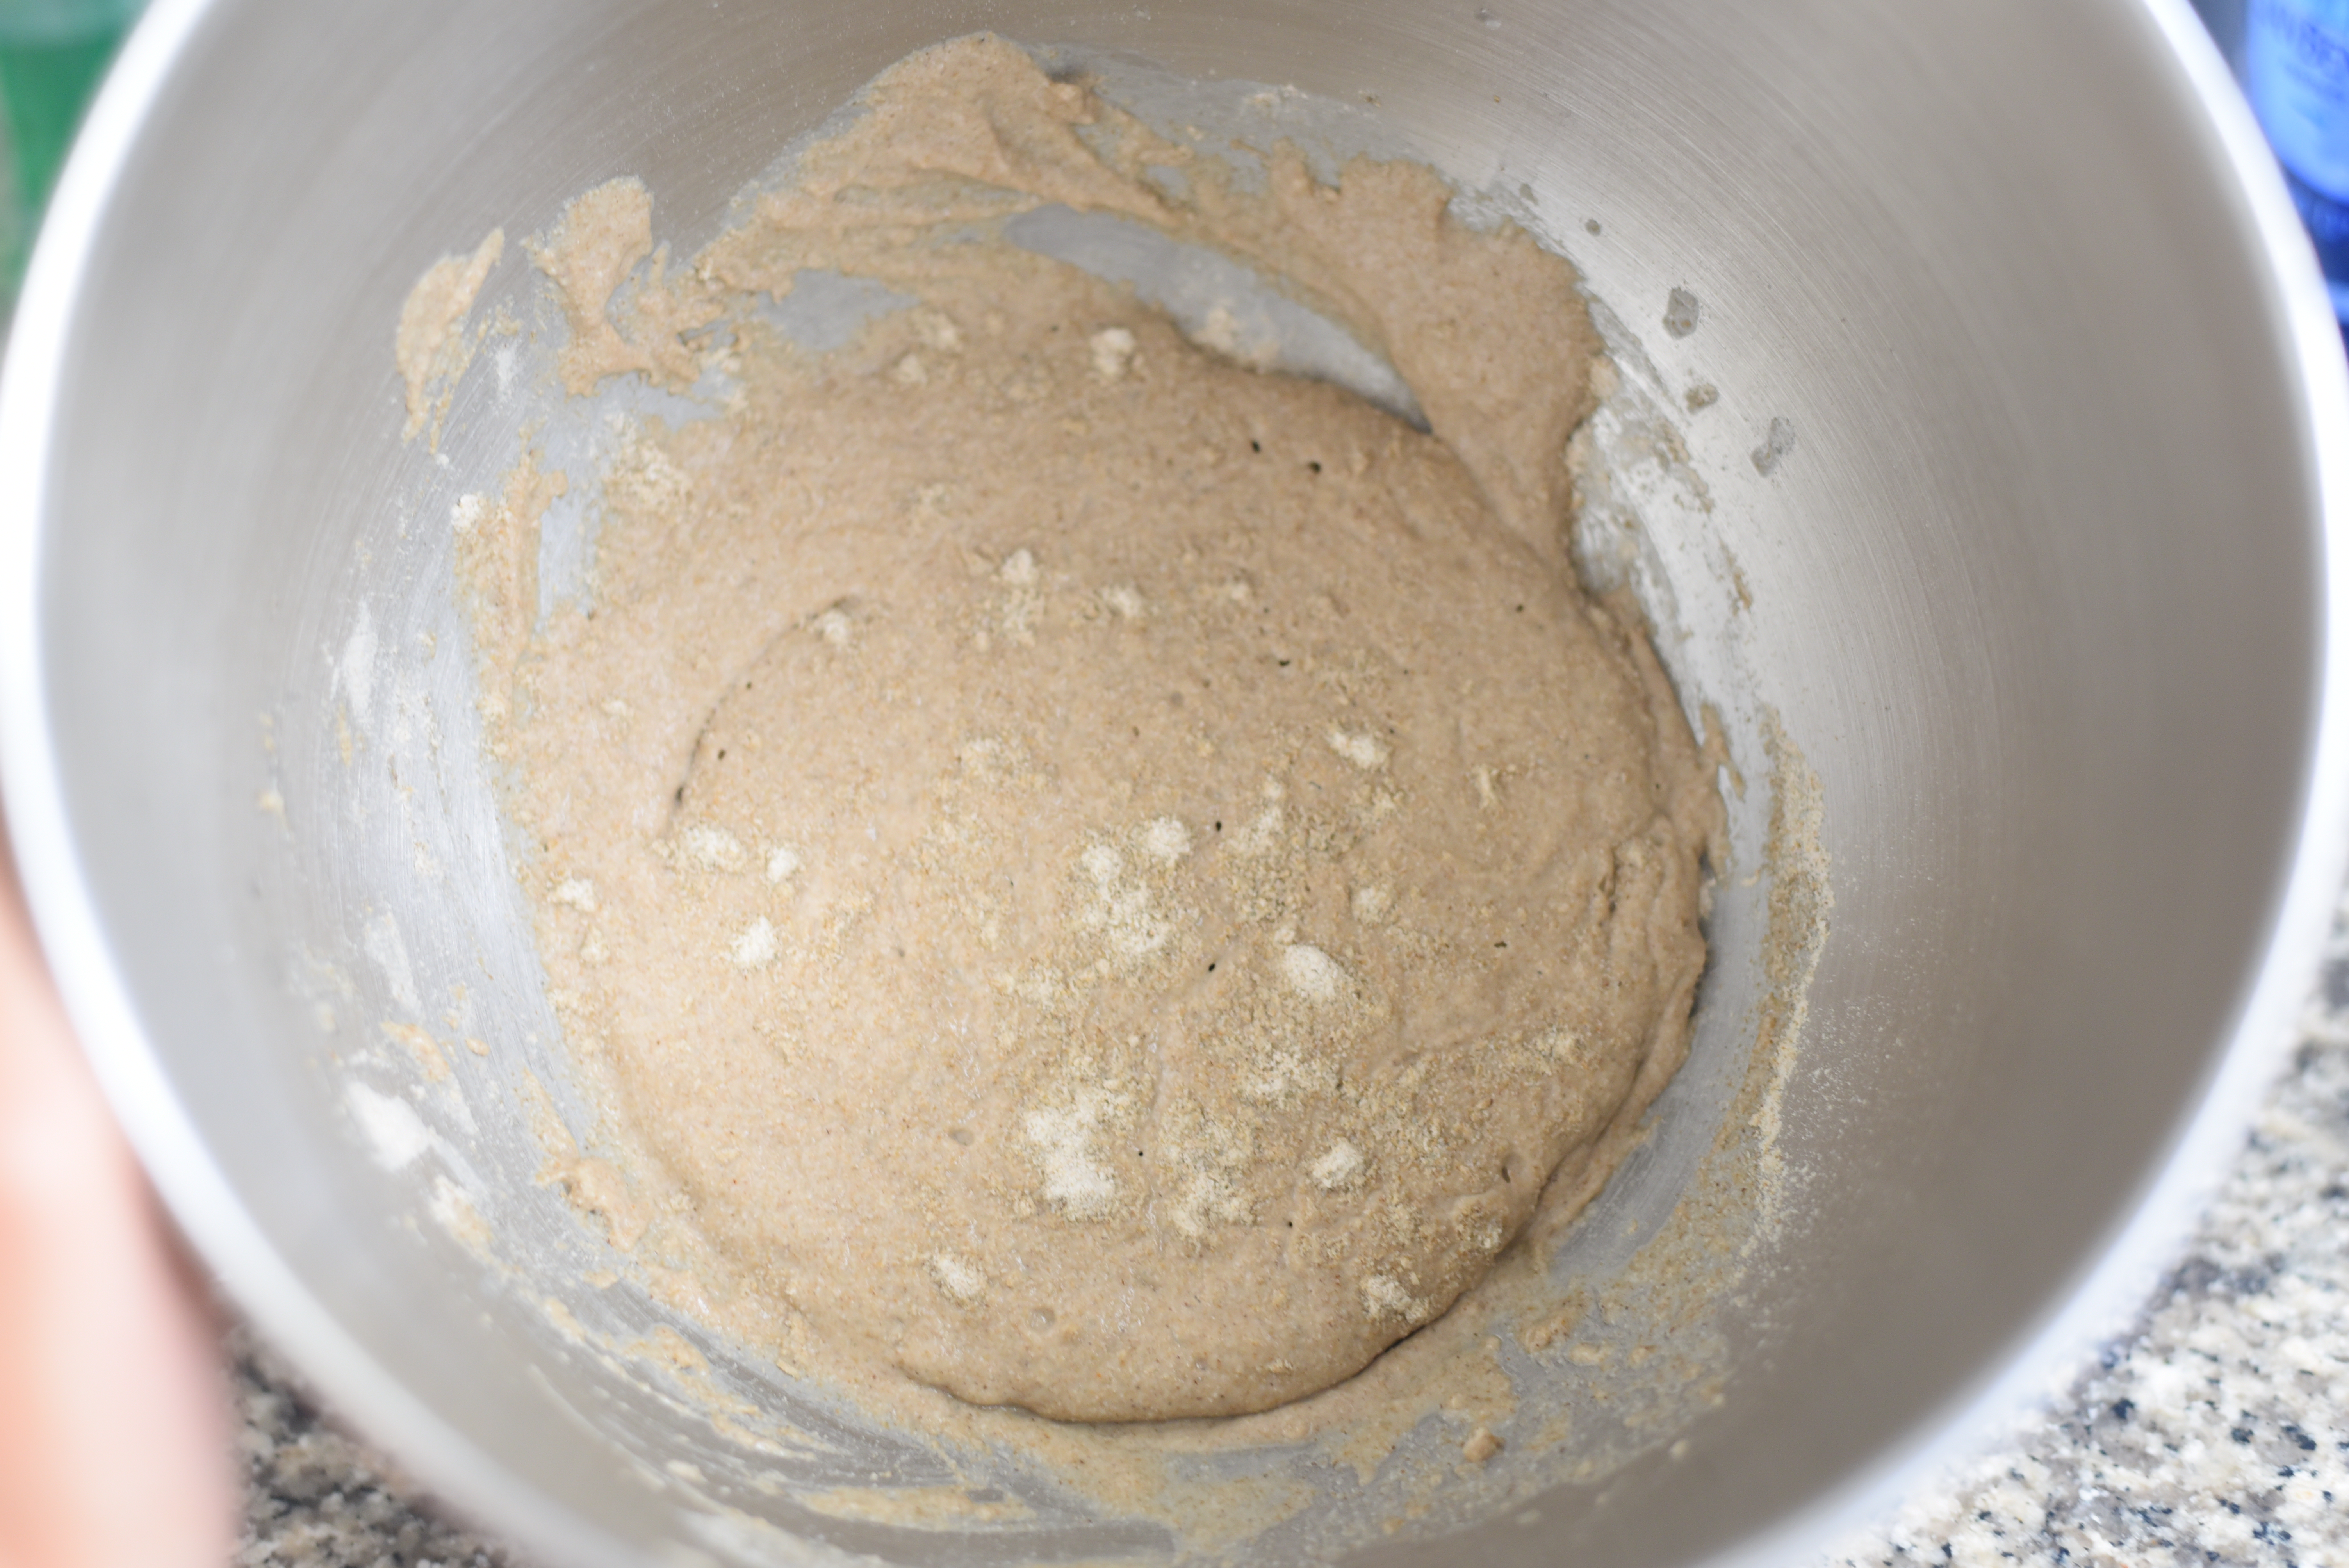
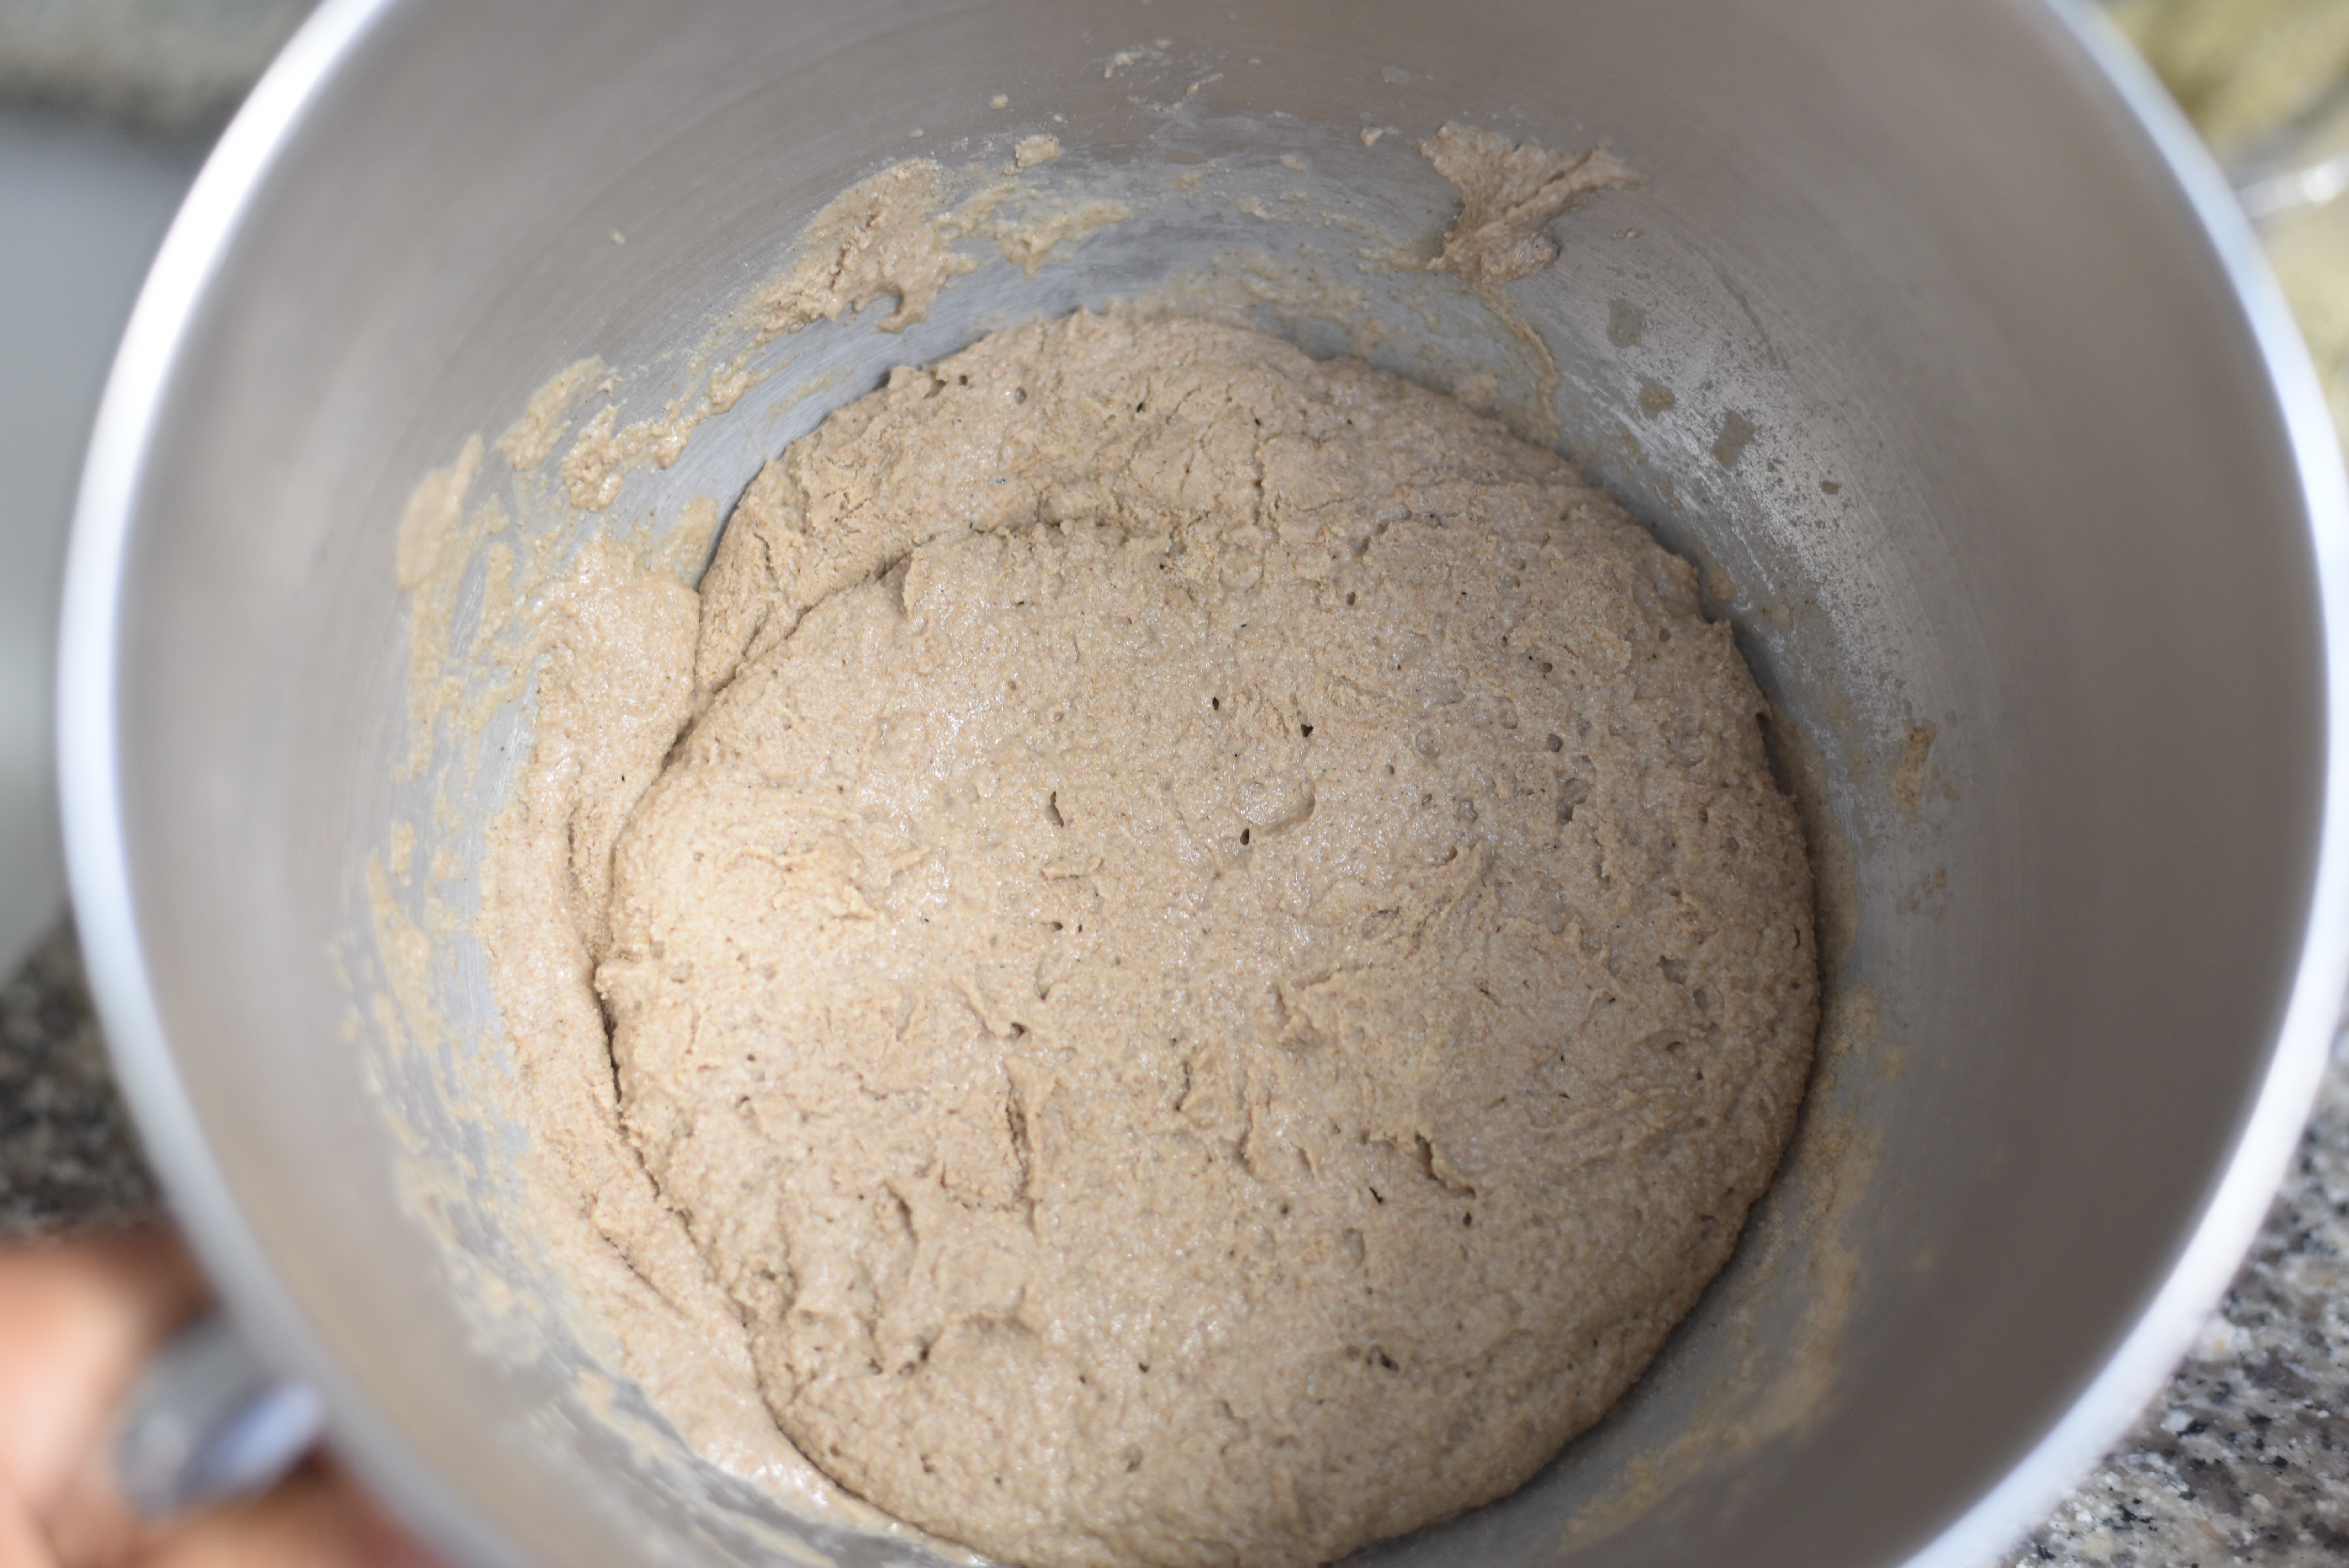
This addition should give the dough a bit more looseness.
Ripen for about 4 hours.
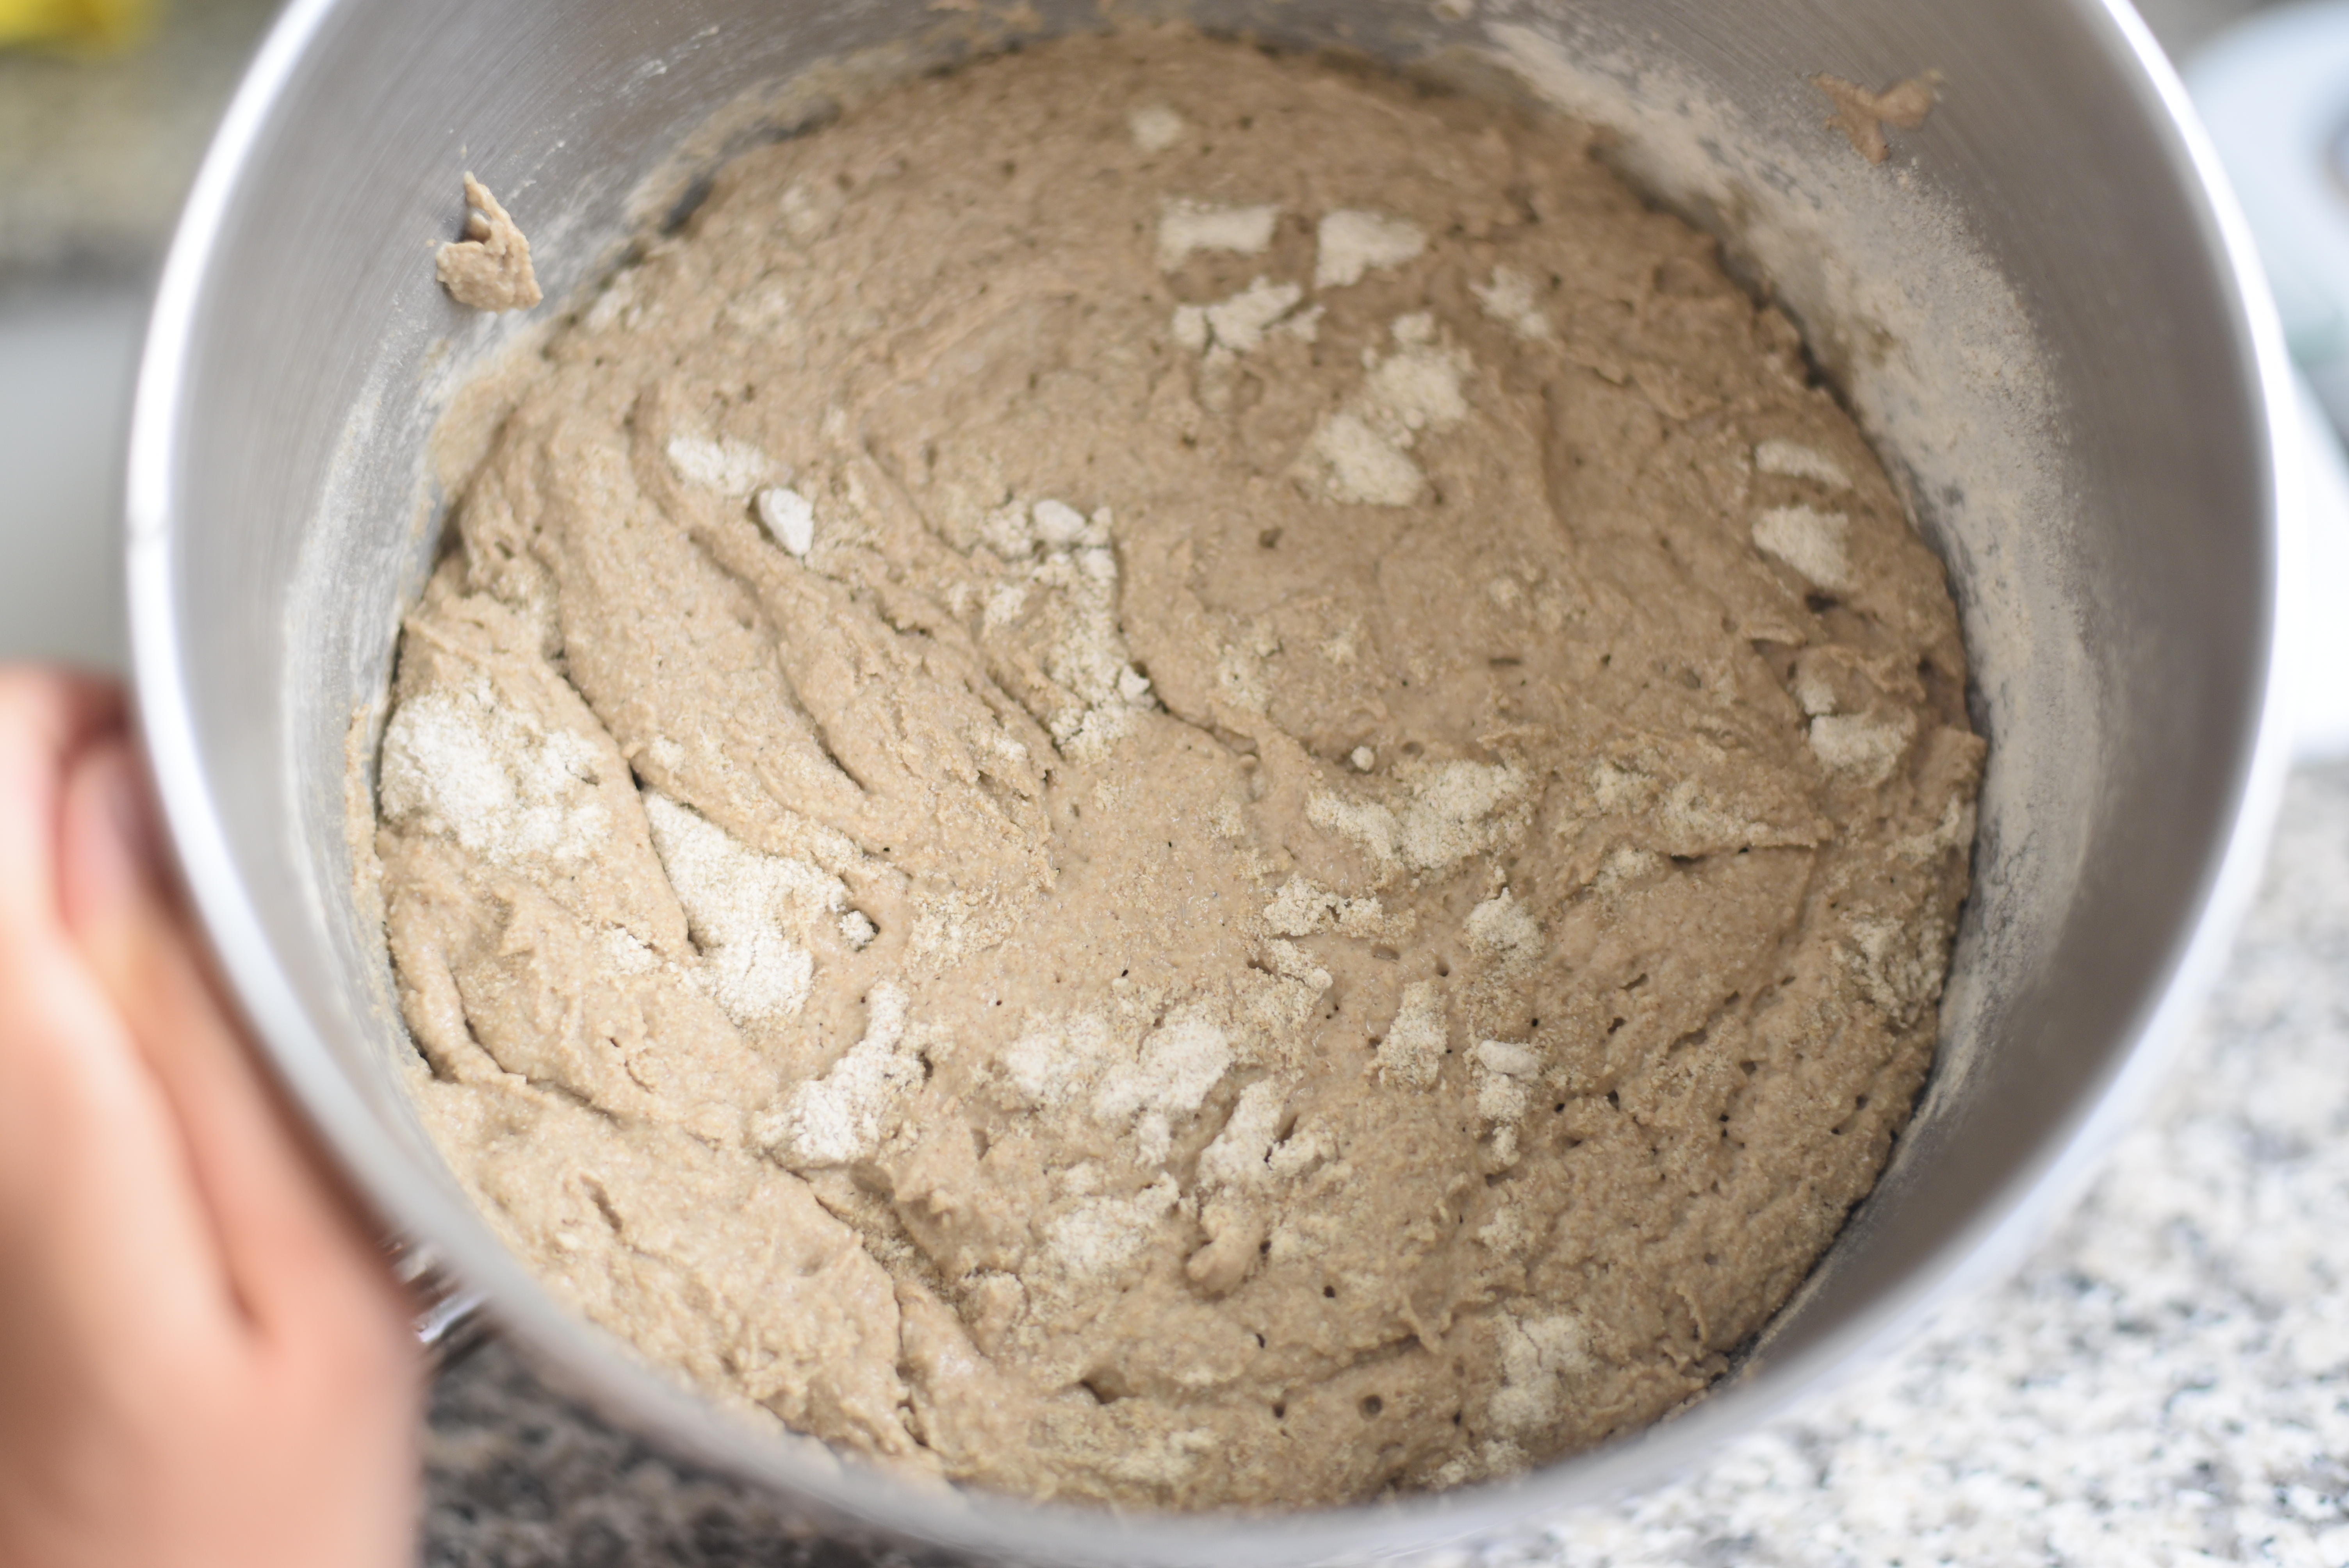
Mix on low speed for 4 minutes and another 3 minutes on medium speed.
Cover the bowl and proof for 30 minutes.
Place parchment paper in a Dutch oven and gently lay the bread in it.
Cover and prof for 1-2 hours.
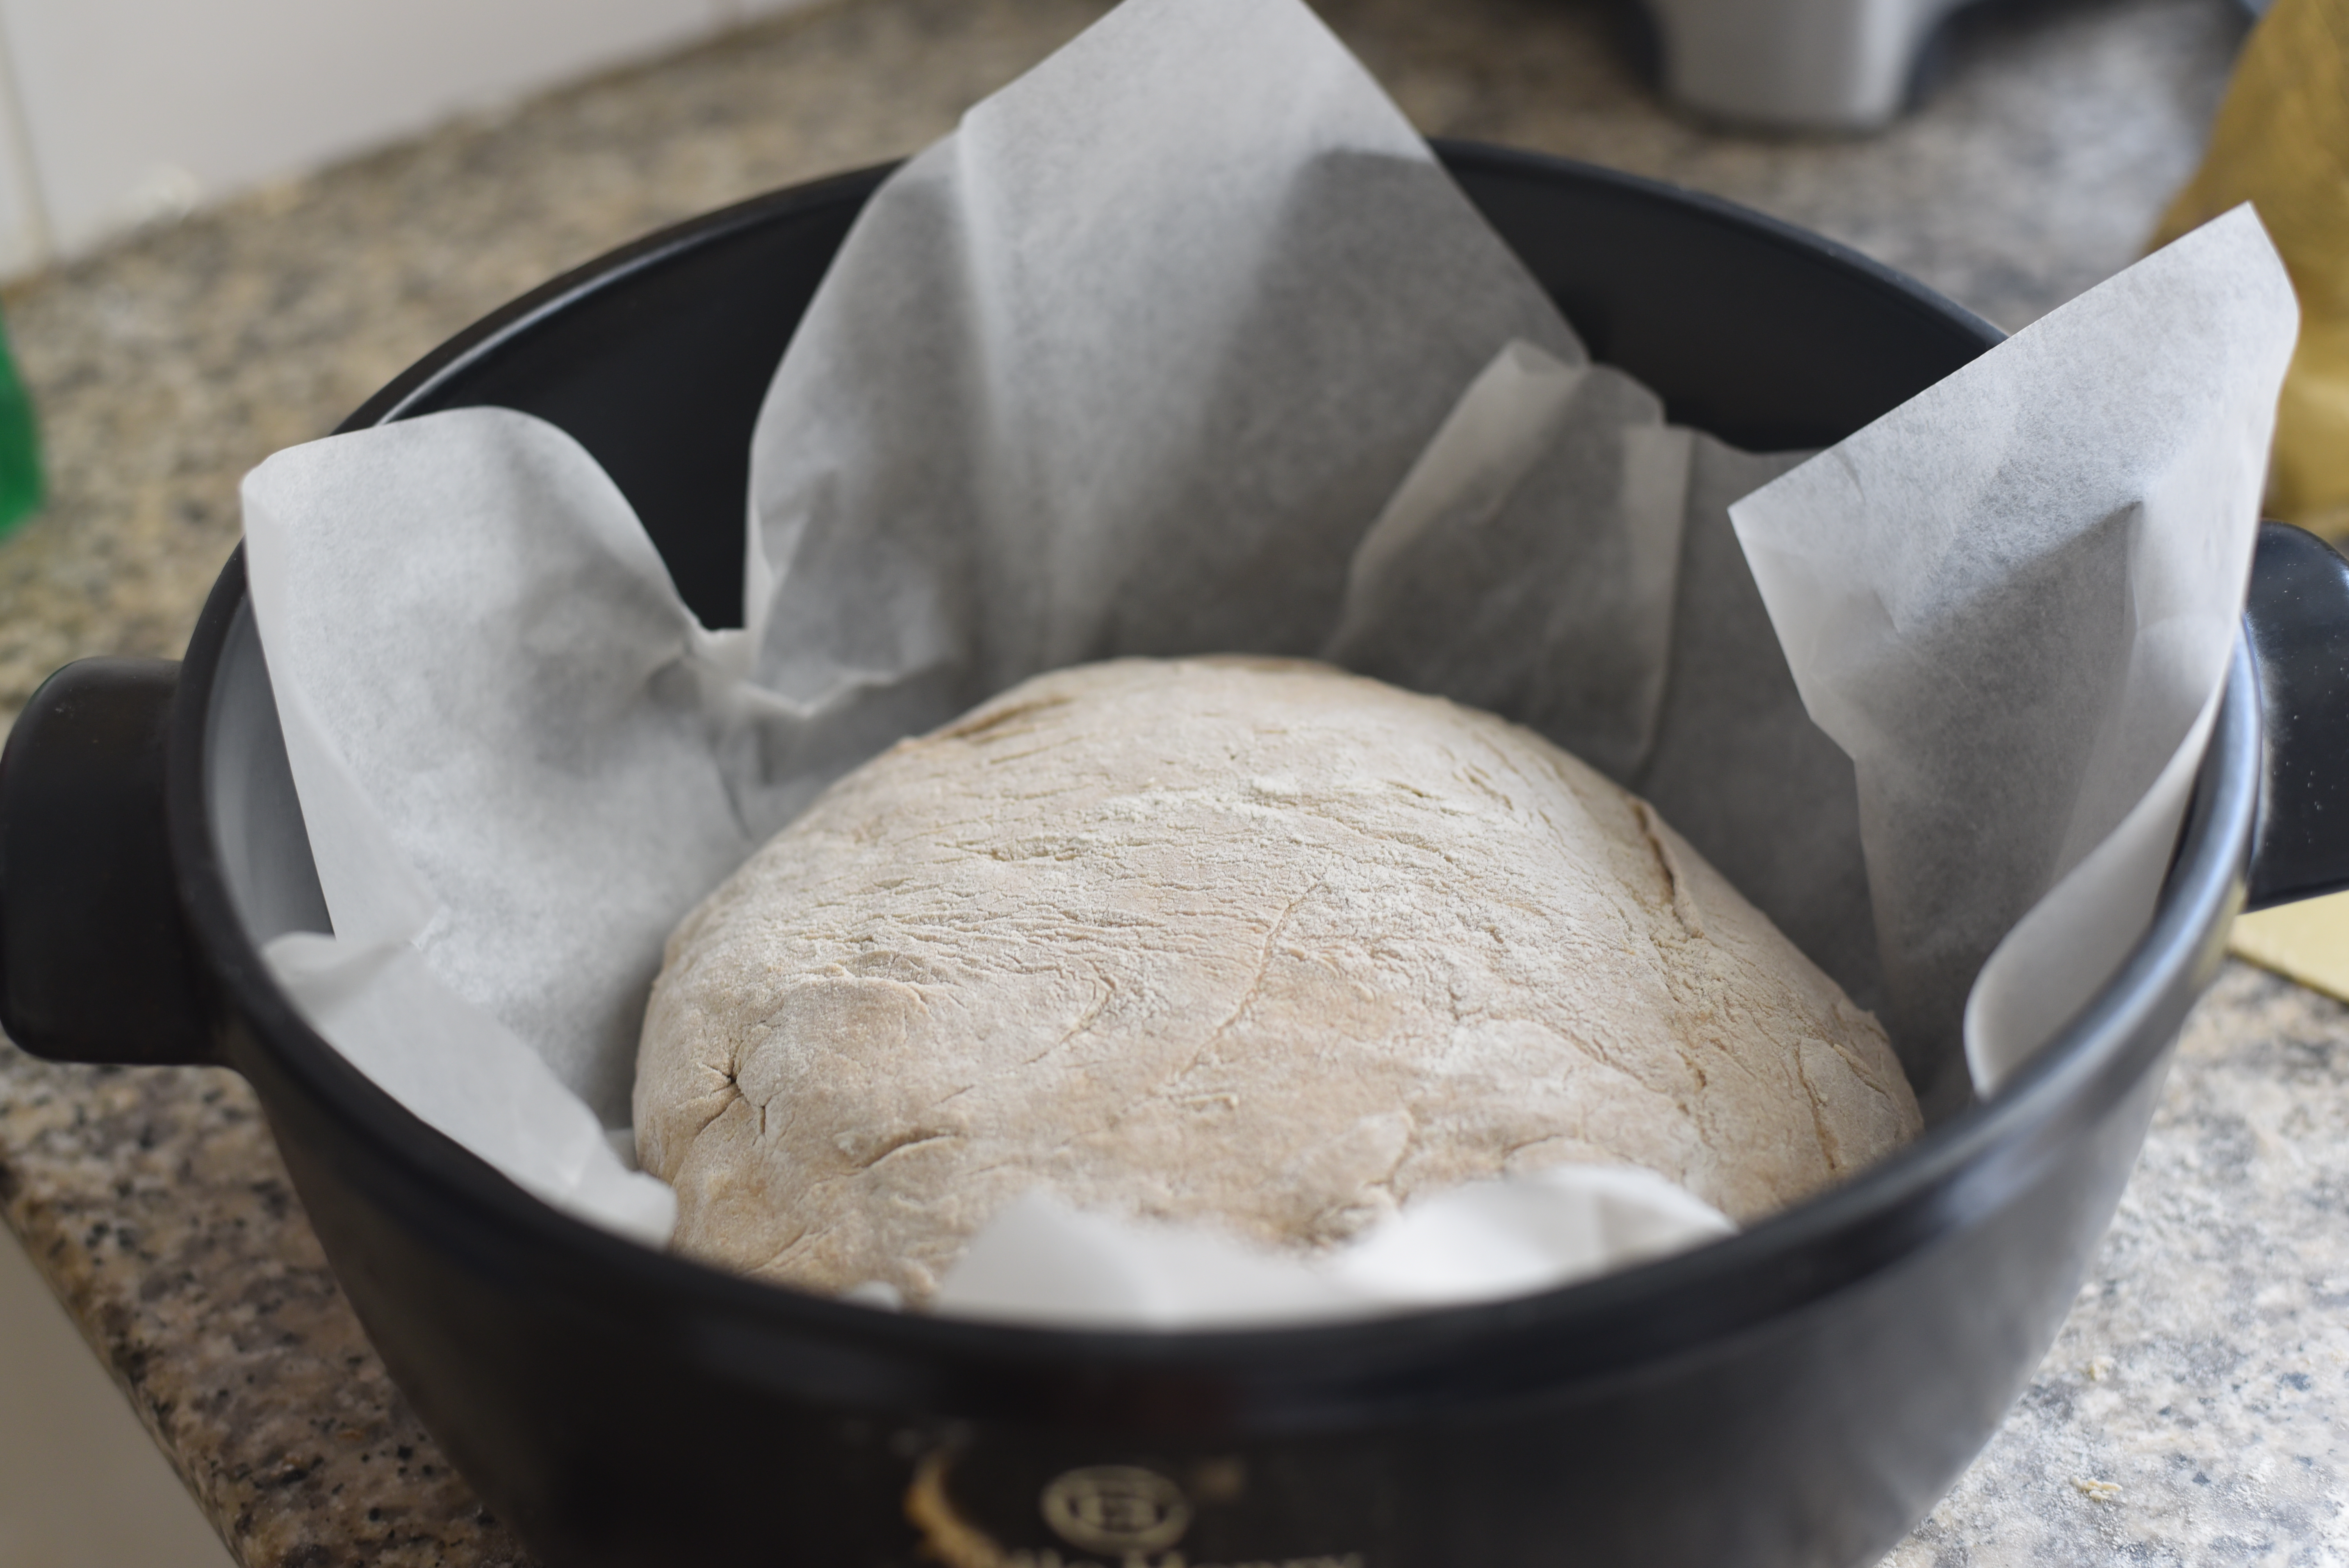
Score the breads with a dough docker 10 minutes before end of proofing time.
Throw some ice cubes into the oven to create steam and insert the Dutch oven (with the lid) into the lower rack. Bake for 10 minutes, afterwards lower the temperature to 200°c/410°F, remove the lid and bake another 20 minutes.
With caution, take the bread out of the Dutch oven and place on a baking pan for another 30-35 minutes.
