Opera cake (gâteau opéra)
This is not a spontaneous cake to make, if you’re stressed in time, don’t make it, it will be a nightmare, there are quite a few elements that will deem your full concentration, if you’ll try to make it fast with a time frame you will have a disaster.
Opera cake – the basics
I will prepare the Opera cake recipe as adjusted from the famous pâtisserie house Dalloyau, there are a few variations out there but I think that the original cake is the best version so there is no need to tamper with this prefect recipe.
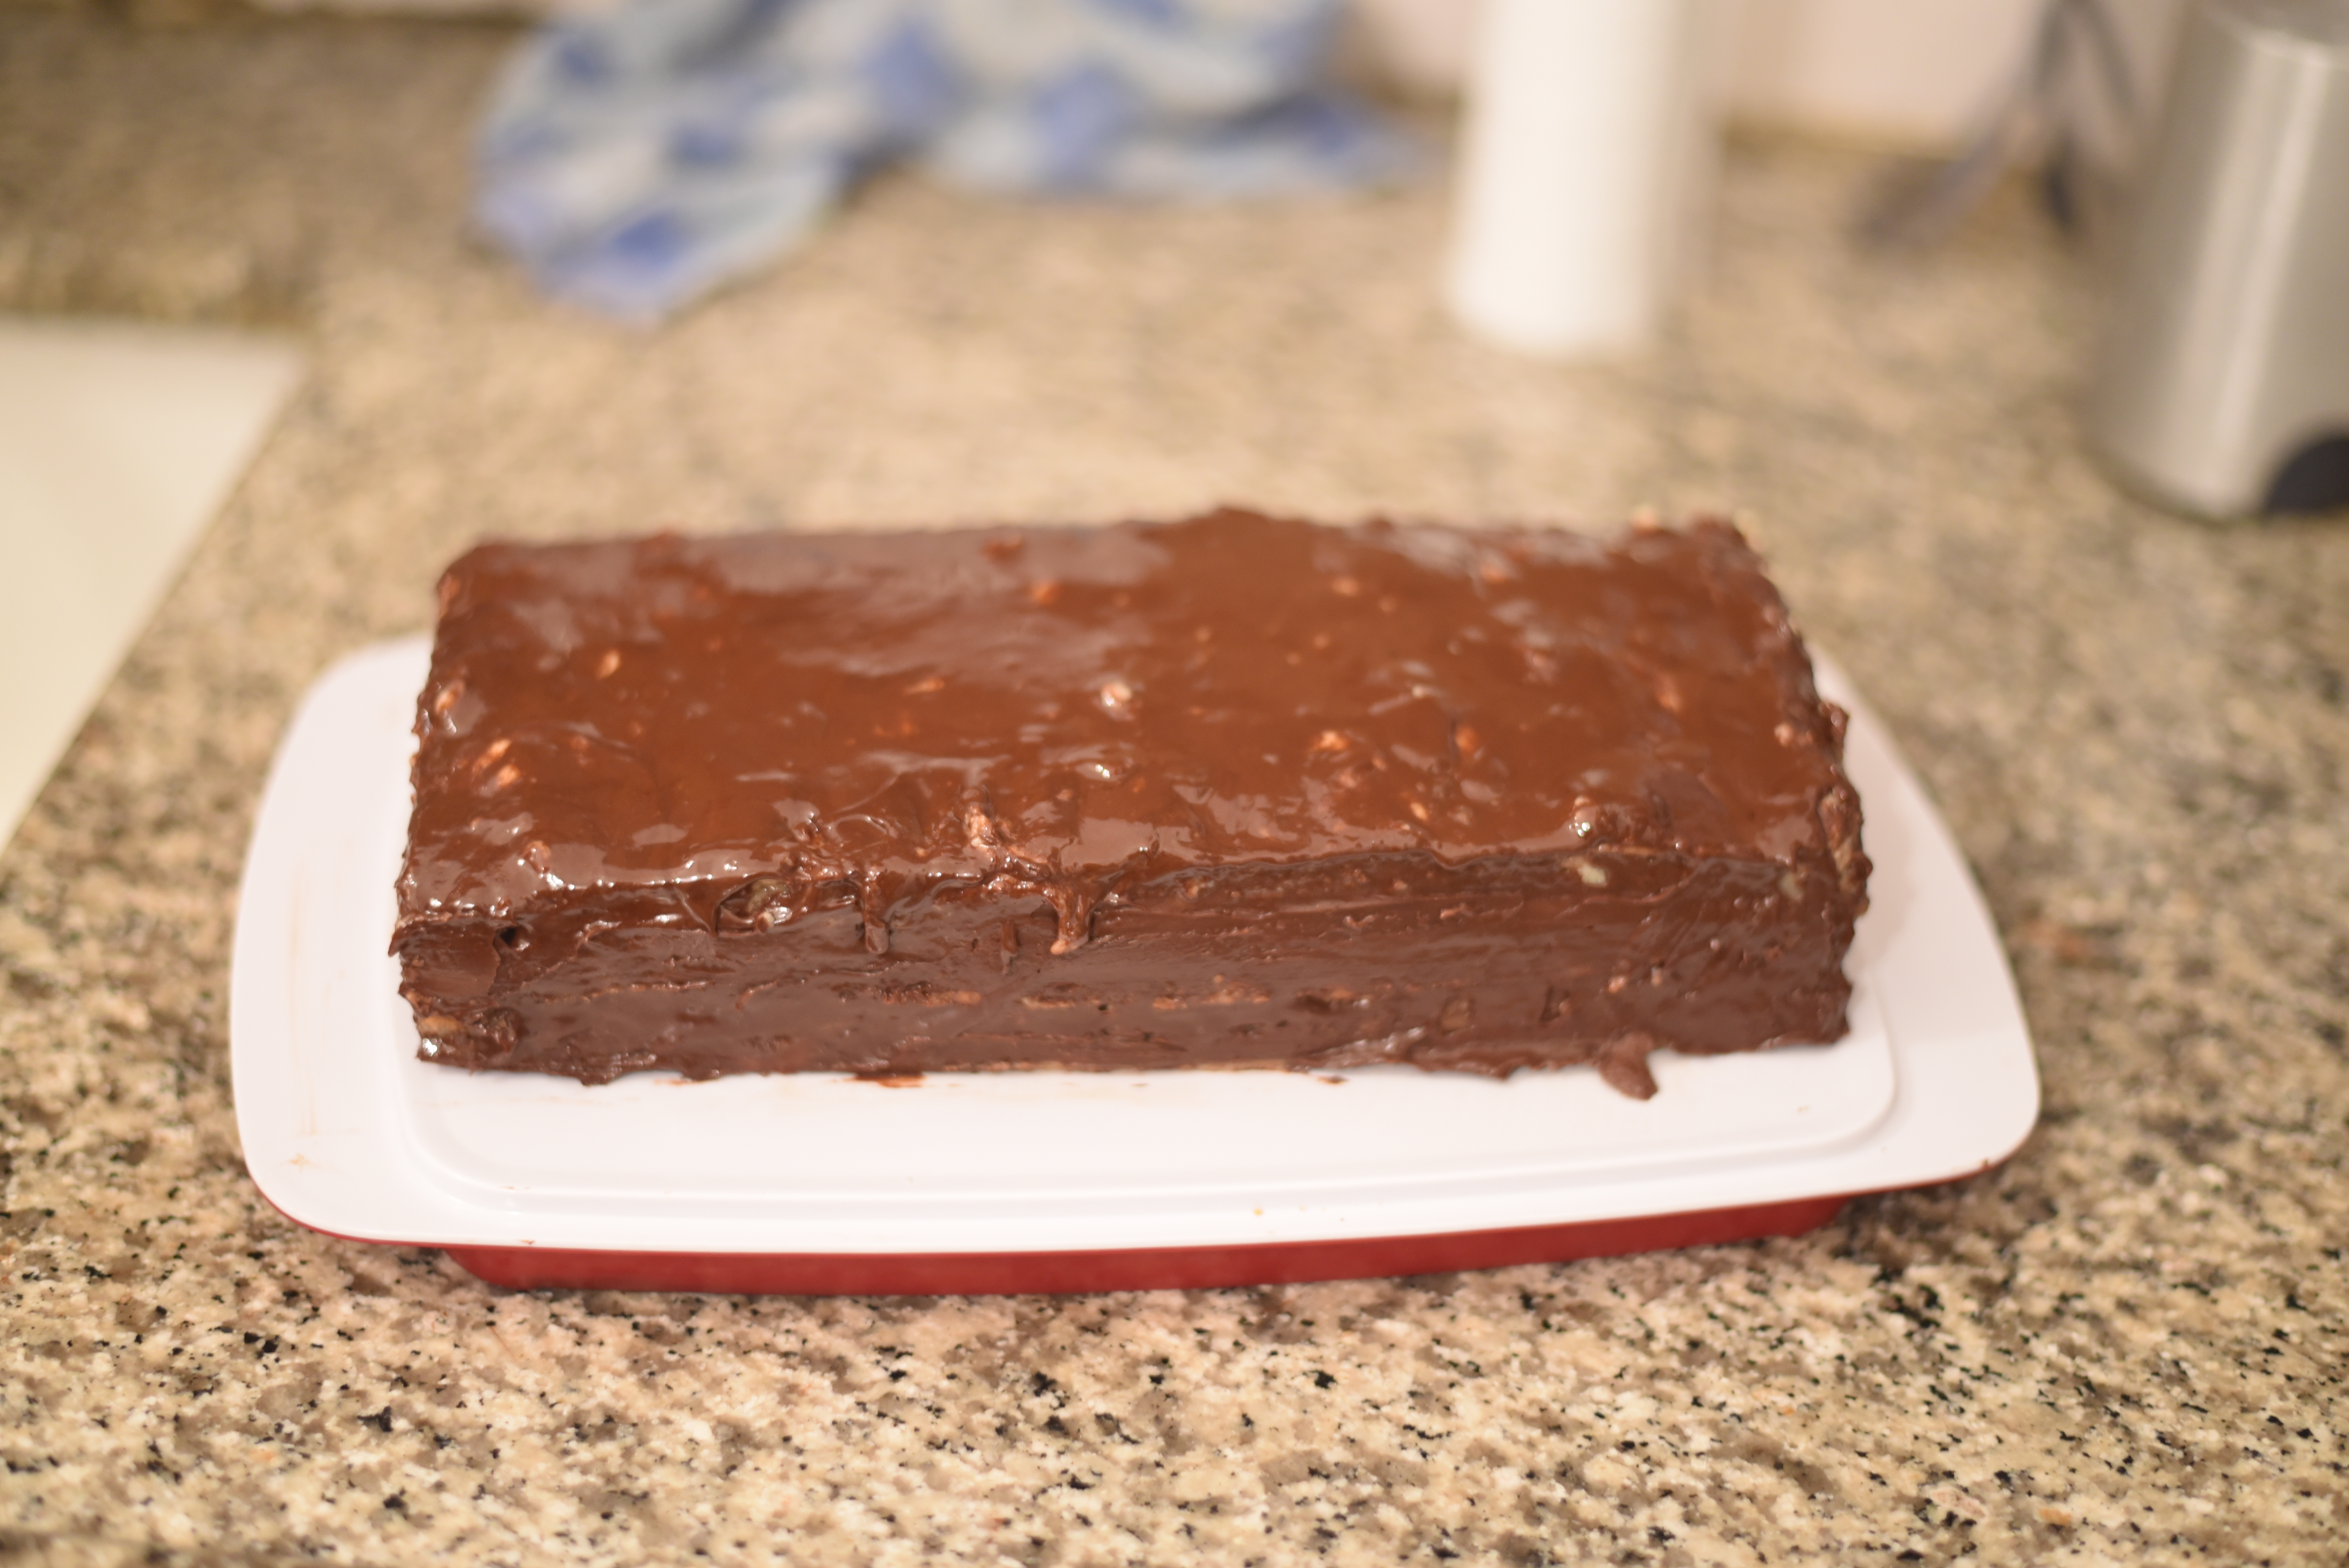
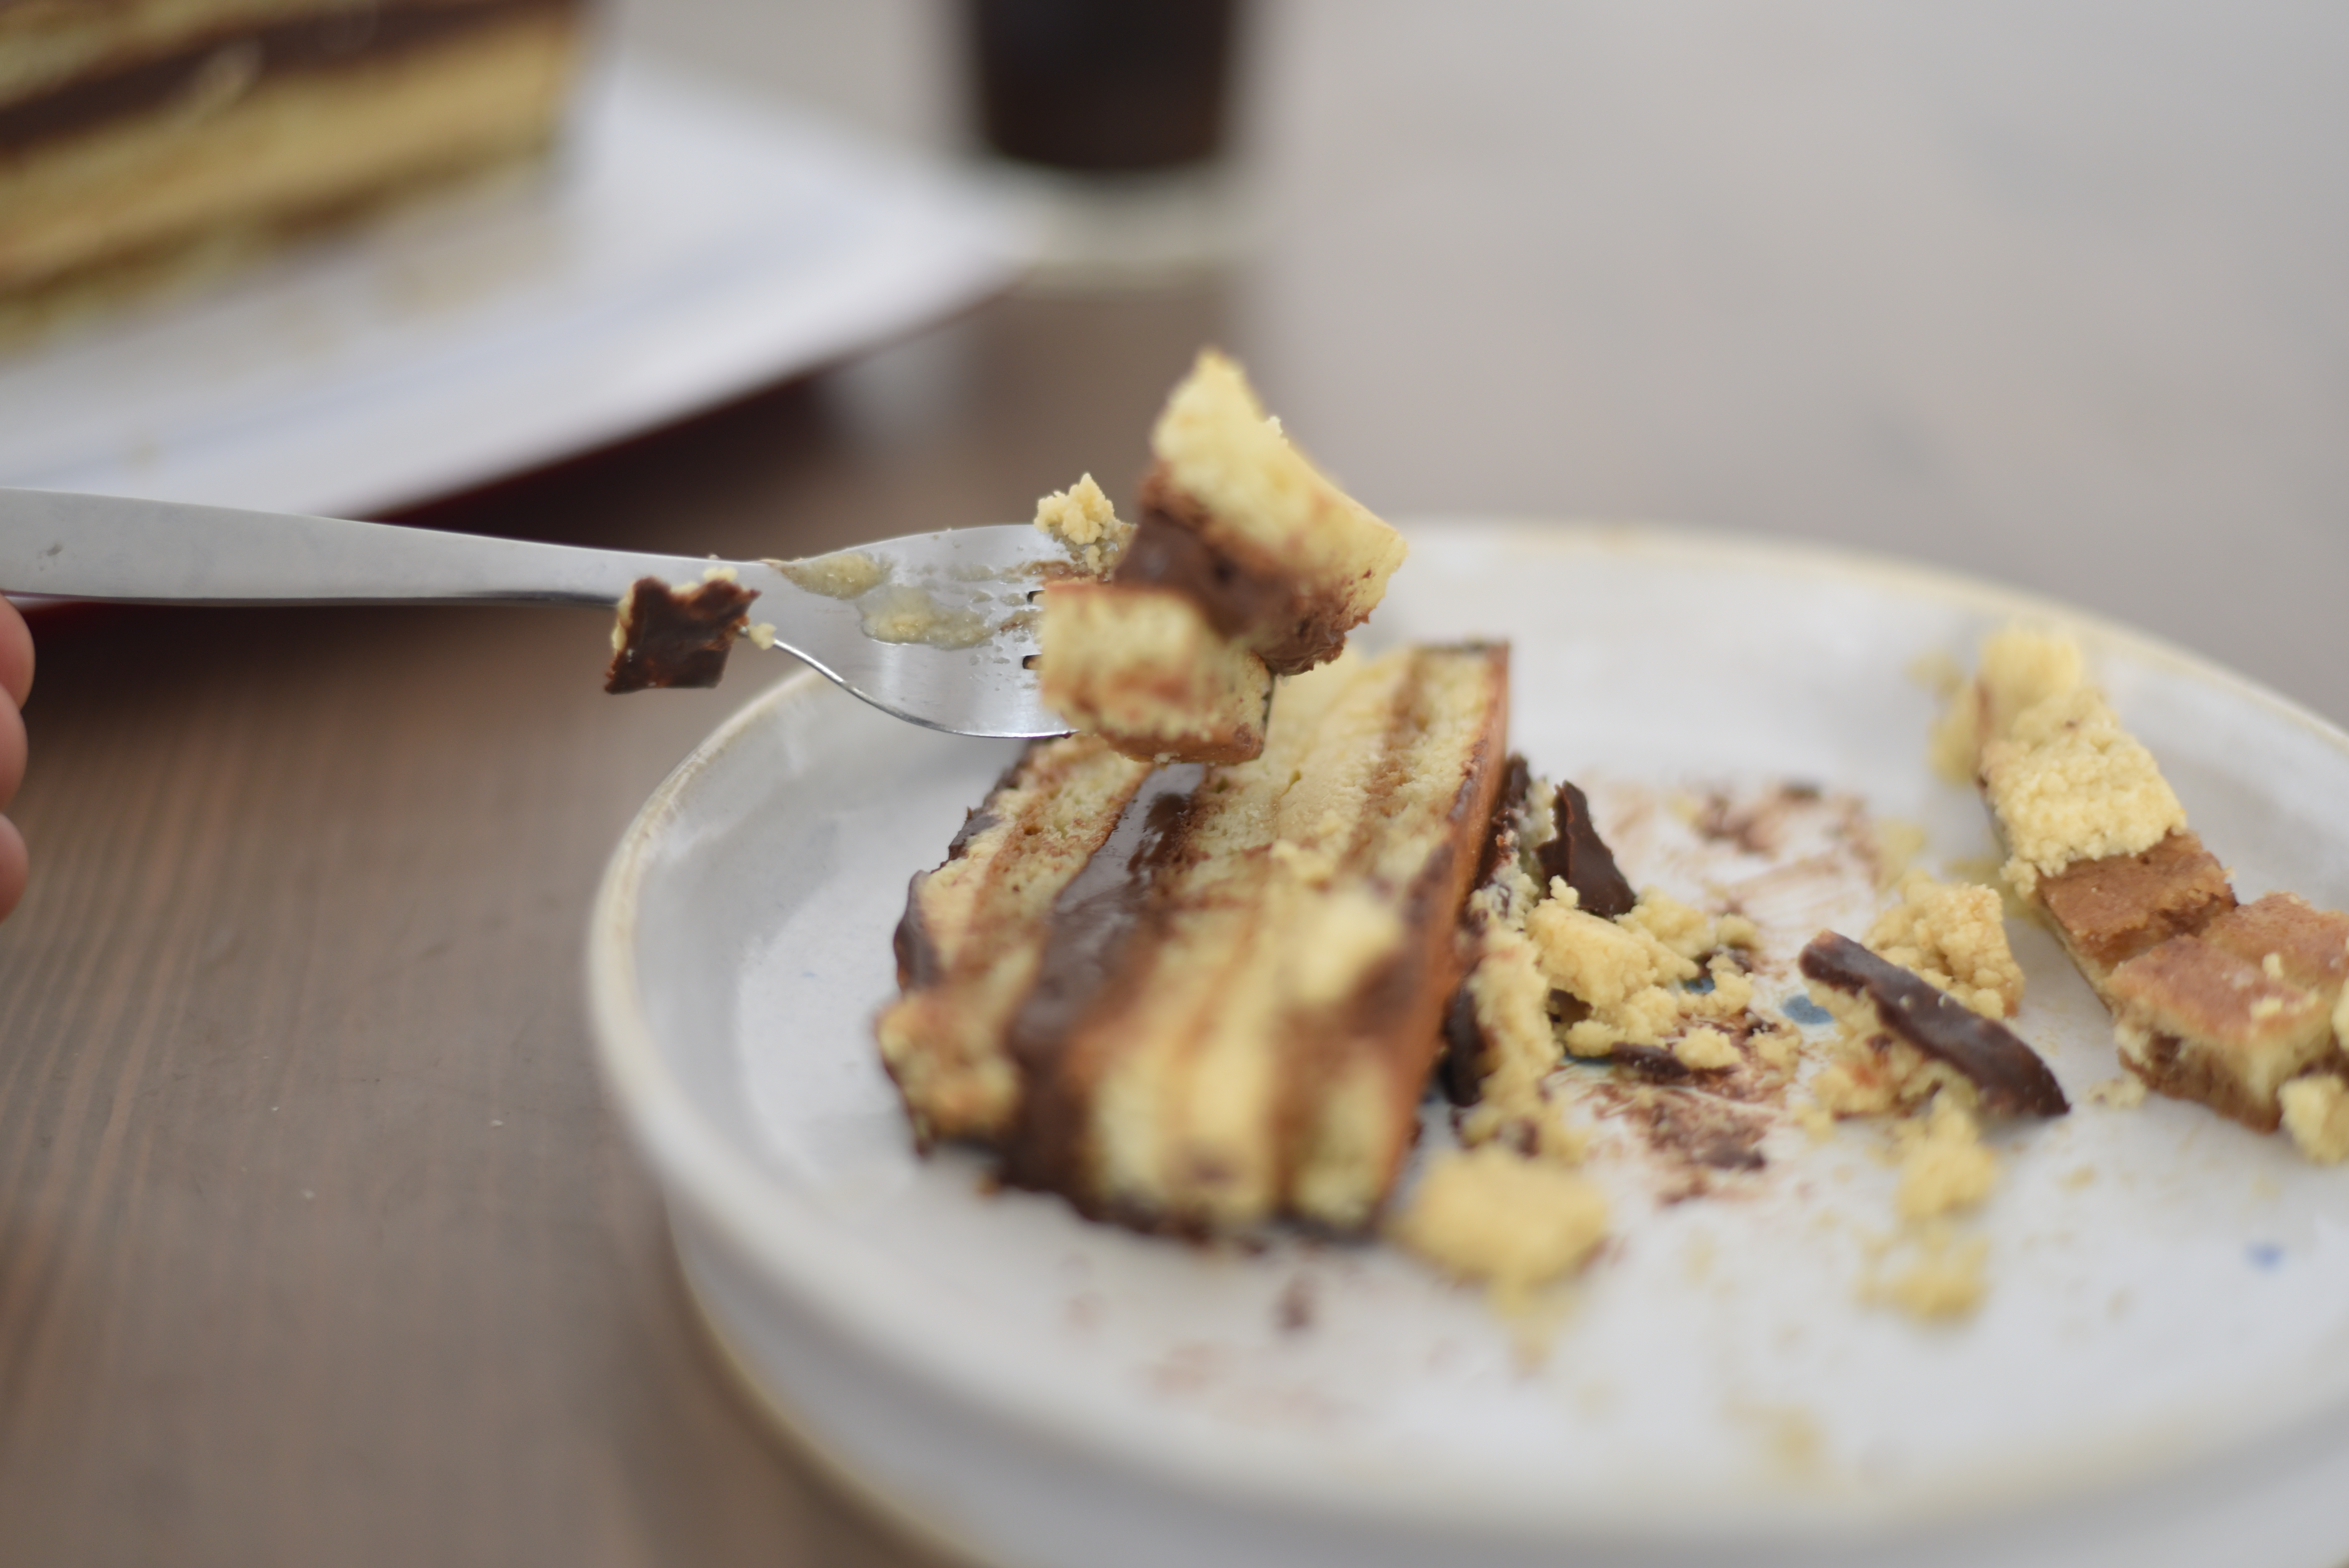
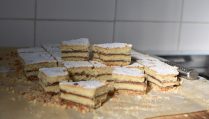
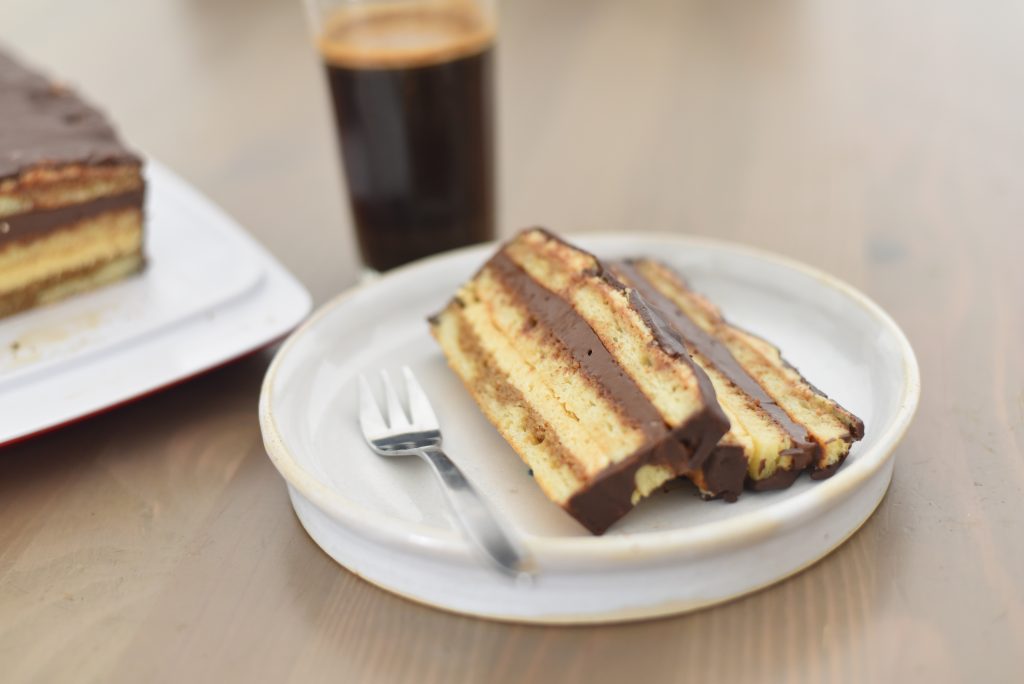
The story tell, that Dalloyau came up with this cake in 1955 after a show in the opera, not sure if it’s accurate but the tales don’t really make a difference, the Dalloyau Opera cake is a work of art, it’s made out of 3 layers of almond sponge, known as Joconde, each layer is brushed with a sweet coffee syrup and between the layers you can find coffee buttercream and chocolate ganache, if that’s not enough, this cake is covered with a chocolate glaze… pufff, did I say extravagant ?
Opera cake working method
It’s important to work in an orderly logical way when preparing this cake, in order not only to get to the best results but also to work calmly and enjoy the creation, it’s not fun if we only aim getting to the finish line and not from the way in getting there.
Personally, I like to divide this cake into 3 stages, the first one is making the almond biscuit (jaconde), I make this a day in advance usually, bake it and store it for the night covered well in room temperature or in the fridge if you’re planning to have more than a 12-hr. wait. The jaconde will be just fine waiting a few hours for the cream so no worries there.
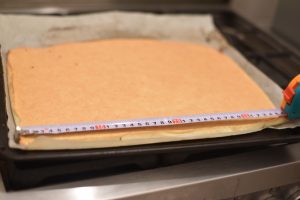
Next day all needed to do is divide the biscuit into the correct size, I used for this recipe a 26x12cm rectangle cake size so all there’s needed is divide the jaconde into 3 equal parts (I recommend measuring the jaconde) and set aside and there you go we have a base for our cake.
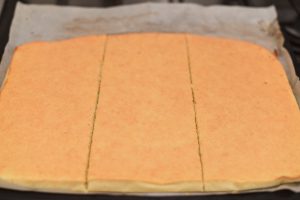
The second stage is making the creams and syrup, the sweet coffee syrup, chocolate ganache and buttercream. each of these creams and syrup can stay in room temperature for a few hours so there is no rush is preparing the cake on the spot.
The third stage is assembling the cake and finishing it with the chocolate glaze, assembling the cake is a task that takes time and in some cases if the creams are not stable enough to continue to the next layer, I recommend placing the cake in the fridge for 30 minutes for the cream to stabilize before getting to the next layer.
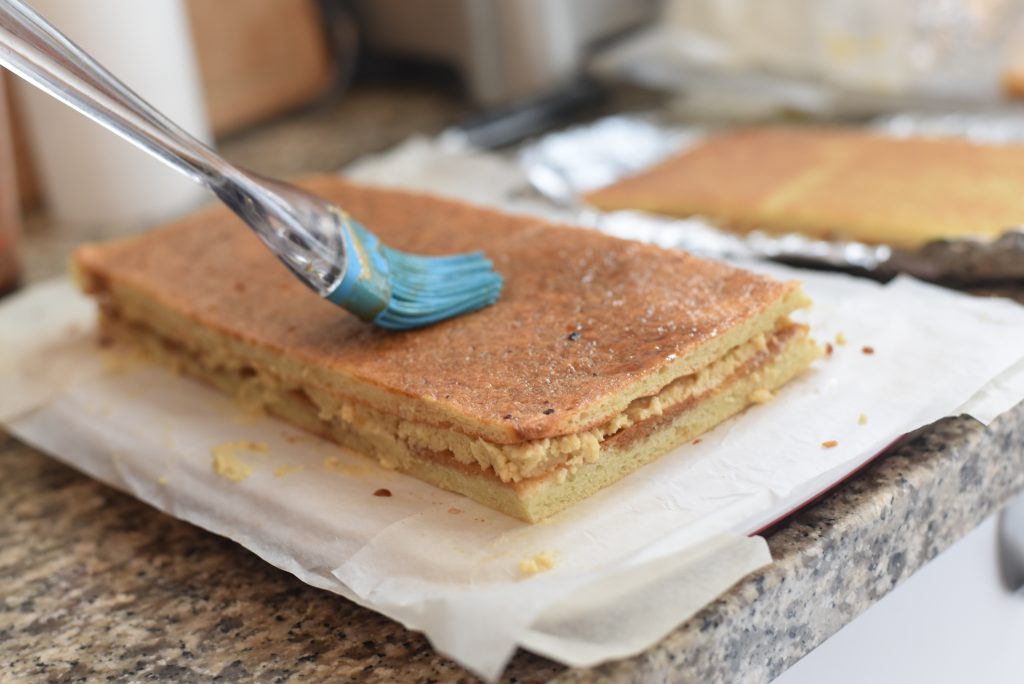
i also recommend to place the cake in the fridge for about 1 hour or in the freezer for 10 minutes before pouring the chocolate glaze, the differences in temperature, the hot sauce vs. the cold cake will create a much thicker and stable glaze for the cake.
To conclude, this cake has many details so don’t try making it in one shot, baking for a few hours in the kitchen is not fun at all and will only cause us not to make this cake again, so enjoy the process it’s part of the fun.
happy baking!
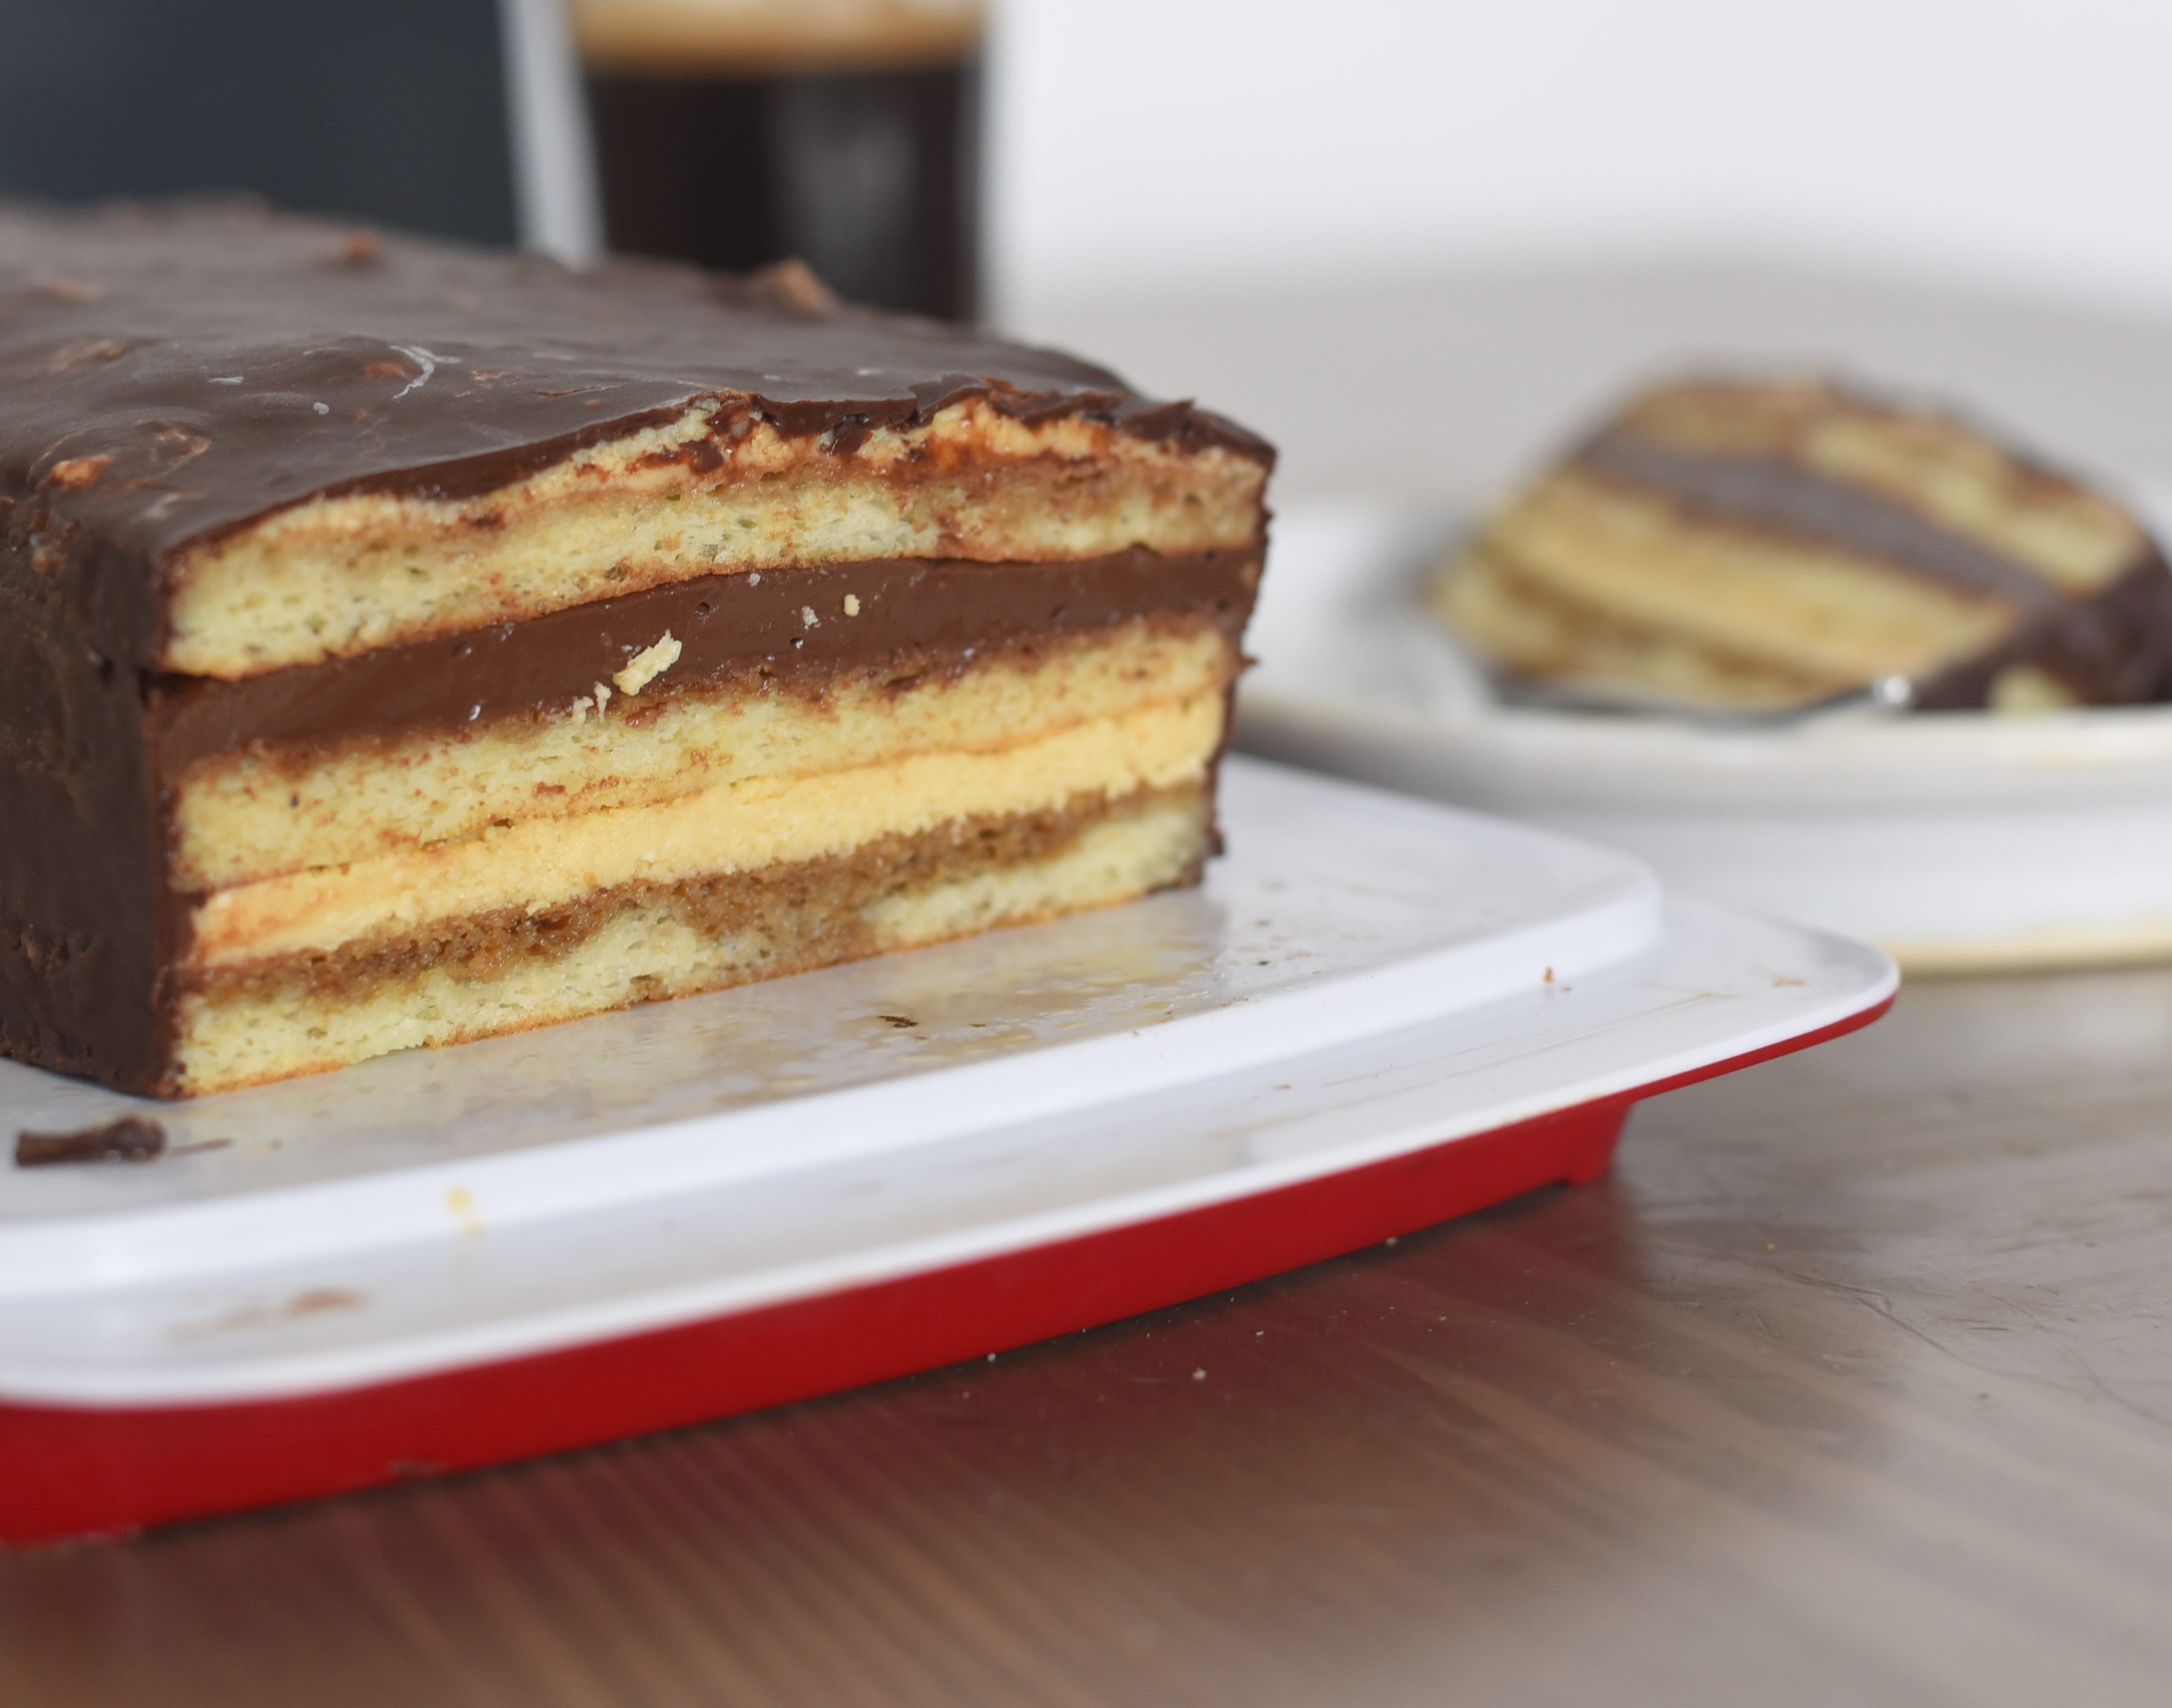
Ingredients
Instructions
Preheat the oven to 210°c/400°F.
In a bowl of a stand mixer fitted with the whisk attachment, whip the egg whites and 2 tbsp. of the sugar into soft peaks.
In another bowl mix the almond flour, remaining sugar and eggs, pour the melted butter and mix until fully incorporated.
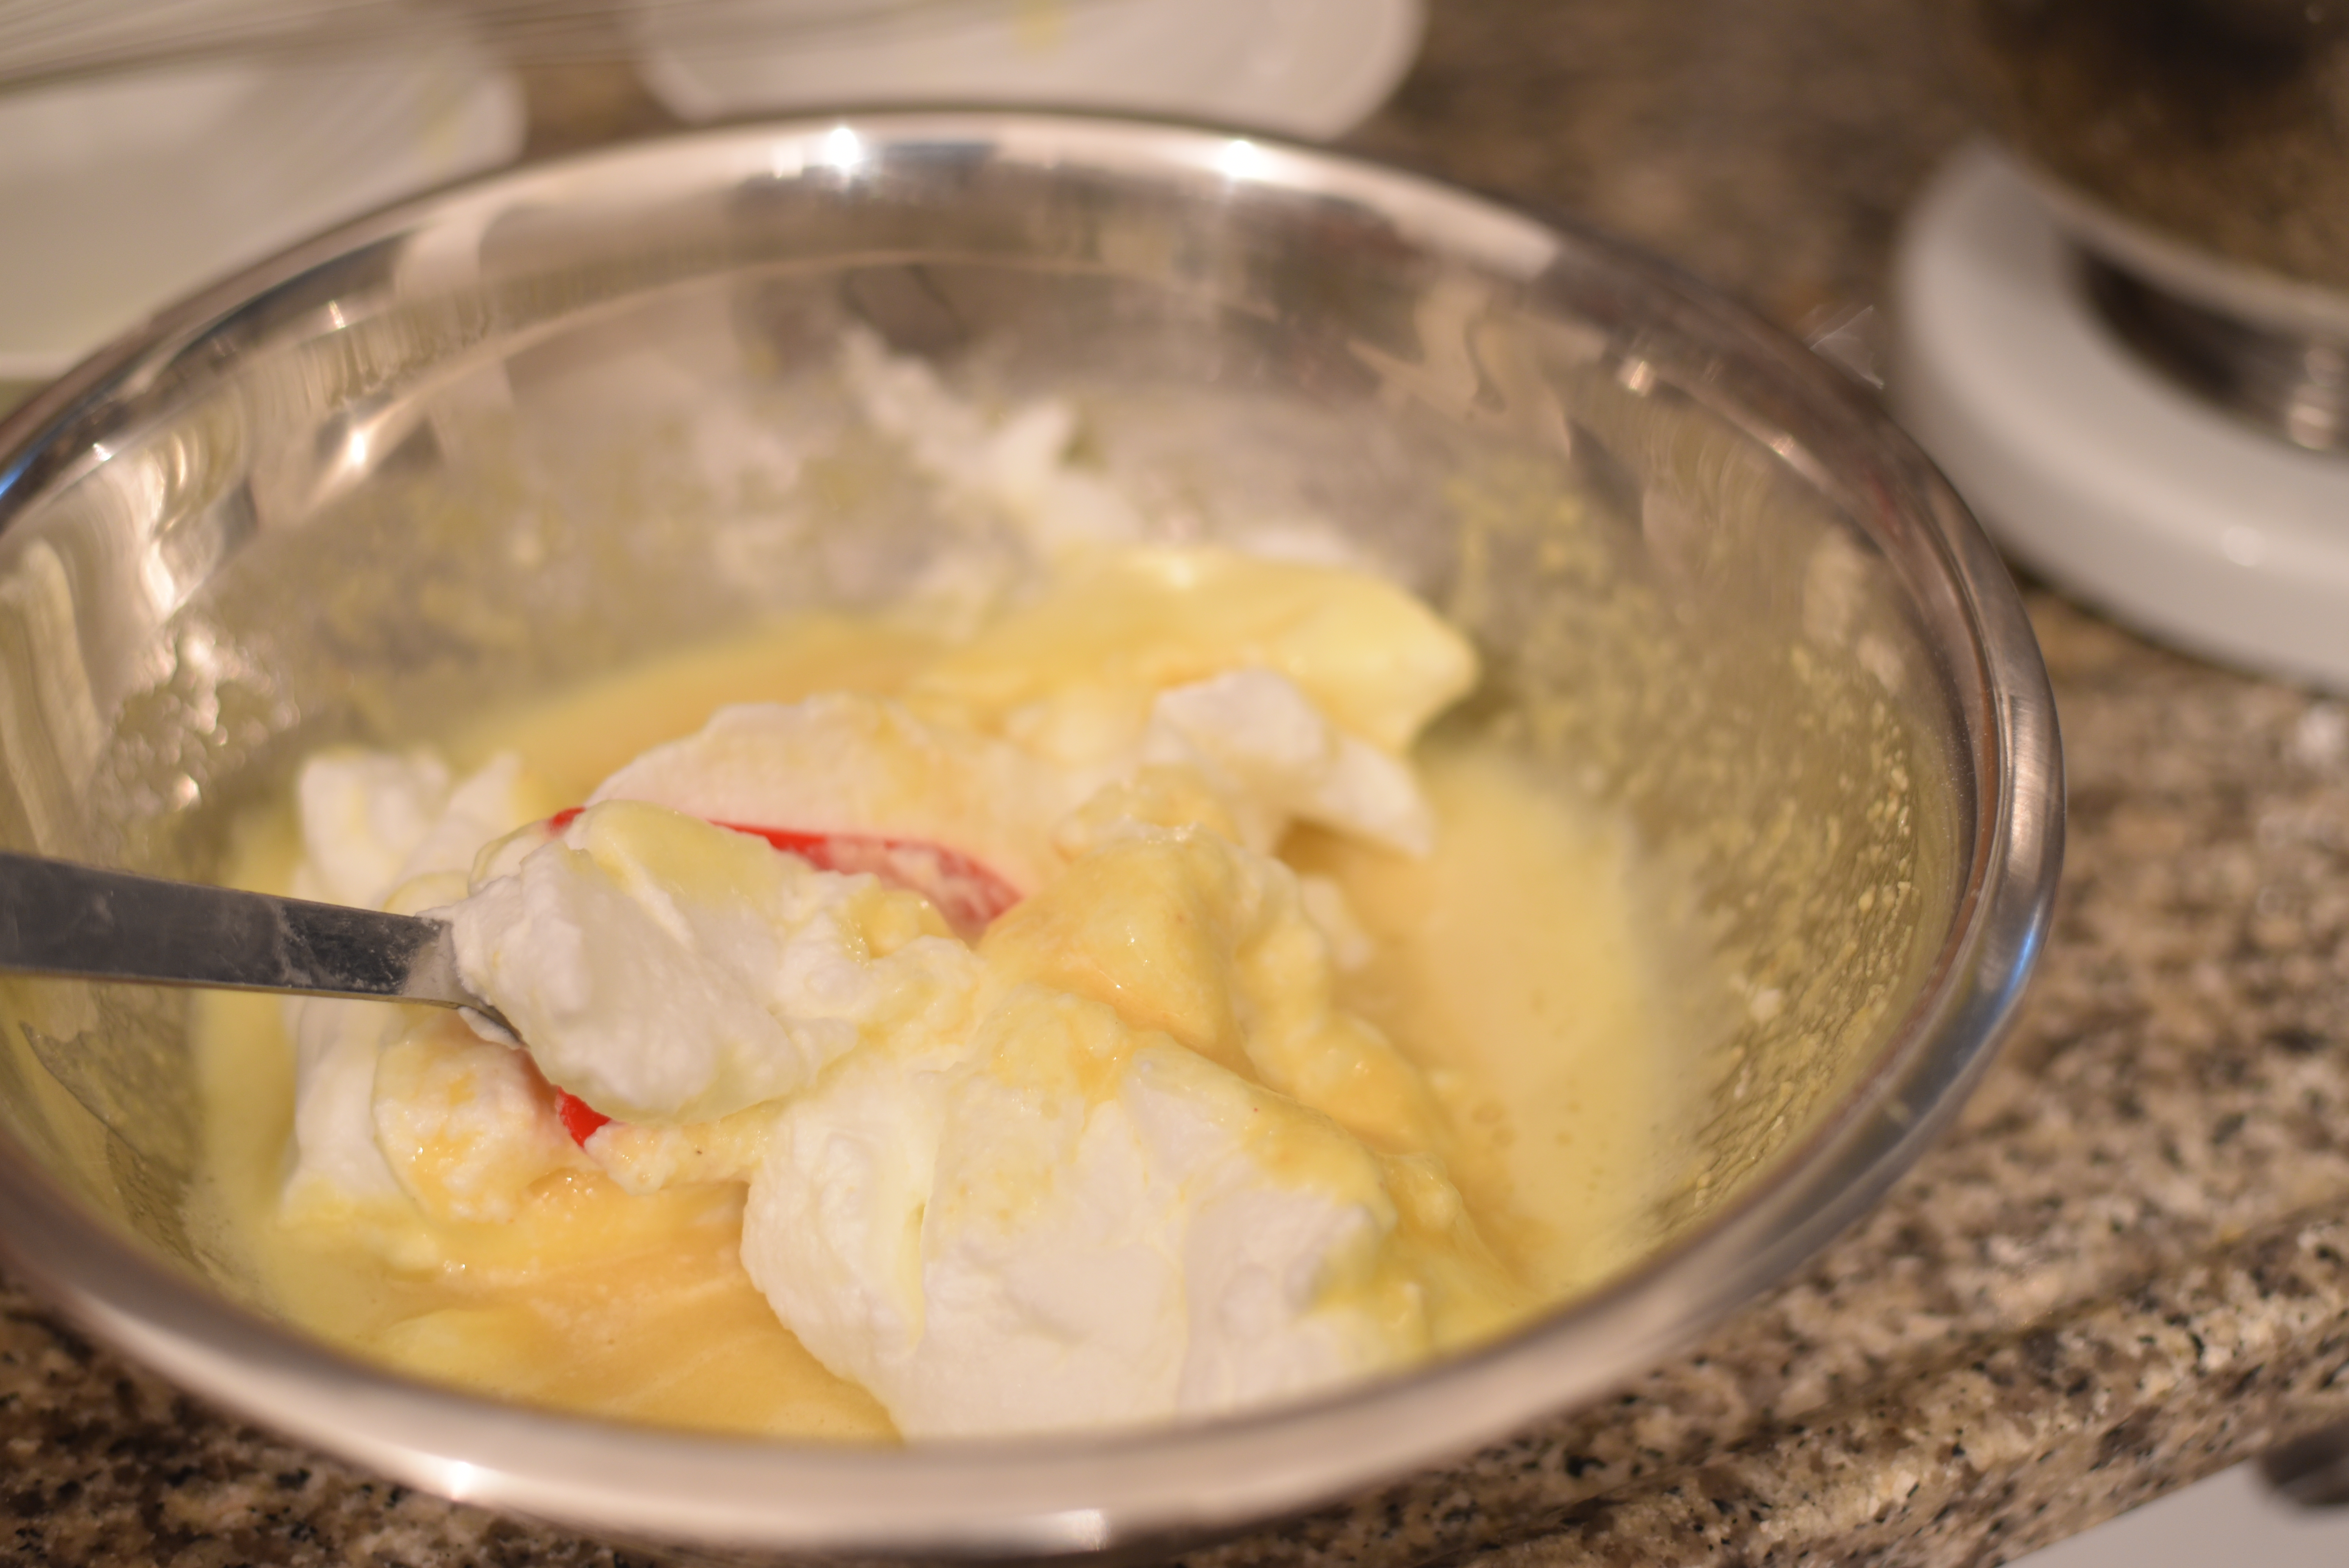
Fold in the egg whites and mix until blend is smooth.
Bake for 10-12 minutes and remove from the oven.
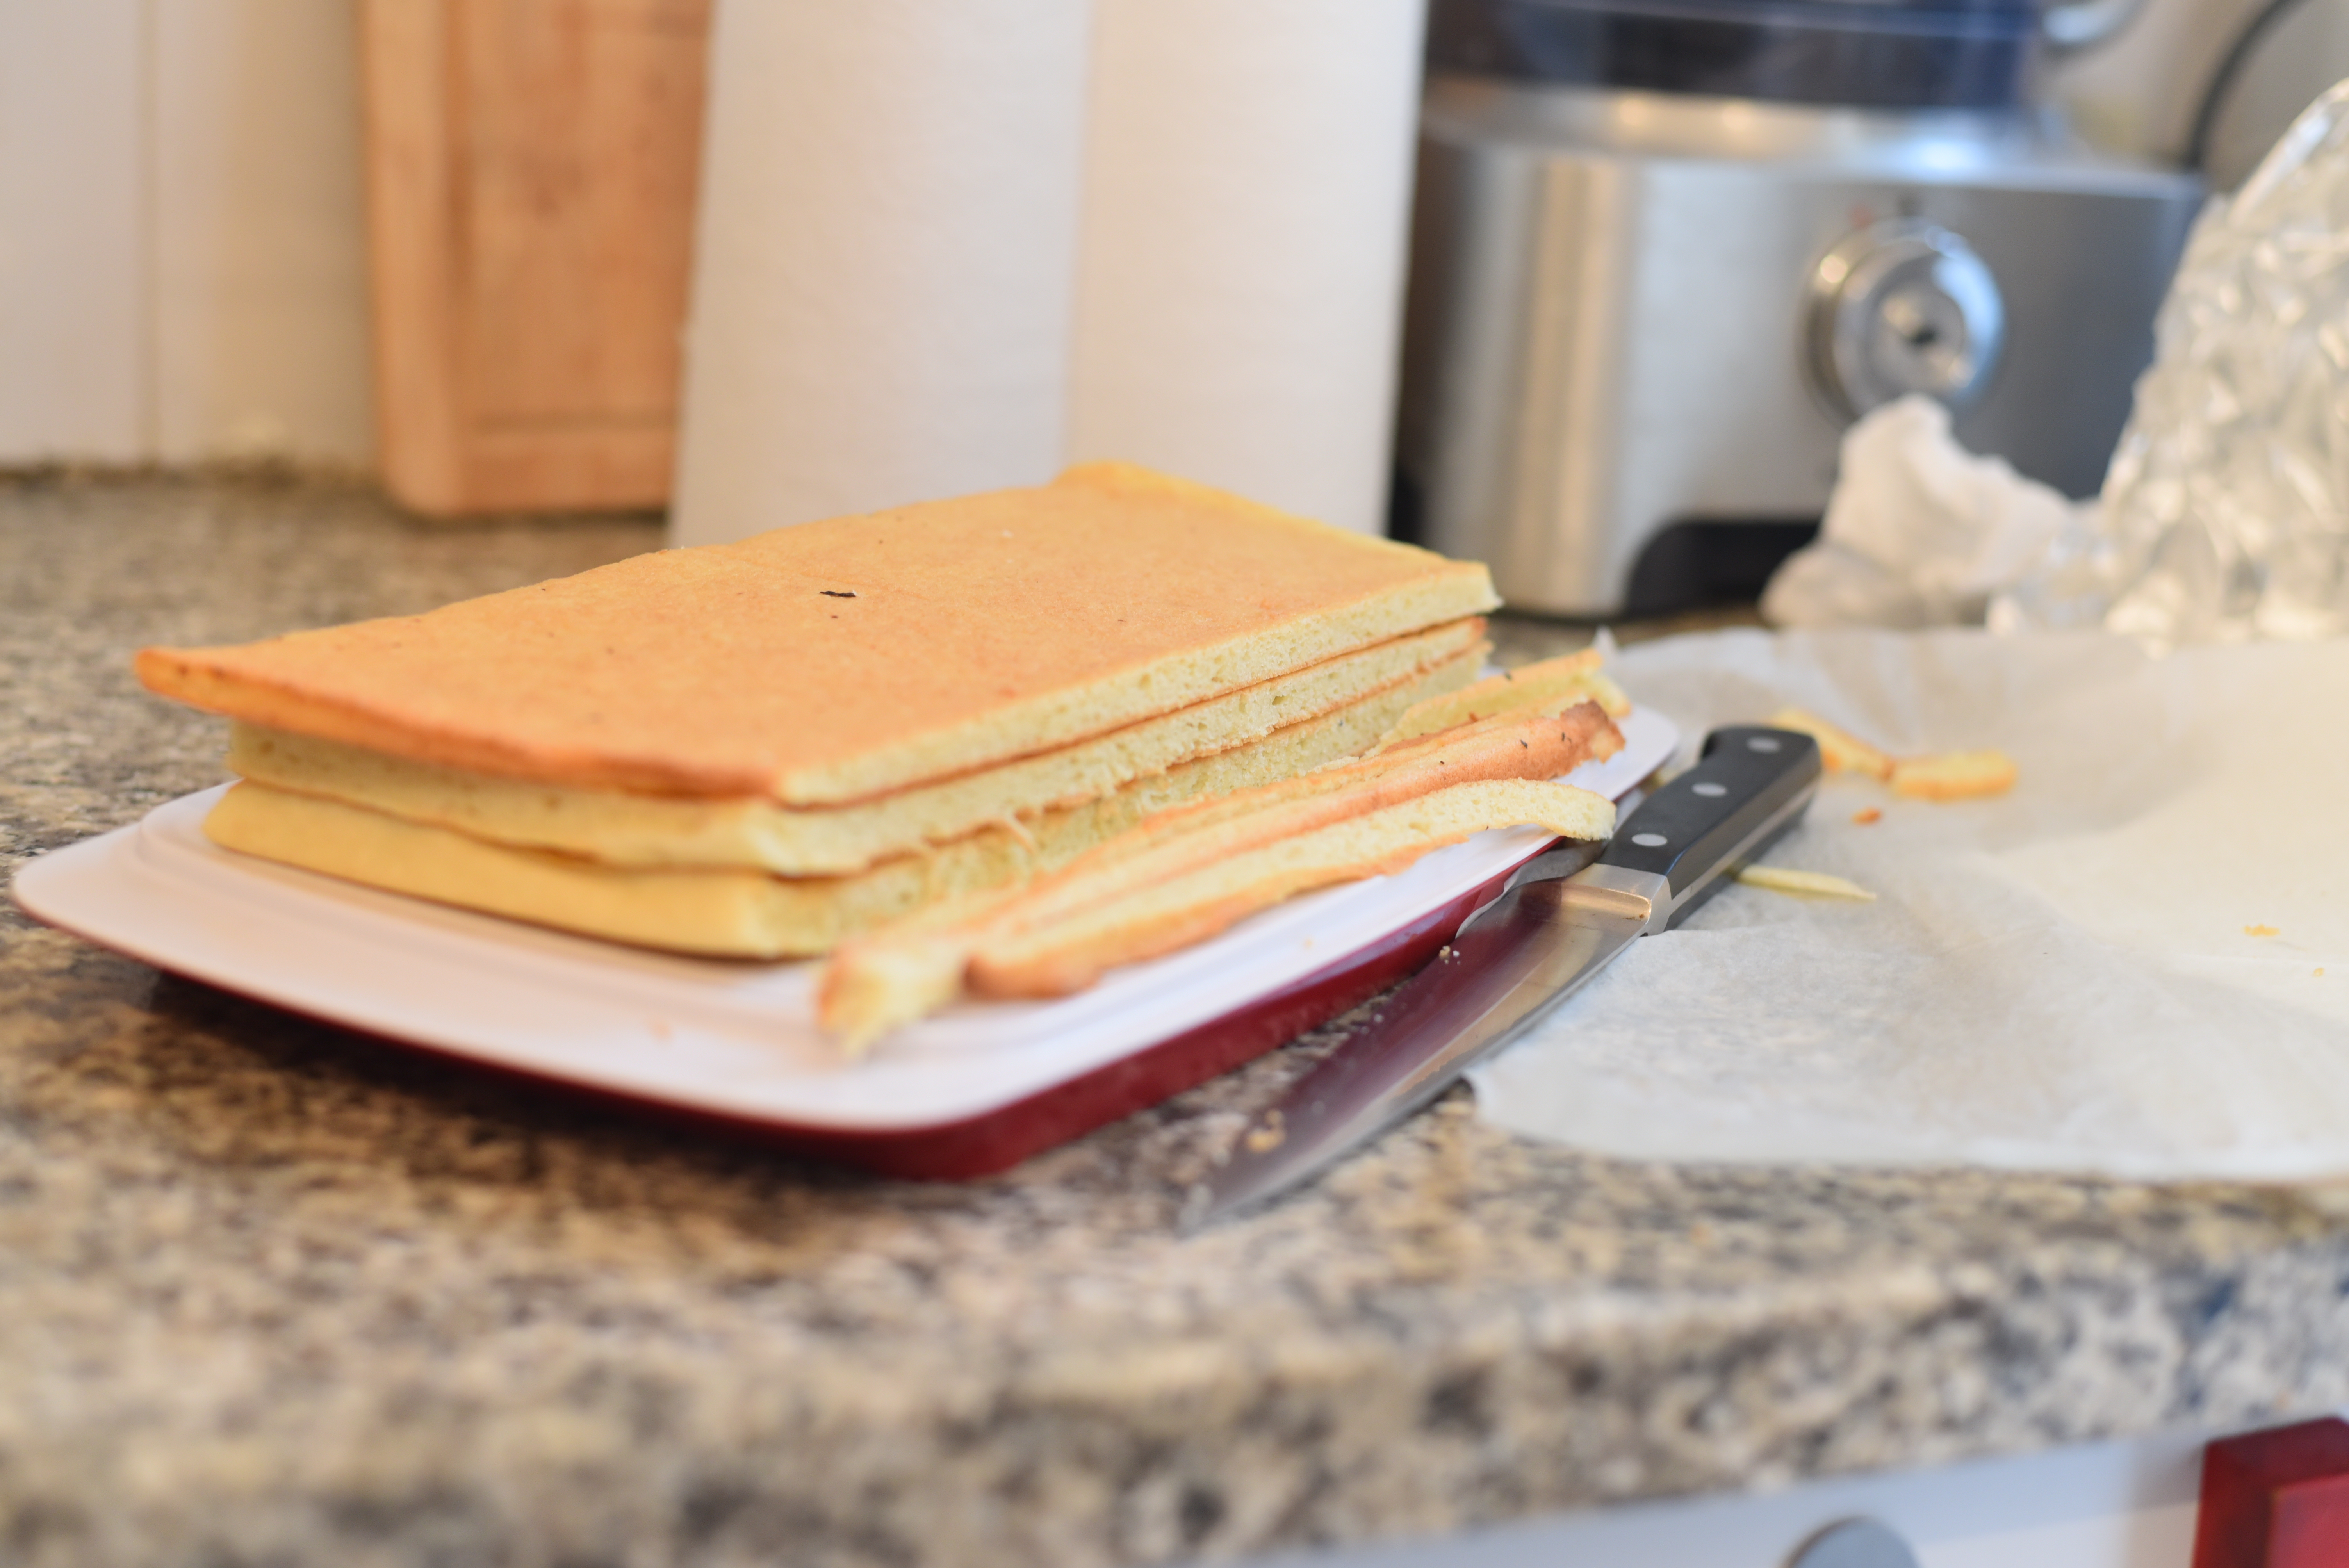
While the biscuit is still warm, divide it into 3 equal parts and cut crosswise.
Make sure the jaconde is divided evenly and remove excess biscuit if needed
At this point, the biscuit can be stored at room temperature for 12 hours or in the fridge for up to 24hours before assembling the cake.
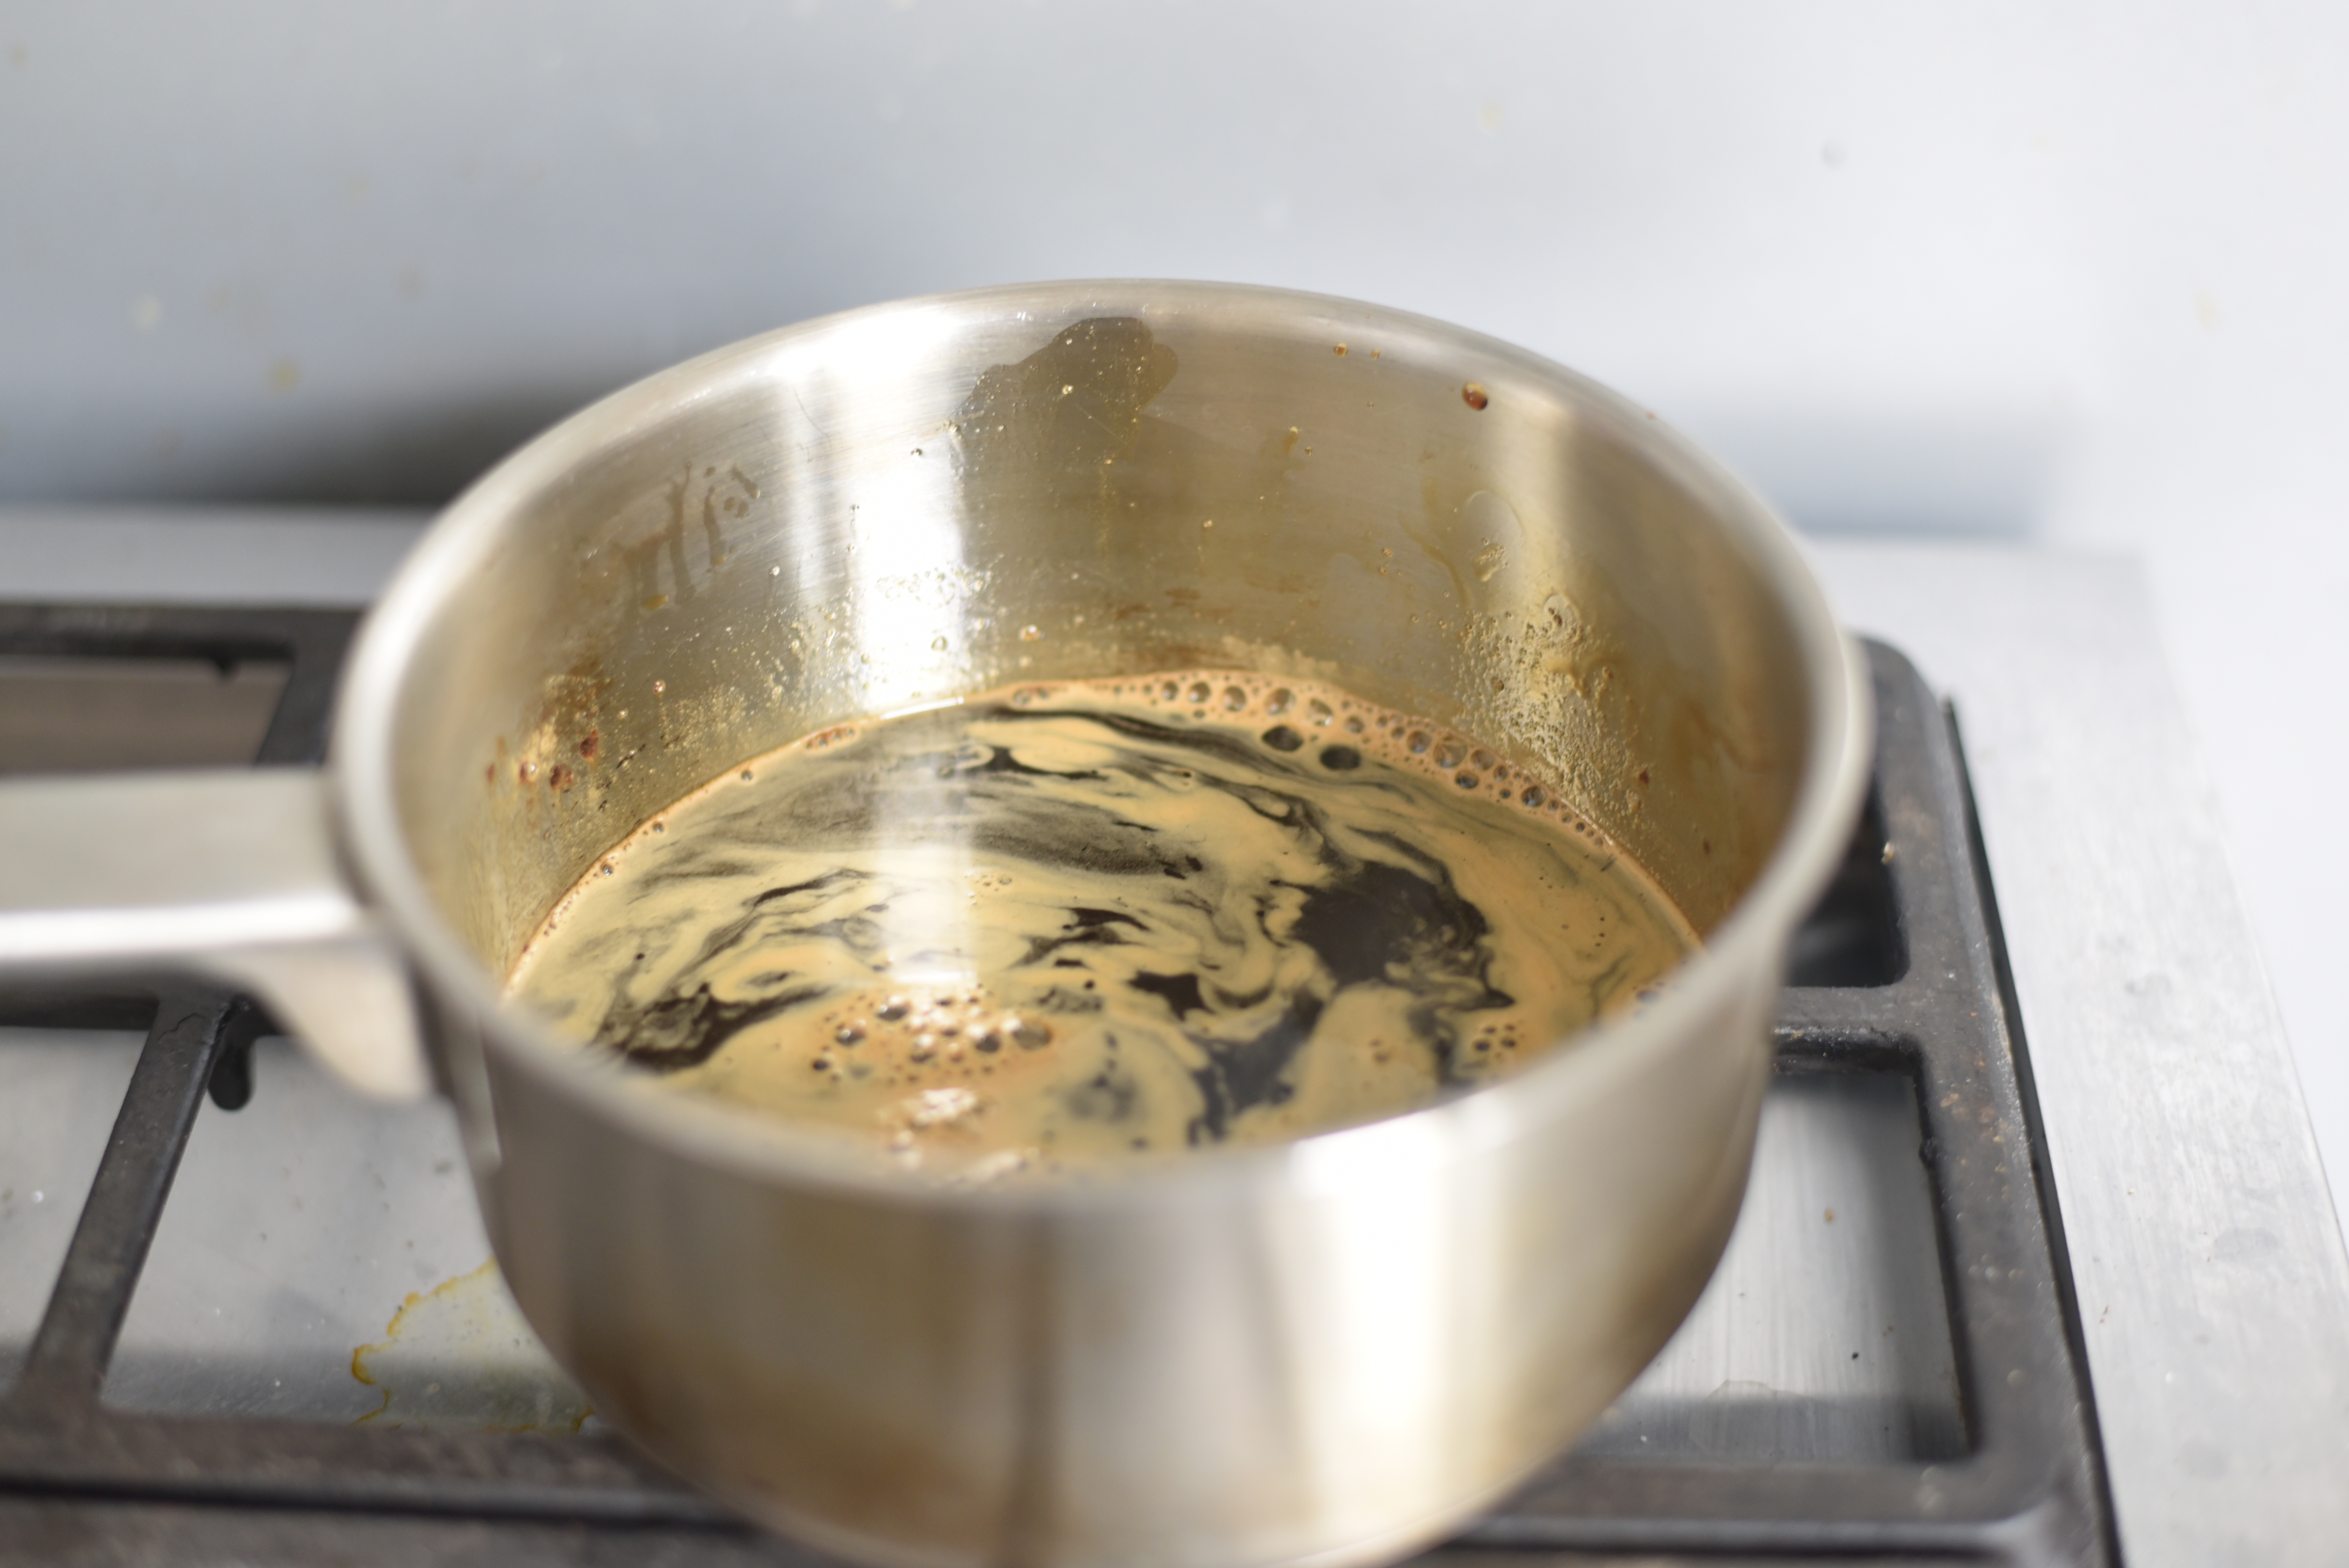
Bring all the ingredients of the syrup to a boil in a small saucepan and mix until the sugar and coffee are fully dissolved.
Set aside to cool.
Place the water and sugar in a small saucepan and bring to a simmer, mix sugar just until its fully dissolved, continue cooking until the syrup reaches 124°c/255°F, like in candy making.
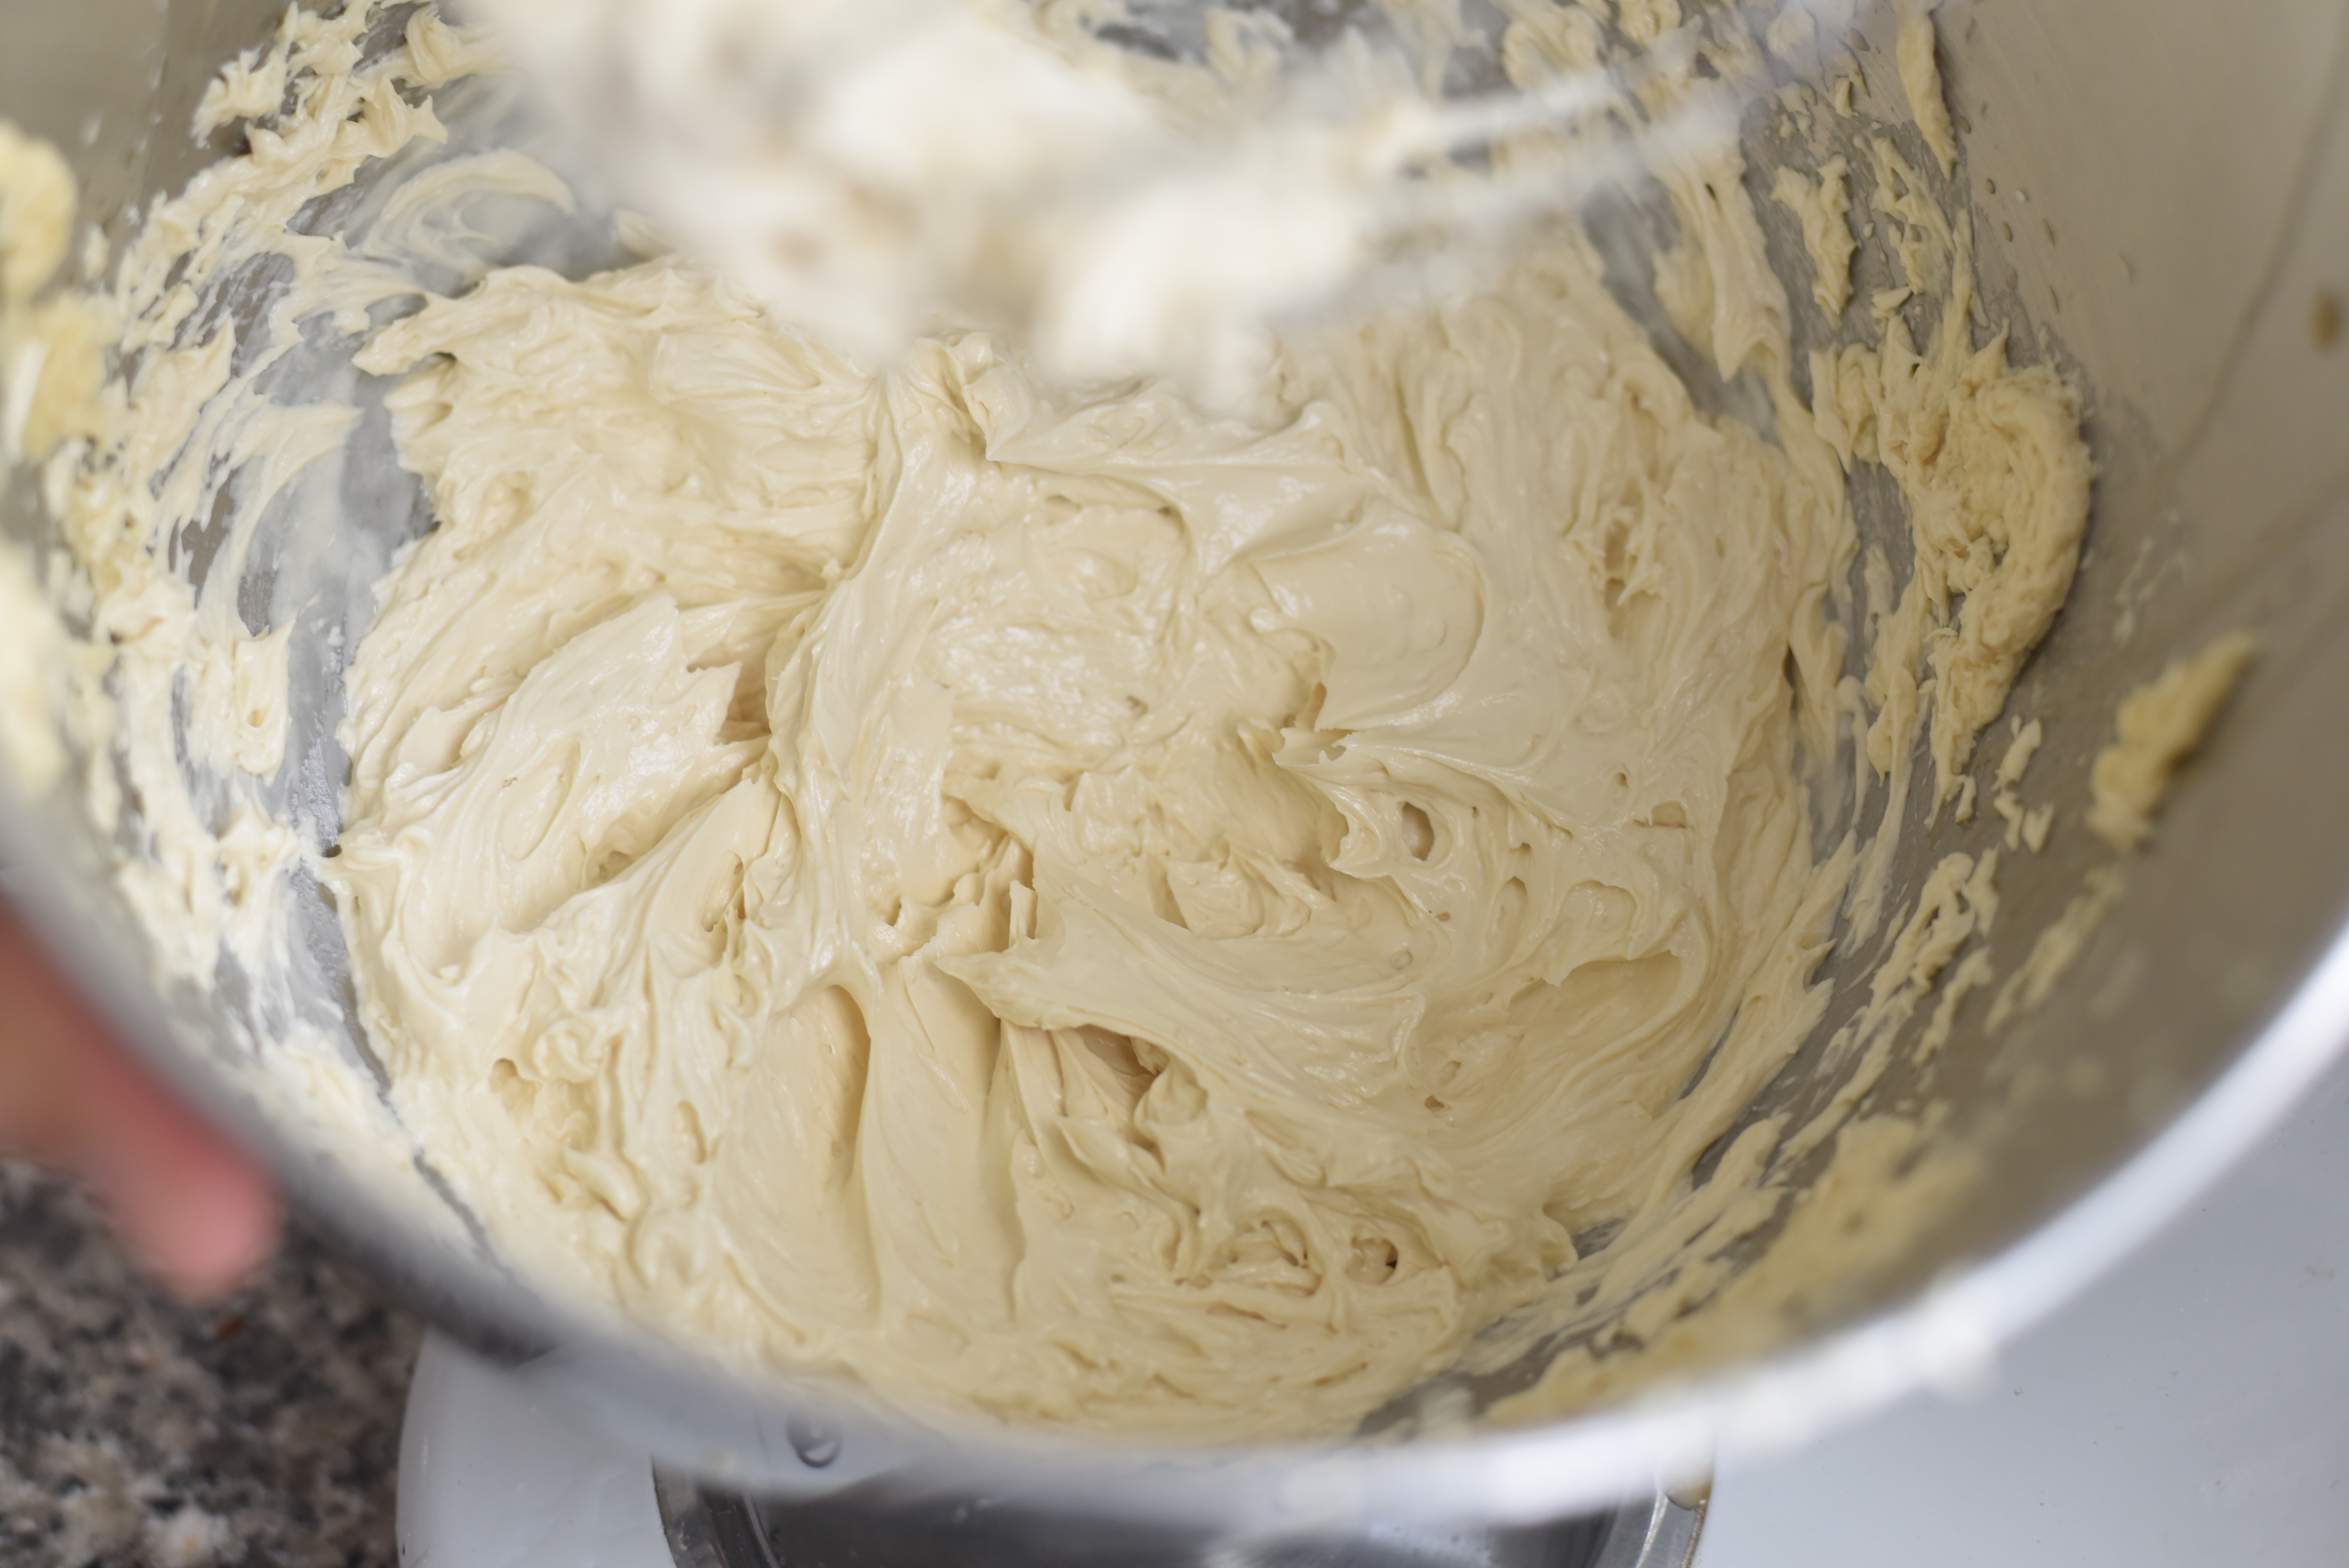
In a stand mixer beat the eggs until light and fluffy reduce speed to low and pour in the syrup in a steady drizzle, increase speed to medium-fast and add the vanilla, mix for about 5 more minutes.
Reduce speed to low again, add the softened butter in small chunks until fully incorporated in the mix and increase speed to high for a few more minutes to thicken the cream.
Add the coffee syrup and mix until the buttercream is smooth for 1 more minute.
Either store the buttercream in an airtight container for up to 4 days or if you’re assembling the cake leave it on the counter for immediate work.
Chop the chocolate and place in a bowl.
In a small saucepan, bring the milk and heavy cream into a simmer and immediately pour over the chocolate.
Wait for 1 minute and stir the chocolate ganache into a smooth blend.
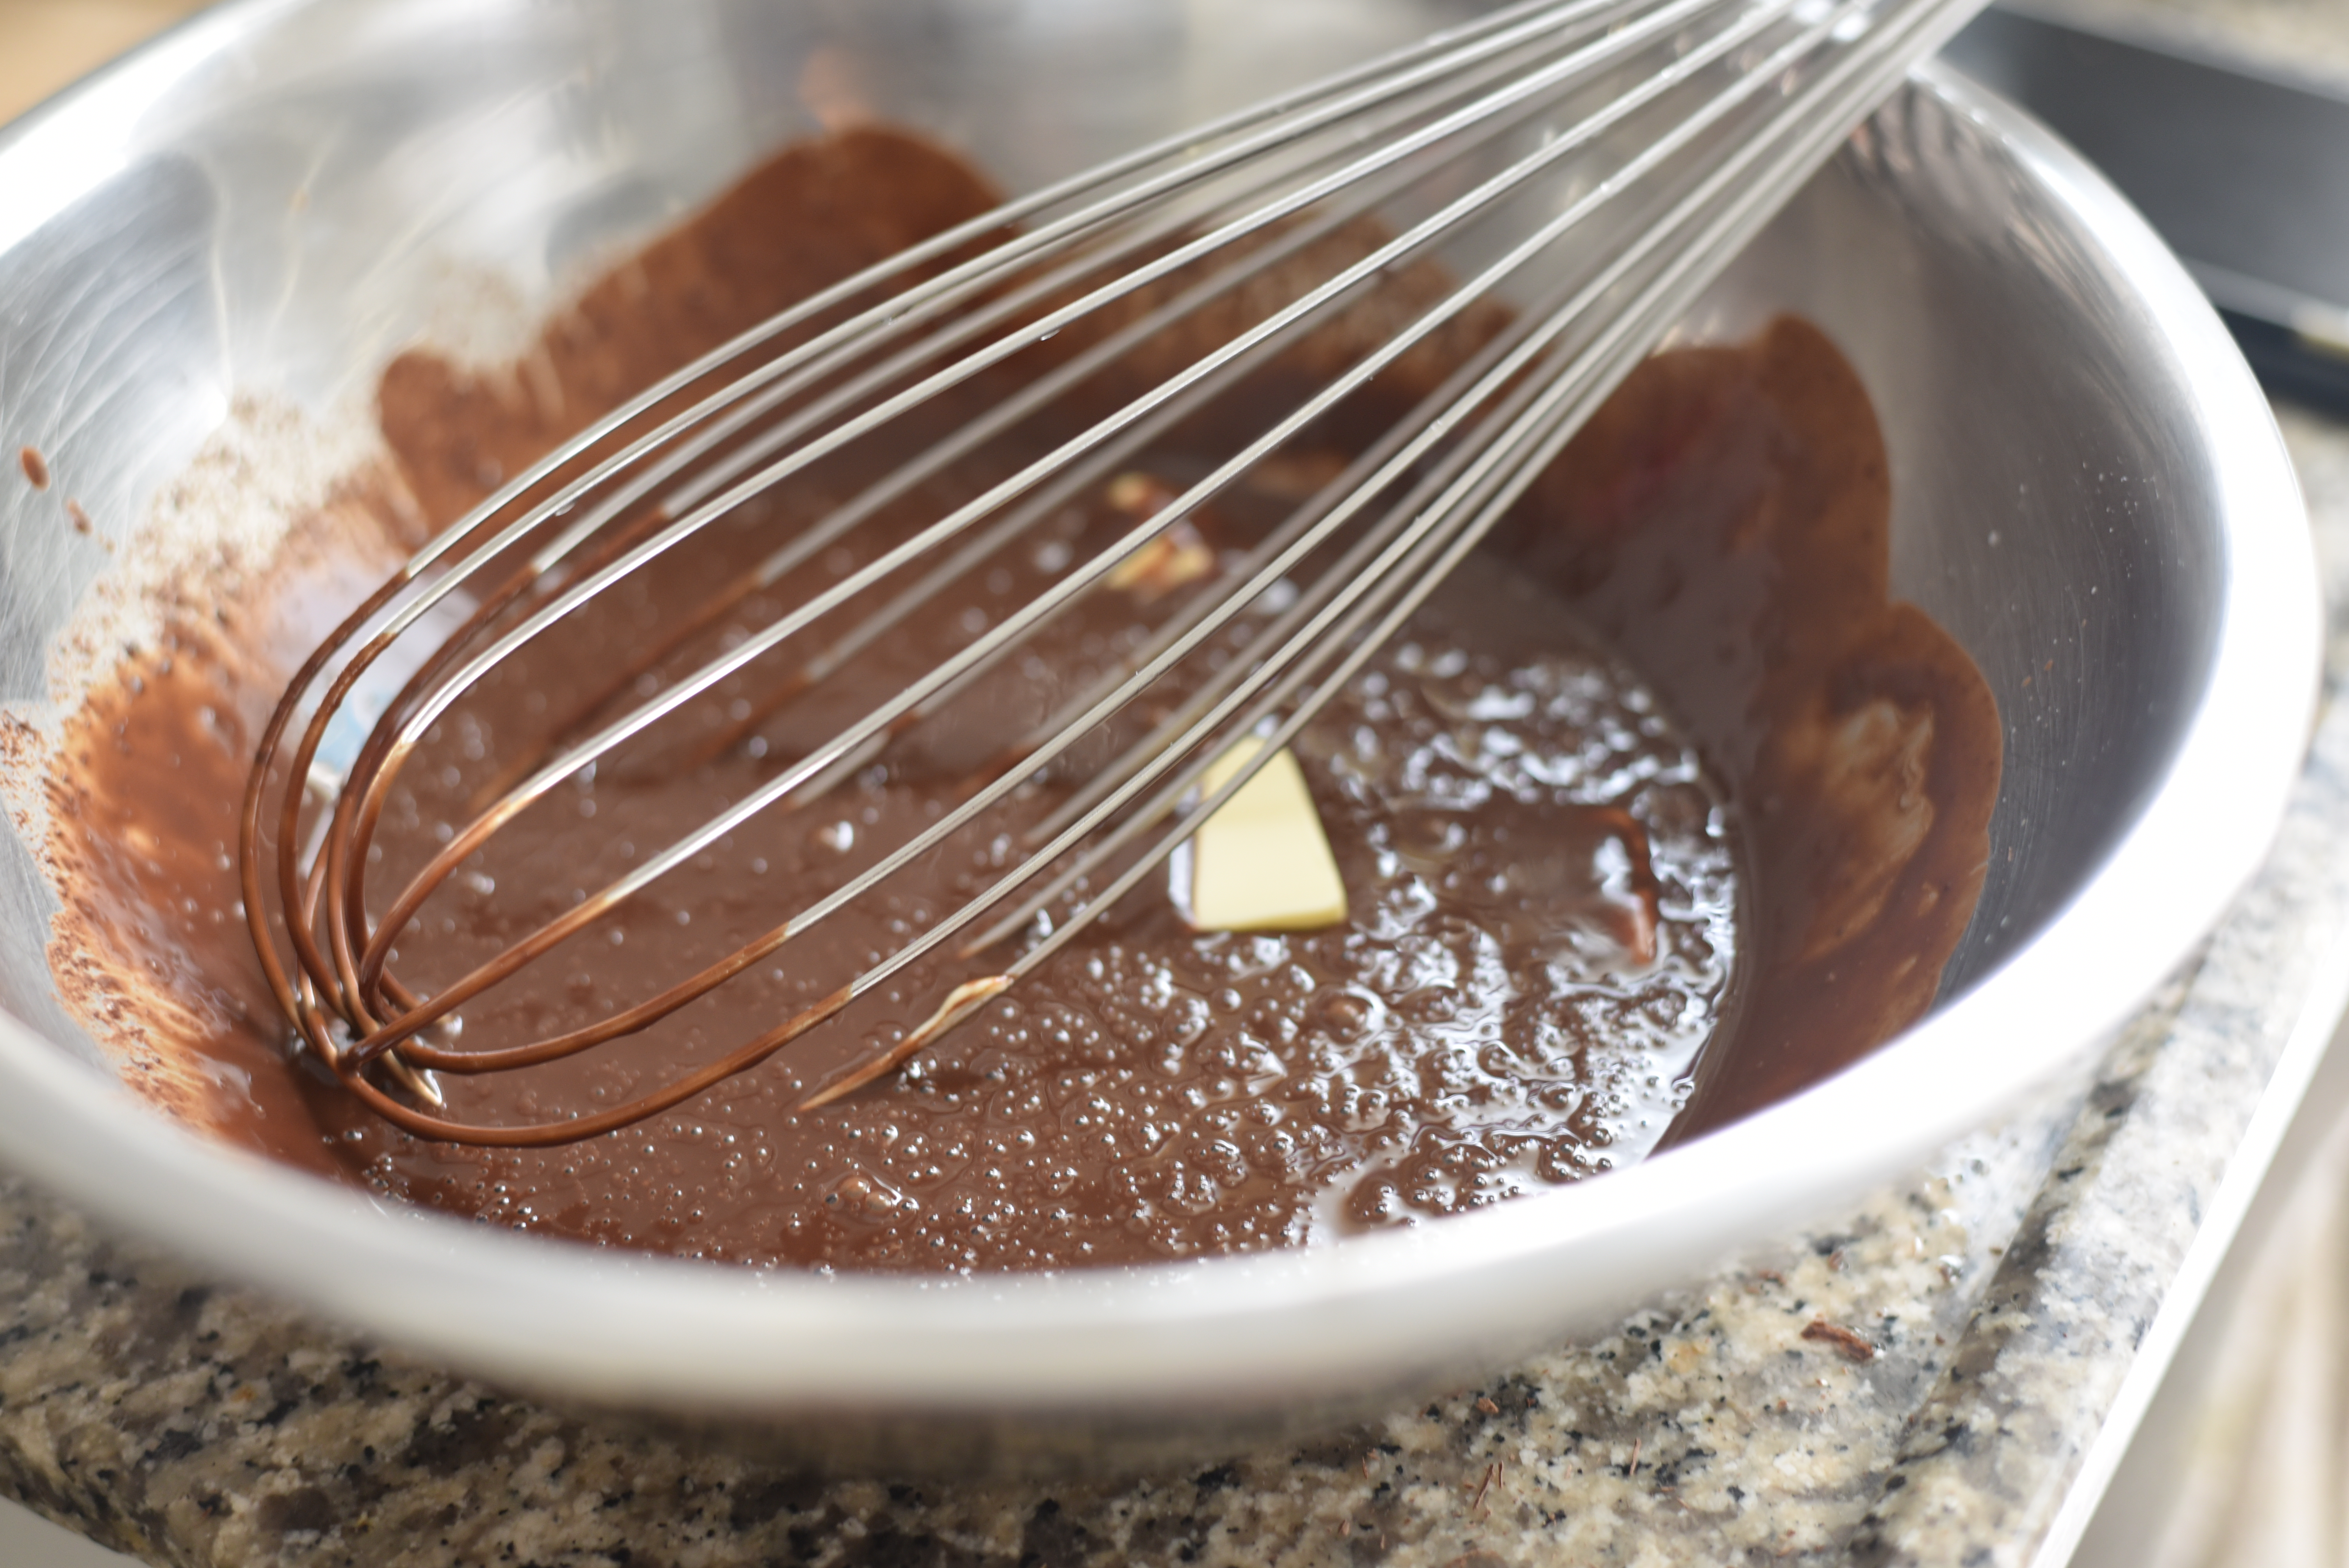
Add in the butter in 2 additions and stir until it’s smooth and shiny.
Place in the fridge to cool down for 30 minutes.
Place small baking sheets in the side of the first layer so all the mess will be on the baking sheet. we’ll pull out these sheets in the end of the preparation so we won’t need to clean the serving plate.
Brush the first layer of biscuit with the coffee syrup and spread about half of the coffee buttercream in an even layer and top with another biscuit, brush the second biscuit as well with the coffee syrup.
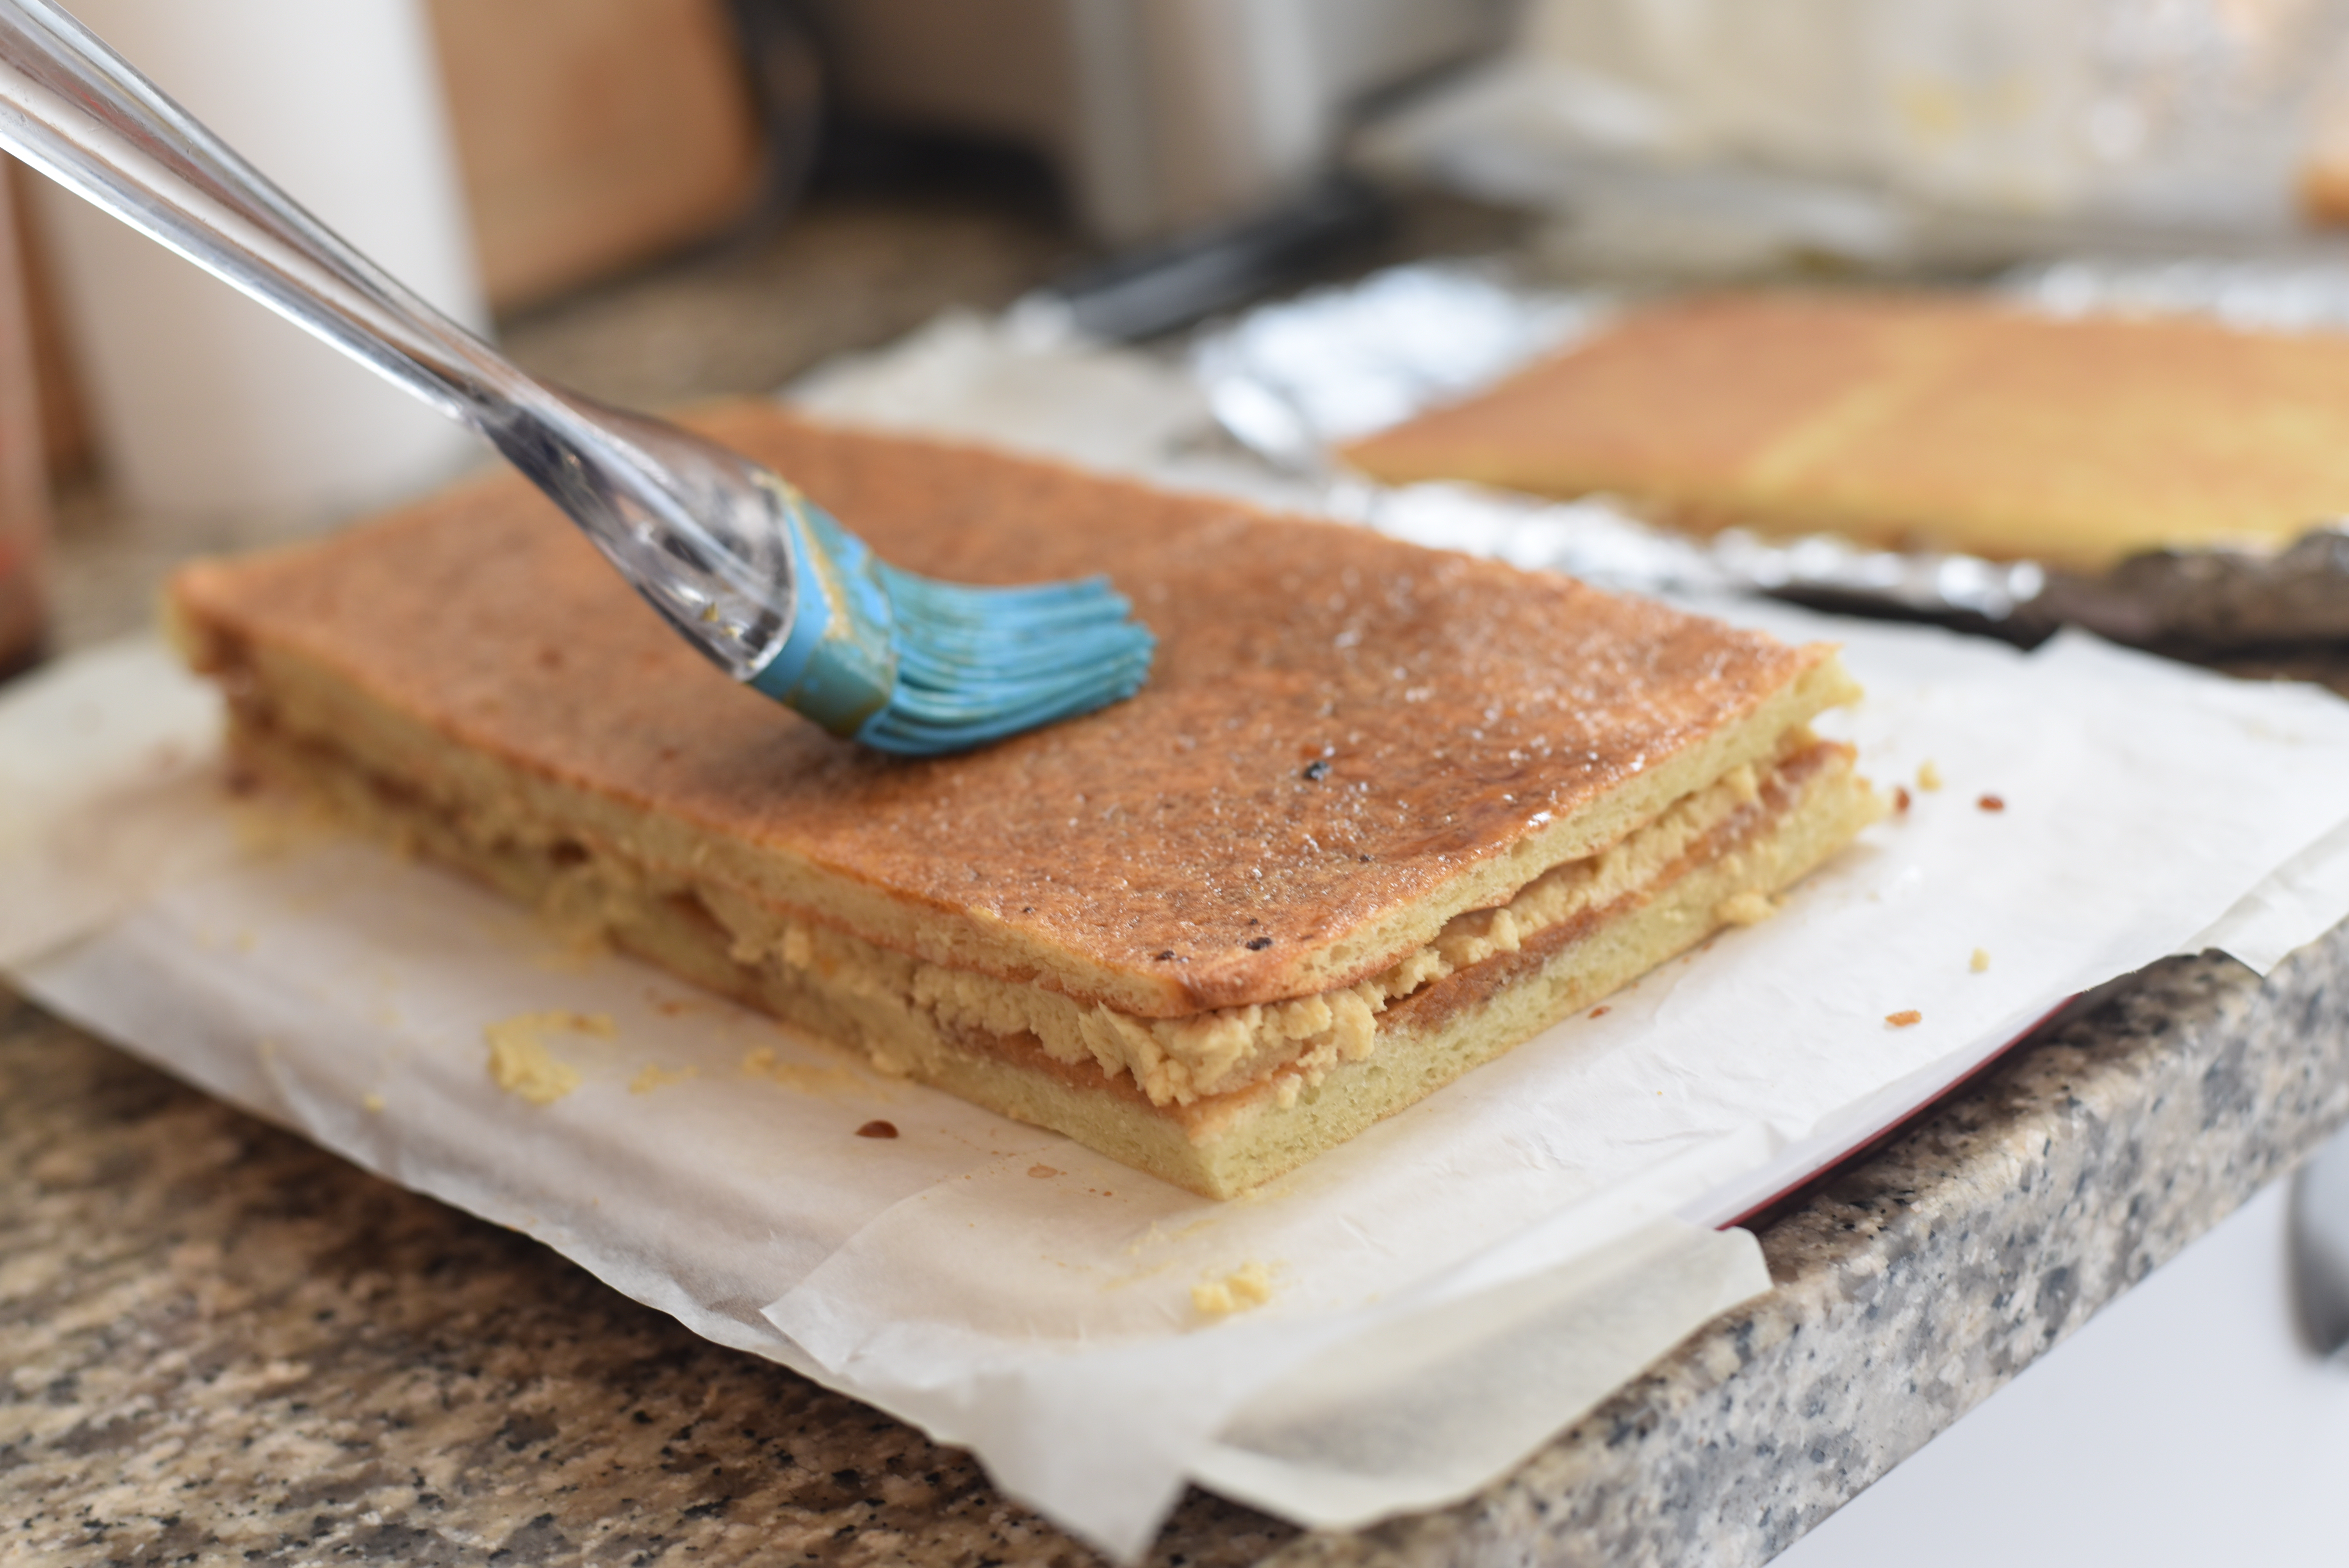
place the last layer on top of the ganache and moisten with the coffee syrup.
cover the top layer with the remaining coffee buttercream and refrigerate the cake for 1 hour or 20 minutes in the freezer.
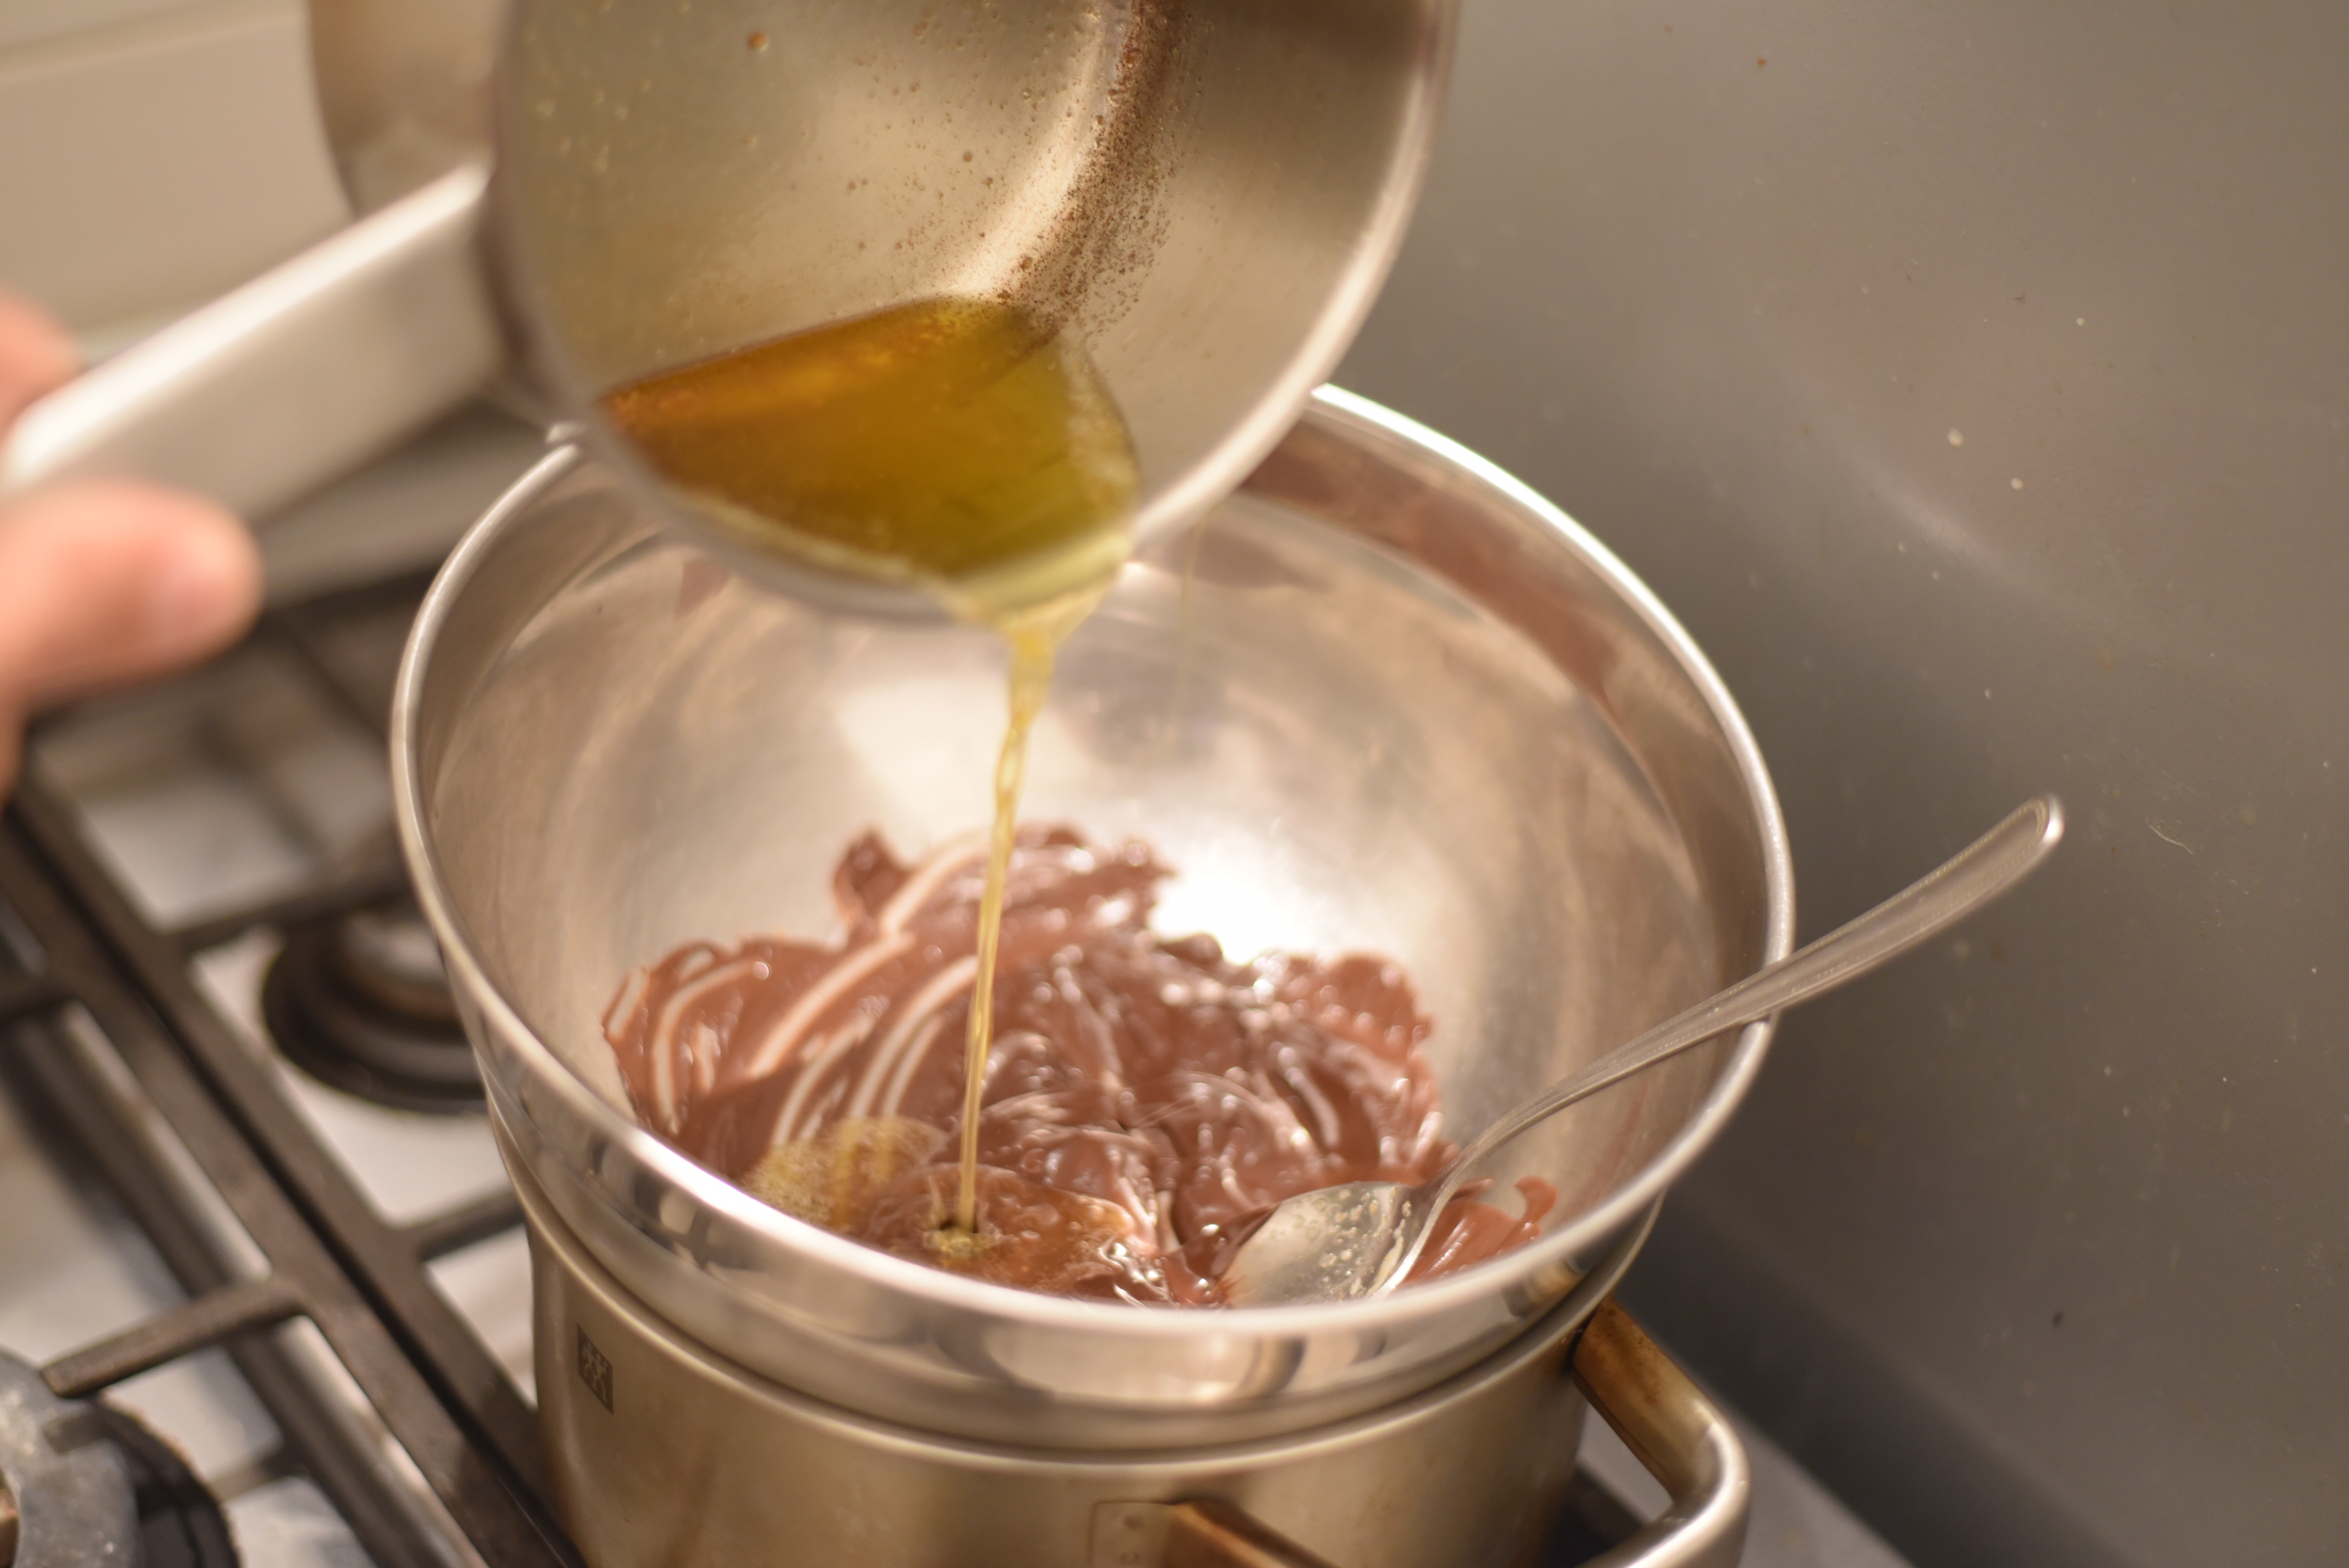
In a small sauce pan bring the butter into a boil, remove from heat and spoon the top from the foam and milky residue.
Pour the clarified butter into a bowl.
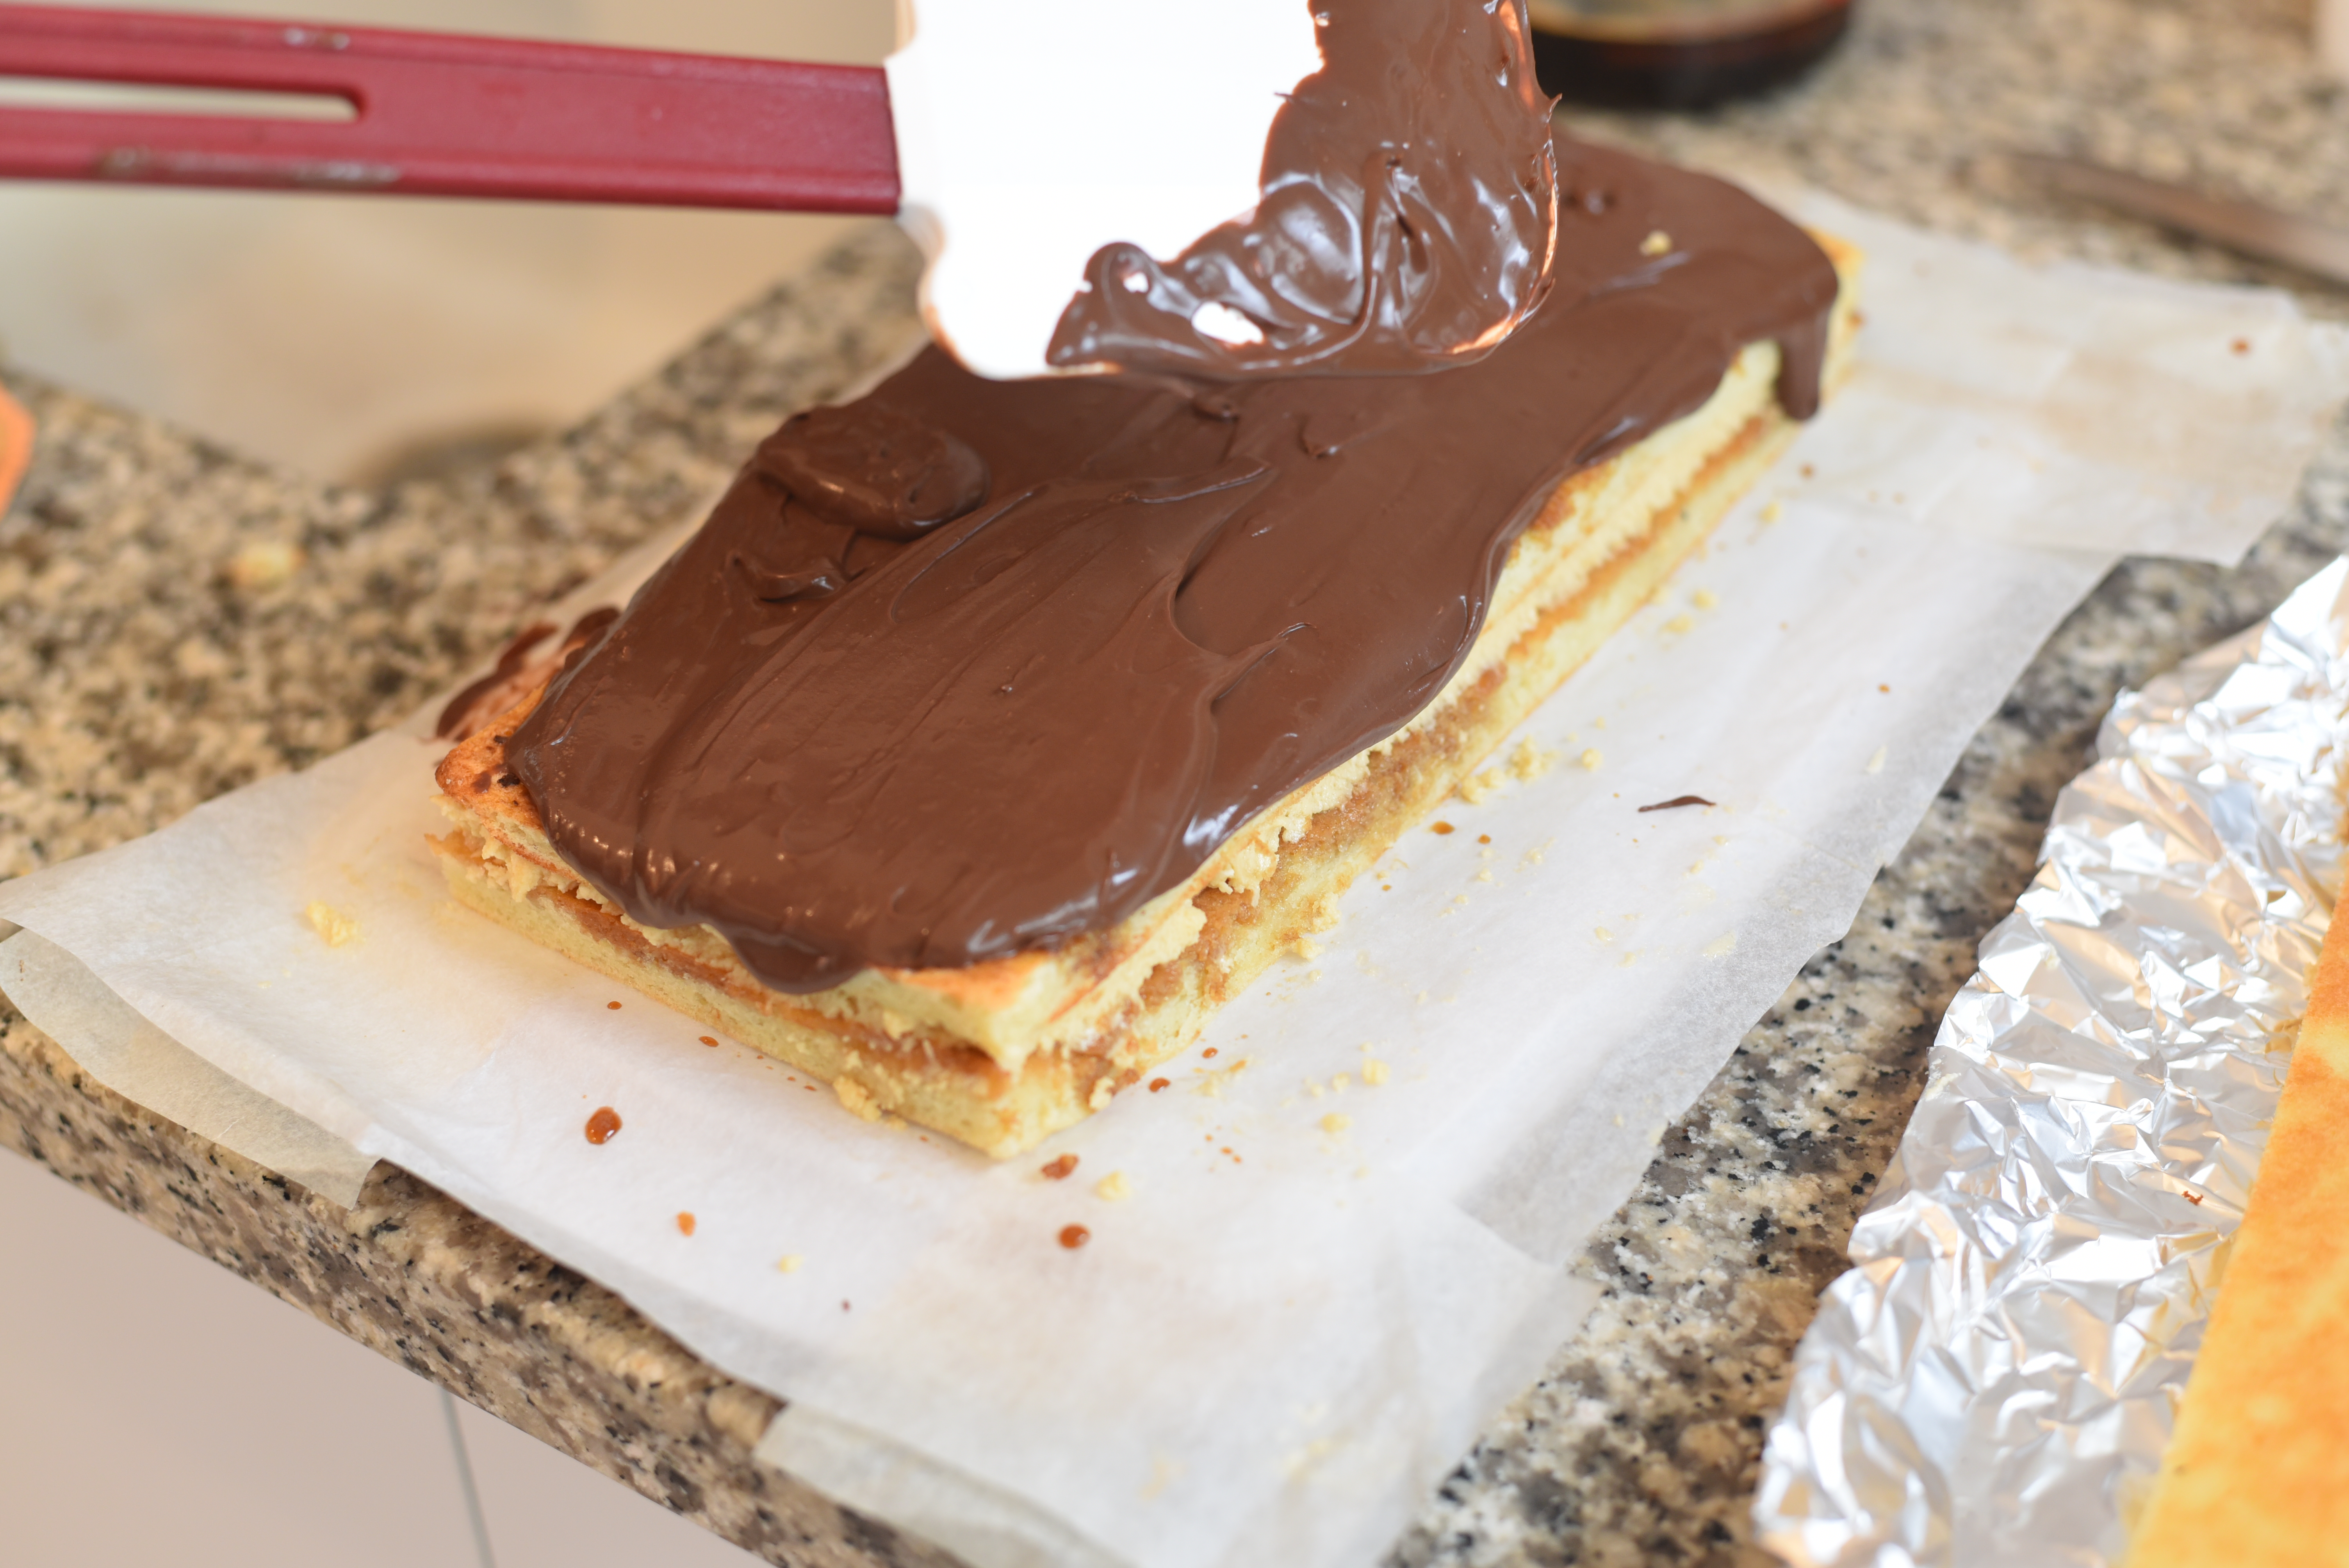
Set a bain-marie and melt the chocolate, when fully melted add the clarified butter, mix until smooth and remove from heat.
Pull out the parchment paper surrounding the cake.
Take the cake back into the fridge for a final cool down in order for the glaze to get stable.
